Articles, products, and services offered on this site are for informational purposes only. We are part of the Amazon Services LLC Associates Program, an affiliate advertising program. Amazon.com is compensated for sales resulting from links on our website.
Please review our disclaimer before acting based on anything you read or see.
When it comes to gardening, being able to gauge the temperature of the soil is an essential factor in the success of your crop. A thermometer is the most reliable way to measure your soil temperature. But, if you don’t have access to one, there are other methods you can use to determine soil temperature. In this blog post, we’ll discuss how to determine soil temperature without using a thermometer.
We’ll look at the importance of soil temperature, explain how to read the signs that indicate temperature, and suggest other methods you can use to get an accurate reading of your soil temperature. Knowing how to measure your soil temperature without a thermometer can help you make the most of your garden and ensure your crops are healthy and thriving.
How to Determine Soil Temperature Without a Thermometer
- Check whether the soil is dry or wet
- Identify which end of the thermometer goes into which hole
- Push the thermometer in vertically until it does not go in any further
- Read the temperature for the spot where the thermometer stops
- Repeat steps 2 to 4 for all four spots on your thermometer
- Average the four temperatures to get an approximate idea of the current soil temperature
- Estimate what degree of warmth you are looking for based on past experiences and research.
- Differentiate between degrees Celsius and degrees Fahrenheit based on what you want to grow.
- Check if it is currently light or dark outside using a timer or a clock with a second hand. This will help you determine how long to leave your seedlings in place before moving them again.
- Move your seeds once they have reached their desired temperature, taking care not to expose them to sunlight until you are ready to move them again.
Let’s break down the steps;
Step 1: Check whether the soil is dry or wet.
The first step to determining the soil temperature without a thermometer is to check whether the soil is dry or wet. If the soil is dry, then the temperature of the soil will be higher than the air. To check the soil moisture:
- Try using a moisture meter.
- Insert the meter’s probe into the soil at least twice the depth of the longest root.
- Read the results.

If the soil is wet, the soil temperature will be lower than the air. To check the moisture, take a handful of soil and squeeze it in your palm. If any water drips from it, the soil is wet; if not, then it is dry.
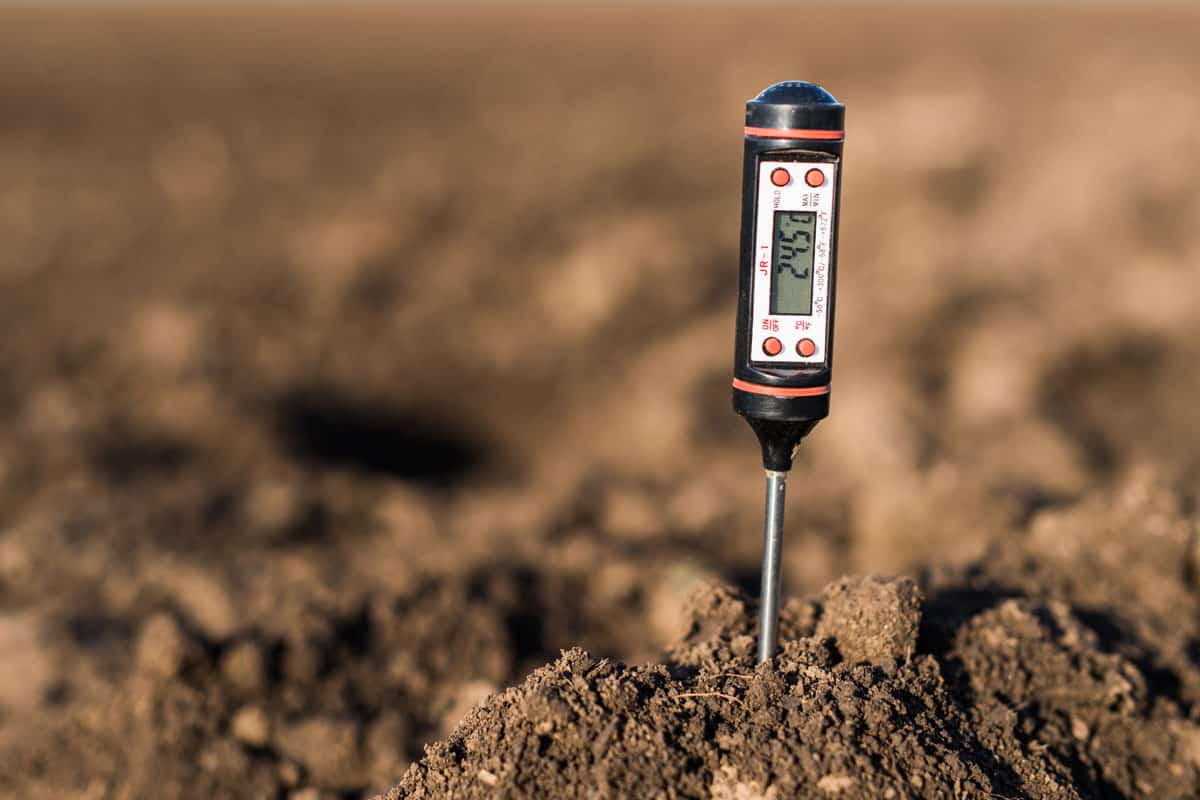
Step 2: Identity which end of the thermometer goes into which hole
It would be best if you placed the thermometer in the soil so the bulb is at the bottom and the stem is at the top.
Resource: Top Soil Calculator

Ensure covering the bulb in soil and the stem is not sticking out. If the soil is not deep enough to cover the bulb, use a small rock or wood to hold the thermometer. This will ensure that the temperature is being measured accurately.
Step 3: Push the thermometer in vertically until it does not go in any further
Once you insert the thermometer probe into the soil, it is time to push it vertically until it does not go in any further. This step is essential to get an accurate reading of soil temperature. To do so, hold the thermometer in one hand and use the other hand to push the thermometer in vertically.

Make sure to push it in a straight line, as any angle or pressure may give inaccurate results. Stop pushing when you feel the thermometer is firmly rooted in the soil and does not move further.
Step 4: Read the temperature for the spot where the thermometer stops
This is where you finally get to use the thermometer and find out the temperature of the soil. Begin by pressing the thermometer into the soil until it stops moving. Once the thermometer is in place, and the ground has had the chance to adjust, read the temperature and make a note of it.

Be sure to record the temperature the same way you recorded the depth of the thermometer in the previous step. Finally, when you are done, remove the thermometer from the soil and clean it for future use.
Step 5: Repeat steps 2 to 4 for all four spots on your thermometer
After you’ve taken the temperature of one spot and recorded the reading, you should repeat steps 2 to 4 for all four locations on your thermometer. Pay special attention to shaded areas and those in direct sunlight, as the temperature in these areas will vary significantly.
Once you’ve taken the temperature of all four spots, you can calculate the average temperature of your soil. Once you have this, you will have a better idea of your soil temperature and can make decisions accordingly.
Step 6: Average the four temperatures to get an approximate idea of the current soil temperature
Once you have your four temperatures, the next step is to average them. Adding all the temperatures together and dividing by four will give you an approximate idea of the current soil temperature.
This is the most reliable way to measure soil temperature without a thermometer. You’re taking into account the variability of the soil rather than just one temperature reading. Knowing the average temperature will also help you better predict when to plant certain crops and when to expect a harvest.
Step 7: Estimate what degree of warmth you are looking for based on past experiences and research.
If you have previously grown a successful crop in a specific soil temperature, that’s a good starting point. If not, you can research the ideal temperature range for the type of plant you plan to grow.
That should give you a general idea of the temperature range you’re looking for. The key is ensuring the soil is within that range of warmth so your plants can thrive.
Step 8: Differentiate degrees Celsius and Fahrenheit based on what you want to grow.
Step 8 is all about understanding the temperature of your soil to determine what you want to grow. Depending on what you want to grow, you will want to differentiate between degrees Celsius and Fahrenheit. For example, if you’re going to grow a warm-weather crop, you will want to ensure the soil temperature is at least 18 degrees Celsius or 64 degrees Fahrenheit.

However, if you want to grow a cool-weather crop, you will want to ensure the soil temperature is at least 10 degrees Celsius or 50 degrees Fahrenheit. Knowing the temperature of your soil is essential for successful growth and healthy plants.
Step 9: Check if it is currently light or dark outside using a timer or a clock with a second hand. This will help you determine how long to leave your seedlings in place before moving them again.
Step 9 is critical in determining soil temperature without a thermometer. Knowing whether it is currently light or dark outside will help you determine how long to leave your seedlings in place before moving them again.

You can use a timer or a clock with a second hand to check if it is currently light or dark outside. This will help you properly manage your seedlings’ time in the soil. This ensures they get the right amount of sun and heat for optimal growth.
Step 10: Move your seeds once they have reached their desired temperature, taking care not to expose them to sunlight until you are ready to move them again.
Once your seeds have reached their desired temperature, move them to a new location. Ensure the area is exposed to direct sunlight once ready to move them again. It is crucial to correct the temperature, as over-exposure to sunlight can cause the seeds to dry out and become inactive.

Additionally, be aware of any sudden temperature changes, as this could shock the seeds and prevent them from germinating. Once the new location has been determined, it is best to wait at least three days before planting your seeds.
Expert Opinion
In conclusion, the soil temperature is essential when planting and caring for your garden. While a thermometer can give you an accurate reading, there are a few other methods to determine soil temperature. By feeling the soil with your hands, testing the soil with cold water, or checking the temperature of the surrounding air, you can get an approximate soil temperature reading.
You can determine Soil temperature by a few simple methods. You will find the hand-in-the-soil technique, clothing, or water-on-the-soil technique. All of these techniques are easy to do, and they don’t require any special equipment. With these techniques, you can quickly determine the temperature of your soil without a thermometer.
References
- Tilley. (2021, July 6). What Is Soil Temperature: Learn About the Ideal Soil Temperatures for Planting. Retrieved December 10, 2022, from https://www.gardeningknowhow.com/garden-how-to/soil-fertilizers/determining-soil-temperature.htm
- Moore. (2020, January 18). The Best Way to Test Soil Temperature In 4 Steps – Greenhouse Growing. Retrieved December 10, 2022.
- Johnson, J. (2021, January 2). Can You Determine Soil Temperature Without a Thermometer? Retrieved December 10, 2022.
- Duque, S. K. (2022, August 13). How To Determine Soil Temperature (Even Without a Thermometer) – GardenTabs.com. Retrieved December 10, 2022.
Comments are closed.