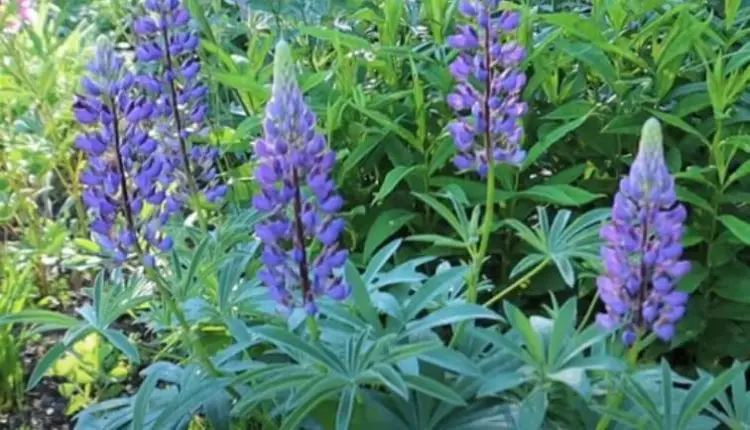
How To Prune Phlox For Winter | A Step-By-Step Guide
Articles, products, and services offered on this site are for informational purposes only. We are part of the Amazon Services LLC Associates Program, an affiliate advertising program. Amazon.com is compensated for sales resulting from links on our website.
Please review our disclaimer before acting based on anything you read or see.
As the season changes, we get to prepare our clothes for it, as plants likely need to be prepared for the upcoming winter. Phlox is a fragrant bloom known for its vibrant during summer. It can live longer if grown with proper care and attention. Pruning phlox is important to ensure its vitality and health in winter.
Most people think it will be tough, but it’s not. This article will discuss the common and easiest process to prune phlox for winter. So, let’s dive into it.
How to Prune Phlox for Winter
Safety First: Wear gardening gloves and use sharp, clean pruners.

In the first step, you have to take care of your health. For it, you have first to wash your hands properly. It would be better to wear garden gloves during work as a further measure to prevent a plant disease problem. Phlox is especially prone to fungal problems. Which easily spread from plant to plant. So, you have to take care of yourself.
Timing: Prune after the first hard frost when the plant dies.

Pruning time is very important for phlox survival in winter. When the plant shows stunted growth, it is best to prune after the first hard frost. Pruning at this stage allows phlox to redirect its energy from growth to critical winter survival processes. Which ensures it is better for the colder months ahead.
Deadheading: Remove spent flower heads from the top of the plant.

You have to grab a sharp and clean pruner in the three steps. After grabbing it, remove spent flower heads from the top of the plant. This step is the most important because it enhances the plant’s aesthetic appeal. Furthermore, it prevents self-seeding, which can be the reason for overcrowding.
Diseased Parts: Identify and cut out any diseased or brown stems.

During this process, if you see a diseased part or brown stems, immediately cut it because the disease spreads from one part of the plant to the other part of the plant. It can ruin the whole plant, so it should be cut out so it will not be spread.
Height Reduction: Cut the stems to about 1-2 inches above the ground.

Start trimming the stems to about 1 2 inches above the ground. This reduction of its height protects the plant from winter damage and reduces the risk of frost damage, which ensures plants’ vitality when winter arrives.
Thinning: Remove any crowded stems to improve air circulation.
After trimming, start tinning and removing the crowded growth. Thinning is removing a portion of the stems and enhancing air circulation. This step also helps lower the risk of disease and makes it healthier.
Base Cleaning: Remove any dead or decaying foliage around the base.
After the above steps, have a close look at it. If you see dead or decaying foliage around the base, clean the base, but you have to perform this step gently. This step creates a friendly environment around the plant, which makes it feel fresh.
Compost: Place healthy clippings in a compost pile.

In this step, you must place the healthy clipping in a compost pile. The compost pile should have leaves, debris, apple cores, vegetable peels, and grass clipping. These are all very nutritious and will help your phlox grow healthy.
Dispose: Bag and dispose of diseased clippings to prevent spreading.
Diseased clipping can spread the disease through the air. The disease can easily spread and occur to the other. That’s why you must grab a bag and keep all the removed diseased parts in the bag. This step is very important. It will save your other plants from getting the disease.
Mulching: Add a layer of mulch around the base for winter protection.
In the last step, apply a 2 to 4-inch layer around the base. This layer will protect your plant from the winter. After applying the thick layer, you are all done.
My Opinion
Prune phlox should be protected before the winter. They are very beautiful, so take care of them. You don’t have to call any professional for this. You can do it on your own.
All you have to do is follow all the above steps carefully. Every step is important and plays a vital role in prune phlox. So, it would be best if you took all the steps in the process. Remember to wash your hands tightly or wear a glove after doing such activity. It will protect you.


Comments are closed.