Articles, products, and services offered on this site are for informational purposes only. We are part of the Amazon Services LLC Associates Program, an affiliate advertising program. Amazon.com is compensated for sales resulting from links on our website.
Please review our disclaimer before acting based on anything you read or see.
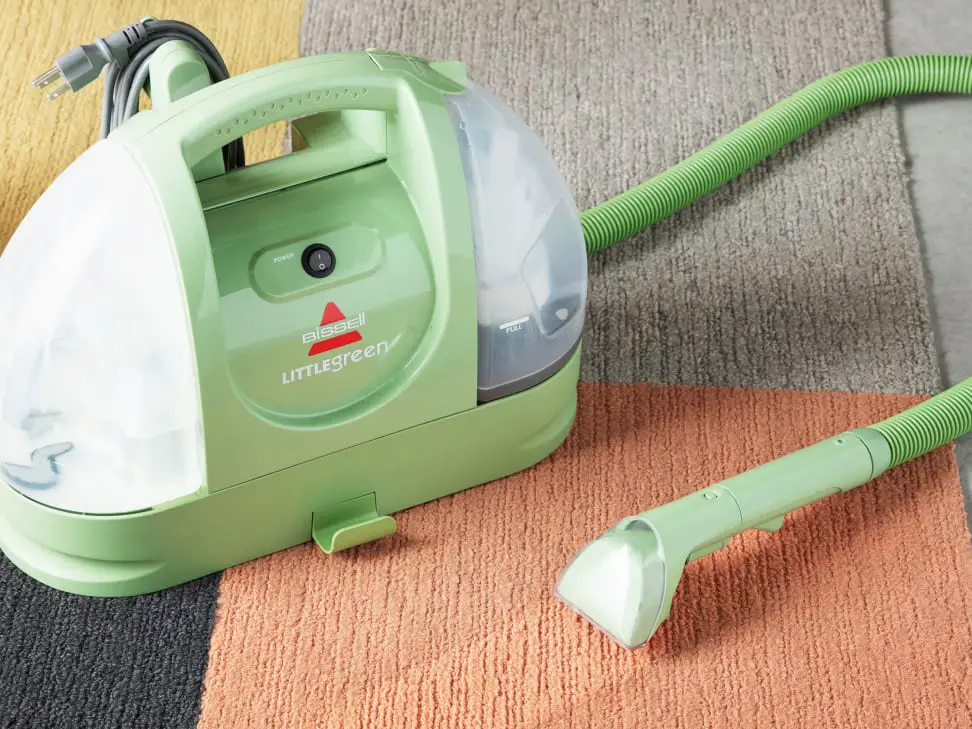
The Little Green Machine is a versatile and powerful cleaning tool that can help you tackle many cleaning tasks. Whether you need to clean carpets, upholstery, or hard surfaces, this compact machine is designed to deliver professional-level results in the comfort of your home. In this step-by-step guide, I will walk you through using the Little Green Machine effectively and efficiently.
Understanding the Features and Functionalities of the Little Green Machine
Before you start using the Little Green Machine, it’s important to familiarize yourself with its features and functionalities. This will ensure that you make the most out of this powerful cleaning tool.
The Little Green Machine comes with various attachments and accessories that enable you to clean different surfaces. It has a powerful suction mechanism extracts dirt and stains from deep within carpets and upholstery fibers. Additionally, it has a removable water tank and a separate tank for cleaning solutions, allowing you to easily refill and empty them as needed.
How to Use the Little Green Machine
Step 1: Preparing the Little Green Machine for Use
Preparing the Little Green Machine properly before each use is crucial to ensure optimal performance. Start by checking the water and cleaning solution tanks to ensure they are clean and free from any residue that could affect the cleaning process. If necessary, rinse them with warm water and mild detergent.
Next, inspect the machine’s brushes and nozzles to ensure they are clean and in good condition. Remove any debris or tangled fibers that may have accumulated during previous uses. This will prevent clogs and ensure that the machine operates smoothly.
Step 2: Filling the Tank with Cleaning Solution and Water
Once you have prepared the Little Green Machine, it’s time to fill the tanks with the appropriate cleaning solution and water. The cleaning solution should be specifically formulated with carpet and upholstery cleaners. Be sure to follow the manufacturer’s instructions regarding the recommended dilution ratio.
Start by filling the cleaning solution tank with the required cleaning solution. Then, add clean, warm water to the tank until it reaches the designated fill line. It is important not to overfill the tanks, as this can lead to leaks and reduce the machine’s efficiency.
Step 3: Choosing the Appropriate Cleaning Mode
The Little Green Machine offers different cleaning modes to accommodate various surfaces and levels of dirtiness. Before you begin cleaning, determine the appropriate cleaning mode based on the type of surface you wish to clean and the level of dirt and stains present.
For lightly soiled carpets and upholstery, the normal cleaning mode should suffice. However, deep cleaning may be necessary for more stubborn stains and heavily soiled surfaces. Consult the user manual for specific instructions on selecting the desired cleaning mode.
Step 4: Operating the Little Green Machine
Now that you have prepared the machine and selected the appropriate cleaning mode, it’s time to start cleaning. Begin by turning on the Little Green Machine and briefly warming it up. This will ensure the cleaning solution is properly mixed and ready for use.
Next, position the machine’s cleaning tool over the area you wish to clean and press the trigger to release the cleaning solution. Move the tool back and forth slowly and deliberately, allowing the brushes and suction mechanism to work their magic. Continue this process until the entire surface has been thoroughly cleaned.
Step 5: Cleaning Different Types of Surfaces with the Little Green Machine
The Little Green Machine is designed to clean various surfaces, including carpets, upholstery, and even hard floors. To clean carpets and upholstery, follow the steps outlined in the previous section. However, when cleaning hard surfaces, such as tile or laminate flooring, removing the cleaning solution tank and using only clean, warm water is important.
Attach the machine’s appropriate cleaning tool for hard surfaces and follow the same back-and-forth motion to remove dirt and stains. Be careful not to oversaturate the surface with water, which can cause damage. Once the surface is clean, use a clean cloth or mop to remove any excess moisture.
Step 6: Maintaining and Cleaning the Little Green Machine
Regular maintenance is essential to ensure the longevity and optimal performance of the Little Green Machine. After each use, rinse the water and cleaning solution tanks to remove any remaining residue. This will prevent buildup and potential clogs in the machine’s components.
Additionally, clean the brushes and nozzles thoroughly to remove any dirt or debris that may have accumulated during the cleaning process. This can be done by rinsing them under warm water and gently scrubbing them with a soft brush. Allow them to air dry completely before reattaching them to the machine.
My Opinion
In conclusion, the Little Green Machine is a powerful and efficient cleaning tool that can help you achieve clean, fresh surfaces throughout your home. By following this step-by-step guide, you can make the most out of this versatile machine and easily tackle a wide range of cleaning tasks. So give your carpets, upholstery, and hard surfaces the deep cleaning they deserve, and enjoy the results!
Comments are closed.