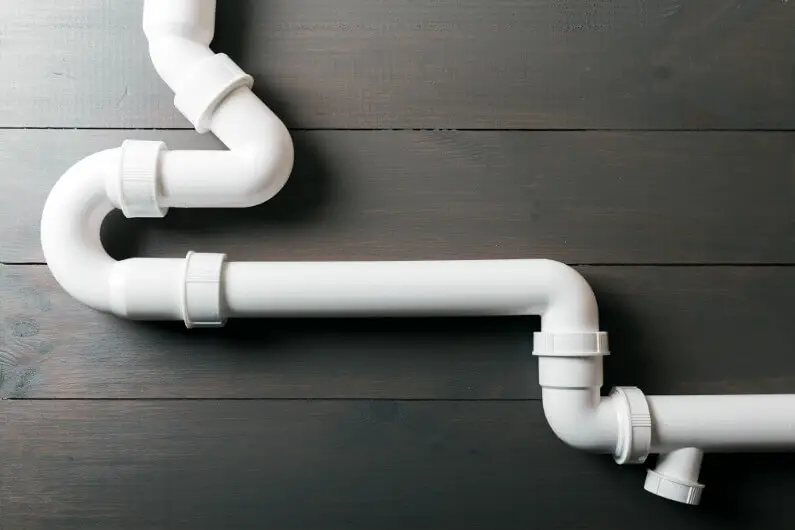
PVC (Polyvinyl Chloride) is a popular material used in plumbing systems due to its durability and affordability. However, PVC joints can develop leaks over time, causing water damage and inconvenience. Fixing a leaking PVC joint without cutting it can save you time, effort, and money. In this guide, I will walk you through the step-by-step process of repairing a leaking PVC joint without cutting.
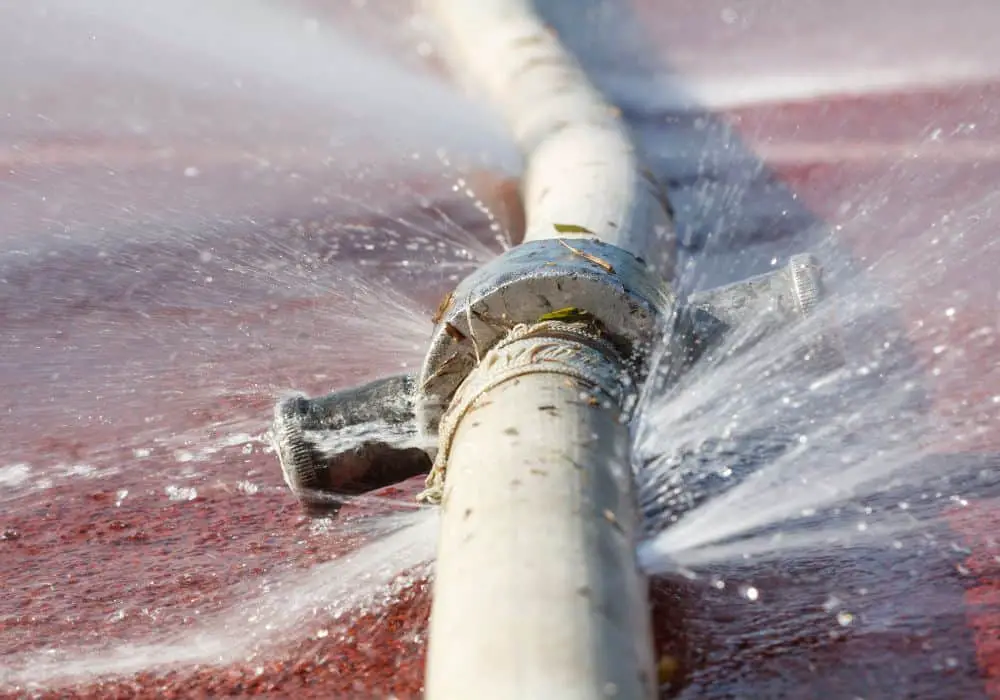
Leaking PVC joints are a common problem in plumbing systems, and they can occur for various reasons. Some common causes include improper installation, aging of the joint, high water pressure, and physical damage. It is important to address these issues promptly to prevent further damage and avoid costly repairs.
Tools and Materials Needed for The Repair
Before you begin the repair process, gather the necessary tools and materials. Here’s a list of what you’ll need:
- PVC pipe cleaner: This will help remove dirt, debris, or residue from the joint.
- PVC primer: The primer prepares the joint’s surface for adhesive bonding.
- PVC cement: Also known as PVC glue, this adhesive will ensure a strong and secure joint.
- Sandpaper: Use fine-grit sandpaper to roughen the joint’s surface for better adhesion.
- Clean cloth or rag: This will wipe away excess primer and cement.
- Rubber gloves: Protect your hands from the cleaner, primer, and cement chemicals.
- Safety goggles: Safeguard your eyes from any splashes or debris during the repair process.
Having these tools and materials ready will make the repair process smoother and more efficient.
How to Fix a Leaking PVC Joint Without Cutting
Step 1: Identify the Leaking Joint
Before you can fix the leaking PVC joint, you need to locate it. Check for any visible signs of water leakage or dampness around the joints. If necessary, use a flashlight to inspect hard-to-reach areas. Once you have identified the leaking joint, mark it for easy reference during the repair process.
Step 2: Prepare the Joint
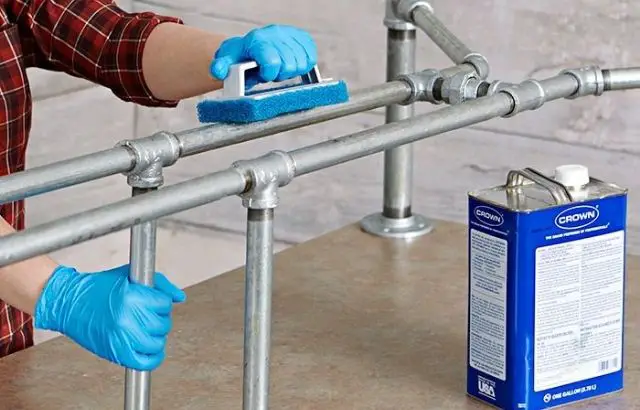
Thoroughly clean the leaking joint using a PVC pipe cleaner. This will remove any dirt, grease, or debris hindering adhesive bonding. After cleaning, dry the joint completely using a clean cloth or rag.
Step 3: Roughen the Joint Surface
Using fine-grit sandpaper, lightly roughen the surface of the joint. This will create a slightly textured surface, allowing the adhesive to bond more effectively. Be careful not to apply too much pressure or sand too deeply, as this can weaken the joint.
Step 4: Apply Primer and Cement
Apply a layer of PVC primer to the cleaned and roughened joint surface. The primer will help the adhesive bond securely. Wait for the primer to dry according to the manufacturer’s instructions. Once dry, apply a generous amount of PVC cement to the joint, ensuring it covers the entire leak area. Quickly and firmly push the joint together, holding it in place for a few seconds to allow the adhesive to set.
Step 5: Clean and Inspect
Wipe away any excess primer and cement using a clean cloth or rag. Inspect the repaired joint for any visible leaks or weak spots. If necessary, apply an additional layer of cement and recheck for leaks.
When to seek professional help for PVC joint repairs
While fixing a leaking PVC joint without cutting is a relatively simple task, there are instances where professional help may be needed. It is best to consult a professional plumber if you are not confident in your abilities or if the leak persists despite your repair efforts.
They have the expertise and experience to diagnose and fix complex PVC joint issues. Additionally, if you encounter multiple leaks or suspect underlying plumbing problems, it is advisable to seek professional assistance to ensure a comprehensive repair.
My Opinion
Repairing a leaking PVC joint without cutting can be a cost-effective and efficient solution to address plumbing issues. By following the step-by-step guide outlined in this article, you can fix the leak and restore the integrity of your PVC joint.
Gather the necessary tools and materials, identify the leaking joint, properly prepare the joint surface, apply the primer and cement, and thoroughly inspect the repaired joint. If you encounter any challenges or are unsure of your abilities, it is always wise to seek professional help. With the right approach and proper care, you can successfully fix a leaking PVC joint without cutting.


