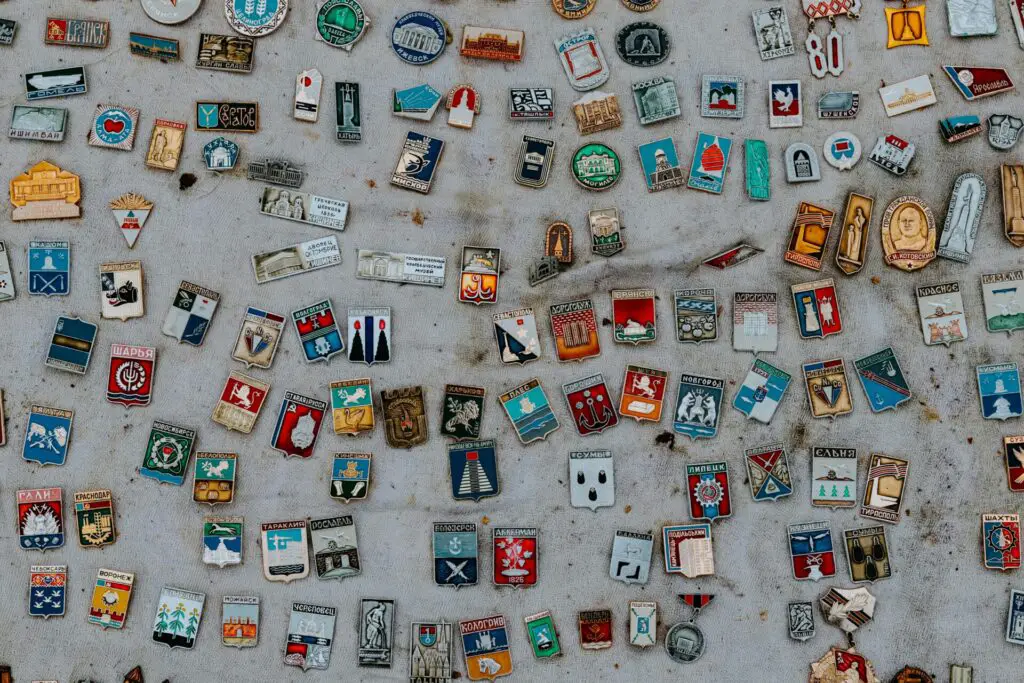
Enamel pins are small and colorful. They are fun to collect and wear. Have you ever wanted to make your own enamel pins? You can do it at home! This guide will show you how to make enamel pins at home—it’s easier and more fun than you might think. Let’s get started!
How to Make Enamel Pins at Home

Materials You Need
First, gather your materials. You will need:
- Design paper
- Pencil and eraser
- Metal pin blanks
- Enamel paint
- Small paintbrushes
- Glue
- Baking paper
- Oven (optional)
Step 1: Create Your Design
Start with a design. Draw it on paper with a pencil. Keep it simple. Too many details can be hard to paint. Use an eraser if you make a mistake. When you are happy, trace over the lines with a dark pencil.
Step 2: Transfer the Design
Now, transfer your design to the metal pin blank. Place the design paper on the blank. Use a sharp pencil to trace over the lines again. This will leave an impression on the metal.
Step 3: Prepare the Enamel Paint
Next, prepare your enamel paint. Shake the paint bottles well. Pour a small amount of each color onto a piece of baking paper. This will be your palette. Use small paintbrushes for more control.
Step 4: Paint Your Design
Start painting your design. Use one color at a time. Let each color dry before adding the next. Be patient. This step takes time. If you make a mistake, you can fix it. Just wait for the paint to dry and paint over it.
Step 5: Add Details
Once the main colors are dry, add details. Use a small brush for fine lines. Be careful and steady. Details make your pin look special.
Step 6: Bake the Pin (Optional)
Baking the pin can help the paint set. Preheat your oven to 300 degrees Fahrenheit. Place the pin on a piece of baking paper. Bake for 10 minutes. Let it cool completely before touching.
Step 7: Attach the Pin Back
Now, attach the pin back. Use strong glue. Apply a small drop to the back of the pin. Press the pin back firmly into place. Let the glue dry completely.
Step 8: Enjoy Your Pin!
Your enamel pin is ready! Wear it on your jacket or backpack. Show it to your friends. You made something unique and special. Be proud of your work!
Tips and Tricks
Here are some tips to help you:
- Keep your design simple
- Use high-quality enamel paint
- Let each layer of paint dry fully
- Be patient and take your time
Common Mistakes to Avoid
Here are some common mistakes to avoid:
- Rushing the painting process
- Using too much paint
- Not letting the paint dry
- Using weak glue for the pin back
Frequently Asked Questions
How Do You Start Making Enamel Pins At Home?
Gather materials like metal blanks, enamel paint, and pin backs. Design your pin, then paint and attach the pin back.
What Materials Are Needed For Enamel Pin Making?
You need metal blanks, enamel paint, pin backs, and a kiln or oven for heating. Simple tools like brushes help.
Can You Design Pins Without Professional Software?
Yes, you can sketch designs on paper or use free online tools. Creativity is key.
How Long Does It Take To Make Enamel Pins?
It takes a few hours from designing to baking. Allow time for cooling and finishing touches.
Conclusion
Making enamel pins at home is fun and rewarding. You can create unique designs. You can wear them or give them as gifts. Follow these steps, and you will have beautiful enamel pins. Enjoy your crafting!


