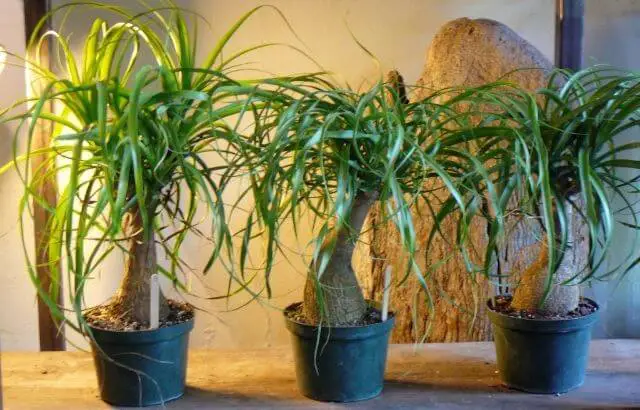
If you’re looking to give your indoor space a bold and beautiful statement, elephant ear bulbs may be what you’re looking for. Elephant ear bulbs, also known as Colocasia and Alocasia, are striking tropical plants that are relatively easy to care for. Let’s learn how to plant elephant ear bulbs indoors.
- Select the right size of elephant ear bulb
- Soak the bulb before planting
- Select a pot with sufficient drainage
- Add an organic soil amendment and fertilizer
- Plant the bulb in potting soil
- Make a hole in the center of the pot for the bulb
- Carefully place the bulb in your hand
- Tamp down and cover with soil completely
- Water your elephant ear bulbs continually until they grow
While they are typically grown outdoors, you can also bring these showstoppers indoors with some preparation and care.
This blog post will explore the steps necessary for planting and growing elephant ear bulbs indoors. With the proper instructions, you can enjoy the beauty of a lush elephant ear bulb for years to come.
How to Plant Elephant Ear Bulbs Indoors
Step 1: Select the right size of the elephant ear bulb.
When selecting an elephant ear bulb, size is an essential factor. Smaller bulbs are easier to handle and require less soil, water, and fertilizer than larger bulbs. Consider the space where the bulb will be planted and the mature plant’s size when selecting the bulb.

It does best to choose a bulb that is 1/3 of the final size of the mature plant. If the bulb is too small, it will take longer to reach maturity and may not produce the desired foliage.
If the bulb is smaller, it may fit in the desired area and require more water, fertilizer, and other maintenance.
Step 2: Soak the bulb before planting.
Soaking the bulb before planting is an essential step in the planting process. It allows the bulb to absorb moisture in the soil, which is essential in promoting root growth. Soak the bulb in a bucket of lukewarm water for at least 8-12 hours.

Make sure the water is deep enough to cover the entire bulb and allow the water to drain away any excess.
After soaking, the bulb should be ready to be planted, allowing the roots to take full advantage of the moisture in the soil.
This step ensures the bulb receives enough water to promote healthy root and foliage growth.
Step 3: Select a pot with sufficient drainage.
When selecting a pot for a potted plant, it is essential to consider the drainage capabilities of the bank.
Ideally, the pot should have enough drainage holes to allow excess water to escape while still allowing the soil to remain moist.

It is also essential to select a pot that is appropriate for the size of the plant. Too small of a pool will limit the plant’s growth, while too large of a bank can cause the soil to become overly saturated with water.
It does also crucial to select a pot with a material that is conducive to the plant’s environment.
Different materials can provide different insulation levels, which can be beneficial depending on the type of plant.
Step 4: Add an organic soil amendment and fertilizer.
Adding organic soil amendment and fertilizer to the soil is crucial to ensuring a healthy, vibrant garden.
Organic soil amendments, such as compost and manure, provide essential nutrients to the soil and help to improve the soil structure and drainage.

Fertilizer helps to replenish the soil with nutrients that plants use up.
When choosing a fertilizer, it is best to select an organic option that is low in salt and high in nitrogen and phosphorus.
Adding an organic soil amendment and fertilizer will help create the best environment for plant growth and flowering.
Step 5: Plant the bulb in potting soil.
Planting a bulb in potting soil is essential for growing beautiful spring flowers.
When selecting soil, it is essential to use a well-draining potting mix that is low in nutrients.
It would help if you planned the bulb 3 to 4 times its depth, and the pointy end should face up.

Gently lower the bulb into the potting soil, and fill the sides with additional soil. Once the bulb is in place, give the pot a light watering.
It does help the soil to settle and provide the bulb with the moisture it needs for root growth.
It is essential to avoid over-watering, as too much moisture can damage the bulb.
Step 6: Make a hole in the bulb’s center for the pot.
Begin by marking the pool’s center to make a hole for the bulb.
It does by lightly tapping the pot with a hammer and a nail or with a pencil or pen. Once the center of the jackpot has a do mark, you must drill a hole.
A drill with a masonry bit or a hole saw should use a bit.
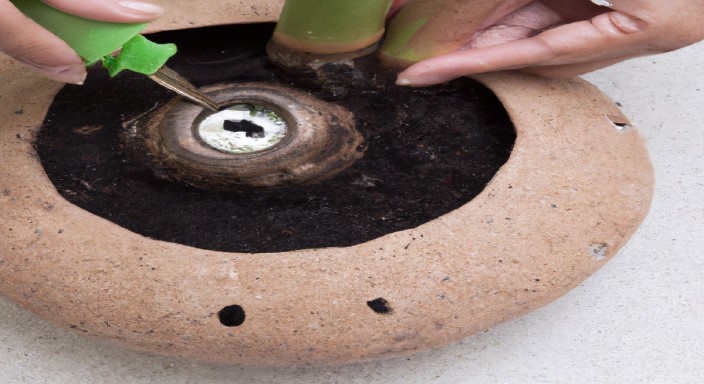
It is also essential to take caution while drilling the pot to ensure it does not break.
Once the hole has done drill, it should do sand to ensure the edges are smooth.
Taking the proper precautions when drilling the pot will ensure the bulb installation is successful.
Step 7: Carefully place the bulb in your hand.
Carefully holding the bulb in your hand, place it into the socket. Make sure to keep it firmly, yet gently, so as not to damage the bulb.
Ensure that the metal contacts line up correctly, as this will ensure that the bulb will work.
Also, be sure not to touch the bulb with your bare skin, as this can cause problems with the bulb’s performance.
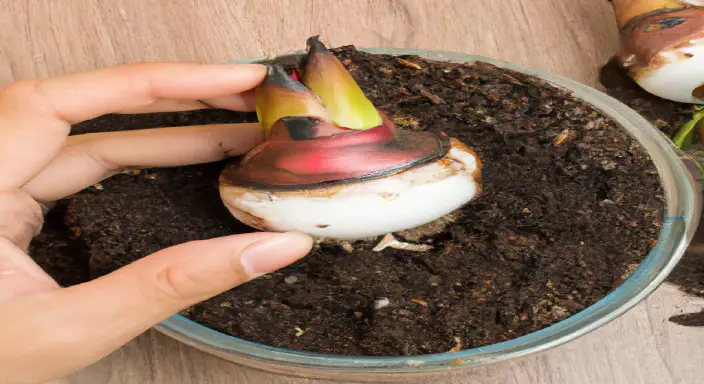
Finally, carefully twist the bulb’s base and ensure it is secure to the socket. Once the bulb is in place, it should light up and be ready for use.
Following these steps will help ensure that your bulb is safely and securely installed and will provide you with years of reliability and quality lighting.
Step 8: Tamp down and cover with soil completely.
Once the seedling has been carefully inserted in the pot, it is important to tamp down the soil around it and cover it completely.
It ensures the soil is tightly packed and gives the seedling the best chance of success in its new environment.
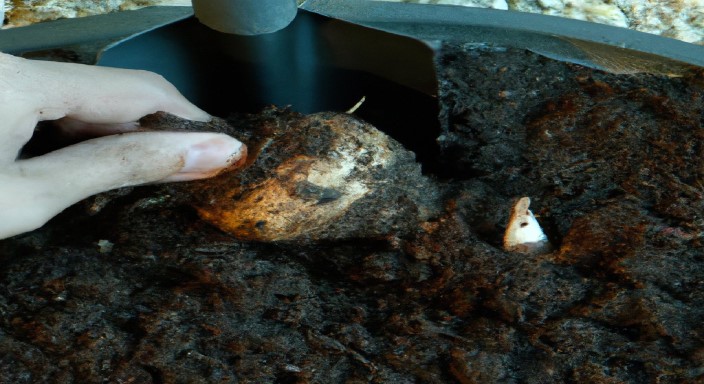
To do this, use your hands to gently press down the surrounding soil, ensuring that all the air pockets press out. Then, use a small amount of dirt to cover the seedling.
It does keep the seedling in place and provides the right environment for it to grow and thrive. Finally, water the seedling to help it settle into its new home.
Step 9: Water your Elephant Ear Bulbs continually until they grow.
The elephant ear bulb is a tropical plant that can be grown indoors for decorative purposes. It is a perennial plant that grows to about 2 feet in height and contains many flowers.
It blooms in the spring and summer, making it ideal for a winter garden.
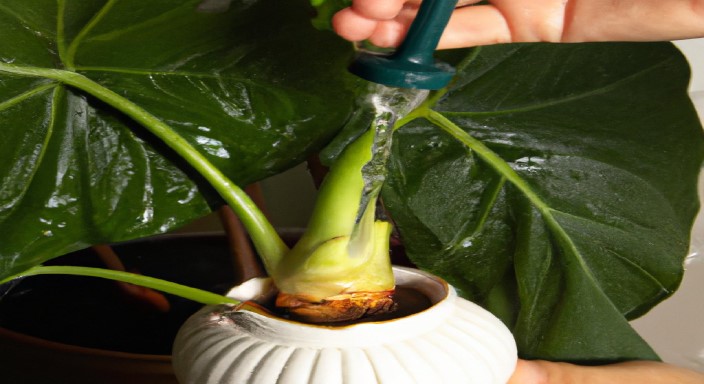
Watering elephant ear bulbs is a very repetitive task. It is time-consuming and also very tedious.
You have to water them every day, every week, every month, or even every year.
The watering of elephant ear bulbs is a long-standing problem. The plants grow too fast and often become too large to fit in the house.
Expert View
The elephant ear bulb, also called the elephant ear plant, is a perennial herbaceous plant. It has a thick stem and longish green leaves.
The leaves shape like an elephant’s ear, with the tips of the leaves pointing up. Elephant ears grow to 2–3 feet tall and can be used to make a beautiful flower arrangement or as a decorative garden planting.
However, if you have not planted elephant ear bulbs for the last few years, you might wonder whether it is time to plant them indoors again.
When you want to plant elephant ear bulbs indoors, you must ensure that the soil is moist. You will also need to choose the correct elephant ear bulb and water it with a watering can.
References
- Editors Team. (2021, March 1). All About Elephant Ears. Retrieved January 3, 2023, from https://www.longfield-gardens.com/article/all-about-elephant-ears
- Editors Team. (2020, April 12). Everything you need to know about Elephant Ears. Retrieved January 3, 2023, from https://www.elephantearsplants.com/pages/elephant-ear-plants-questions-answers


