If you want to make it with the main varieties, I recommend cooking acorn squash. It is the easiest and sweetest dish. Today in this article, I will teach you step-by-step how to cook acorn squash. Let’s start the article:
How to Cook Acorn Squash
Step 1: Preheat the oven.
In the first step, you have to set your oven to 400 degrees Fahrenheit (200 °C). This temperature is perfect for roasting acorn squash.

Step 2: Select and prepare the acorn squash.
While choosing pumpkins, look for those with a combination of green and yellow spots on the skin. Spots indicate ripeness. If available, you can use carnival pumpkins. They possess a comparable taste but exhibit more vivid hues.
After purchasing pumpkins, you must wash them to remove any dirt or debris.

Step 3: Cut the squash.
To prepare the pumpkin, first cut off both ends to create stable bases for slicing.

Then, carefully cut each pumpkin in half lengthwise.

Using a teaspoon, scoop out the seeds and surrounding fibrous membrane.

Take out all the seeds.

Step 4: Slice the squash.
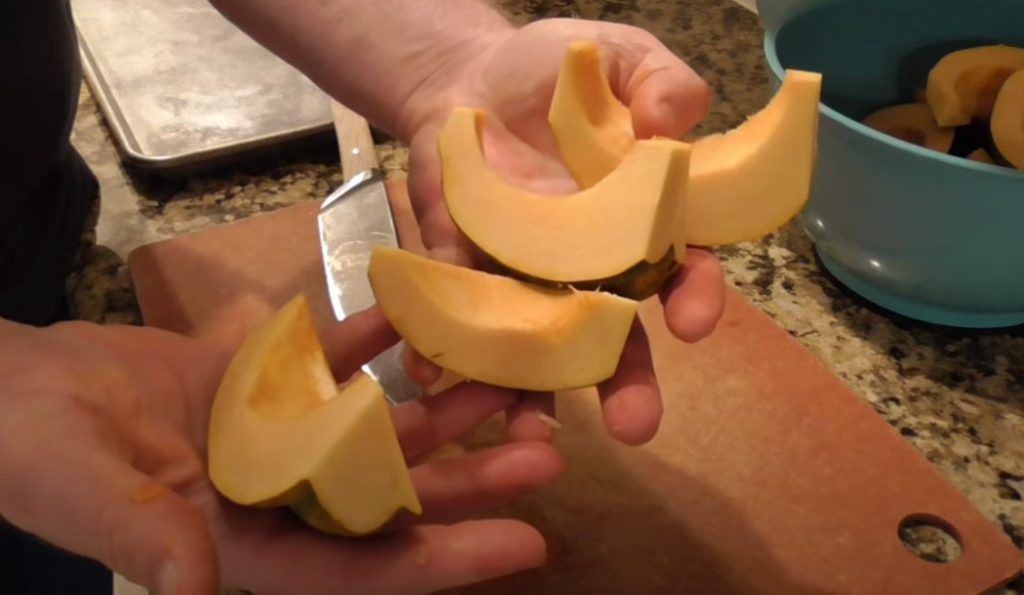
Now cut the squash halves into C-shaped slices.

Cutting along the natural lobes of the squash helps create evenly sized pieces. This certifies consistent cooking.

Step 5: Season the squash
Transfer the squash slices to a large bowl.

Now drizzle them with canola oil.

Add salt to your bowl.

Add some pepper.

Add garlic powder.

Add onion powder.

Toss the slices thoroughly to ensure each piece is well mixed with the oil and spices.

Step 6: Prepare the baking sheet.

Line a baking sheet with parchment paper.
This step is important as it prevents the squash from sticking to the pan.
Step 7: Add parmesan cheese.
Now you have to add parmesan cheese. All you have to do is grab a microplane. Then brush it with parmesan cheese. It will produce thin chips. This will melt quickly. If you don’t have a microplane, you have to use a cheese grater or vegetable peeler.

Step 8: Bake the squash.
Transfer your coated pumpkin slices to the prepared baking tray. Now place the baking tray in the preheated oven. Bake for 40 to 45 minutes. Pumpkin slices will turn brown. The squash softens during baking, and the Parmesan cheese melts. It will become crunchy.

Step 9: Serve
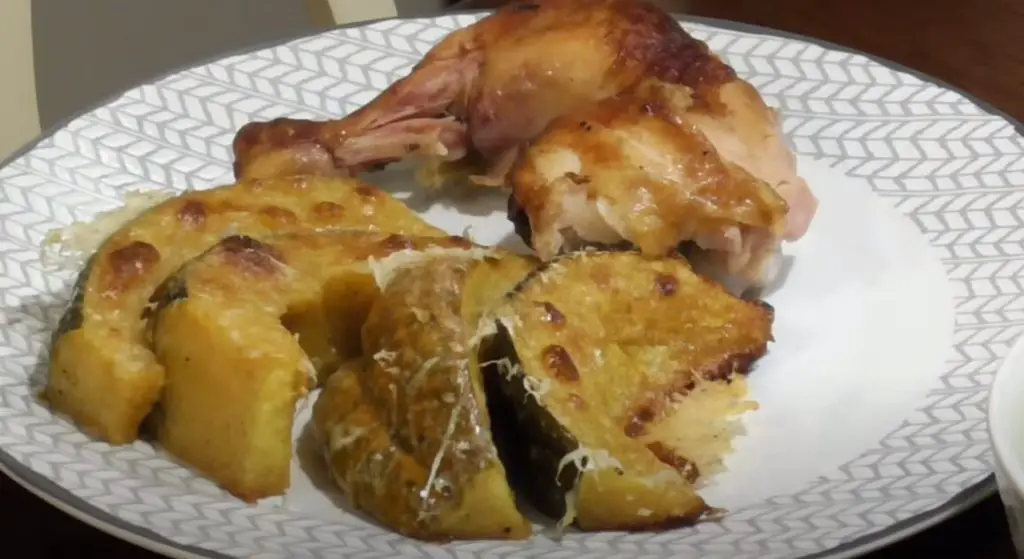
After 40 to 45 minutes, remove the baking sheet from the oven. Let the pumpkins cool a little. The parmesan should be melted and slightly crunchy. While the squash itself should be tender and flavorful.
Serve Parmesan-crusted acorn squash as a side dish, perhaps alongside roasted chicken legs or the main dish. Despite the edible nature of the pumpkin’s skin,
My Words
So, whenever you want to make a sweet dish, always try acorn squash. All you have to do is follow the above steps one by one. Don’t miss any steps, because every step has a taste of acorn squash.


