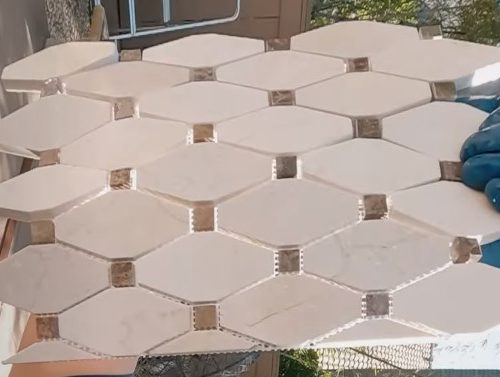
The marble mosaic title increases the beauty of the exterior. But times come when we need to cut the marble mosaic tile. If you have to cut the marble mosaic tile then you can cut them without chipping. You don’t have to call a professional you can do it on your own.
In this article, I will teach you to cut the marble mosaic tile without chipping. Let’s start the steps.
How to Cut Marble Mosaic Tile Without Chipping
Safety First: Wear safety glasses and protective gloves.

Our first step will be the safety precaution. In the first step, you will need safety glasses and protective gloves. Safety glasses will protect your eyes from dust and its particles. On the other hand, protective gloves will protect your hands from injury. So, you have to wear safety glasses and protective gloves for your safety. Because safety comes first.
Marking: Use a pencil to mark where you want to cut on the mosaic sheet.
If you plan your cutting in the mind then you will make any mistake or forget it. So, it is better to grab a pencil and mosaic sheet. After that grab a pencil in your fingers and start marking in your mosaic sheet. Marking on your mosaic sheet will give you a perfect plan. It is the best way to make a plan and go according to it otherwise you will forget.
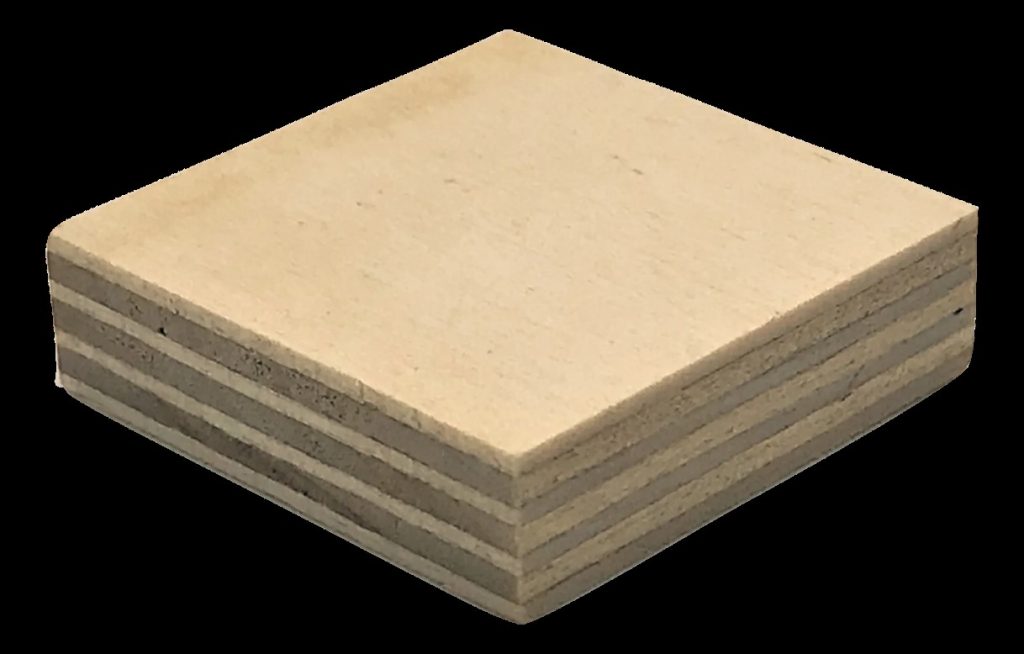
Backing Support: Place a piece of plywood or similar support under the mosaic sheet.

In the next step, you will need a piece of plywood or another object. Once you get it after that you have to place it under the mosaic sheet. This step will maintain pressure on both sides. It will reduce the risk of clipping.
Tile Nippers: For small cuts, use tile nippers and nip away tiny bits at a time.

If there are some small intricate cuts on the mosaic tile. Then don’t take tension you can easily remove it. All you have to do is hold the tile nipper. Tile nipper also reduces the risk of the clipping.
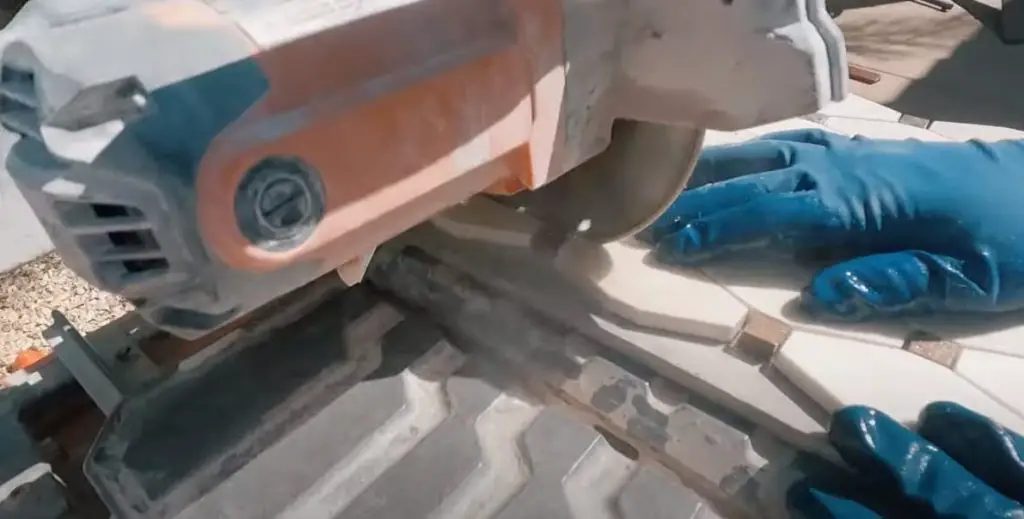
Tile Saw Setup: For straight cuts, set up a wet tile saw with a fine-toothed diamond blade.

In the next step for the larger tiles. You have to grab a tile saw setup. It is a handy tool. You have to use it according to the manufacturer’s instructions.
Blade Dampening: Ensure the blade is wet at all times during the cut.
Another effective way to reduce the chipping is by keeping it wet. In this step, you have to get your tiles. Keep it wet during the process. This step will reduce the heat and friction. This effective step will also reduce the chipping.
Slow and Steady: Push the mosaic sheet slowly through the saw.

After wetting the tiles, you have to grab a saw. Now gently push the mosaic sheet slowly through the saw. You have to perform this step gently. If you apply pressure while pushing it. It will start chipping the marble mosaic tile.
Minimum Pressure: Use light, consistent pressure to avoid chipping the individual mosaics.

Start pushing the mosaic sheet slowly with the saw. By using both hands apply a slight pressure towards the saw machine. Keep pushing the mosaic sheet toward the saw. But you don’t have to do it hard. You have to push the mosaic tiles slowly toward the saw. If you apply a large force then it can break.
Edge Sanding: Lightly sand the cut edges of the mosaic tiles to smooth any roughness.

After cutting the cuts there will be rough edges around it. To remove the rough edges. You have to cut the edges smoothly. Make your tile the perfect angle from all sides. If you didn’t cut the edges. It will look unattractive.
Clean Up: Wipe the mosaic tiles clean of any residual grit or dust.

The last step is easy. In the last step, you have to clean the dirt. Grab a cloth and start moving it on the tiles. It will remove all the dust. Cleaning the dust will give it an attractive and new look.
My Opinion
If you want to cut the marble mosaic tile. Then don’t call anyone you can cut it without chipping. It seems difficult but it is not difficult. All you have to do is follow all the steps.
Every step is important so don’t skip anyone. Perform all the steps back-to-back. Some steps can be dangerous so perform all the steps safely.


