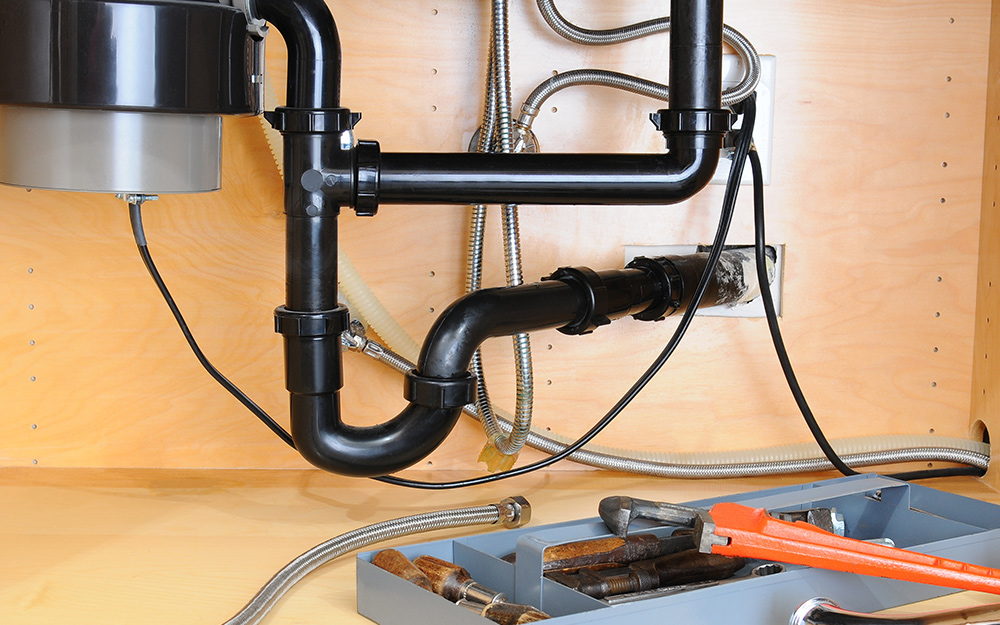
Disconnecting the waterline of the refrigerator correctly lessens the potential for leaving behind a watery mess during storage or after the move. This device uses electricity and water, so both things need a disconnection to avoid risk. The proper disconnections restrict the chance of mold in the water lines. While moving this device, you need to begin the process of disconnection 24 hours before the move. Let’s learn how to disconnect fridge waterline.
How to Disconnect Fridge Waterline

Disconnection of the waterline allows sufficient ice to melt inside the freezer. Since this machine is so bulky and heavy, you may need help to move the fridge off the wall to access the electrical connections and water line. You will need duct tape, cloth, cleaning solution, contractor tape, flat head screwdriver, bucket, and towel for the disconnection of the fridge’s water line.
Step 1
Move the fridge away from the wall to reach the electrical plug. From the electrical outlet, unplug the fridge, and after the disconnection and moving, cover the cord with adhesive tape of the fridge using duct tape. Turn the ice maker of the refrigerator to the off mode.
Step 2
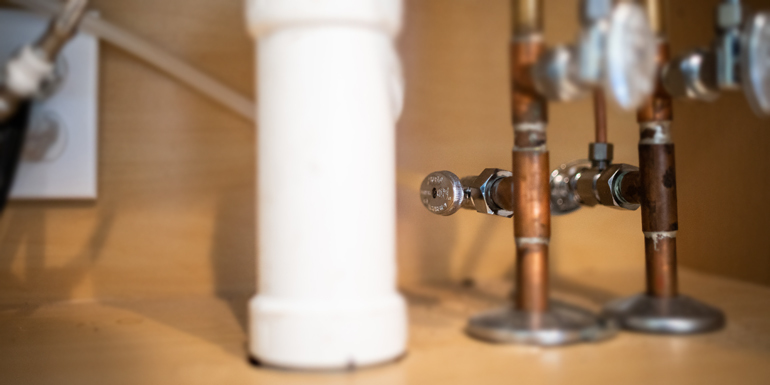
Turn off the waterline of the fridge that leads to the refrigerator. If you are uncertain about the water source site, trace the waterline.
Step 3
Remove the food items from the fridge and the shelves and side storage bins and keep them aside.
Step 4
Clean and wipe the fridge with a cloth and a cleaning solution. With the help of a contractor, tape stacks the shelves and connects them with tape while moving the refrigerator.
Step 5
Search for the copper tube at the back of the fridge and unscrew the compression nut that holds the tube in the sleeve with the screwdriver with a flat head. Drain out all the contents of the water line on the bucket. If there is a connection between the ice maker and the water in the fridge, you will have to remove the fridge’s door to reach the water connection. Disconnect the whole tubing of the door and drain the water line on the bucket.
Step 6
Open the tapped doors of the fridge with the contractor tape as this step prevents the chance for children and pets from being cached inside. Allow the fridge to stand open for 24 hours and close it until you use it again. Use towels or tissue papers to dry the whole surface of the fridge and the floor surfaces in front of it.
Conclusion
So the disconnection of the fridge’s water line needs precautions and attention as it is an electrical device and may cause short-circuiting. It is better to unplug the fridge connection with the power supply to avoid any risk or damage. So to store the fridge turn the ice maker to the off mode and turn the temperature regulator up, in addition, do not store it on its side because this device needs to be stored in the upright position.


