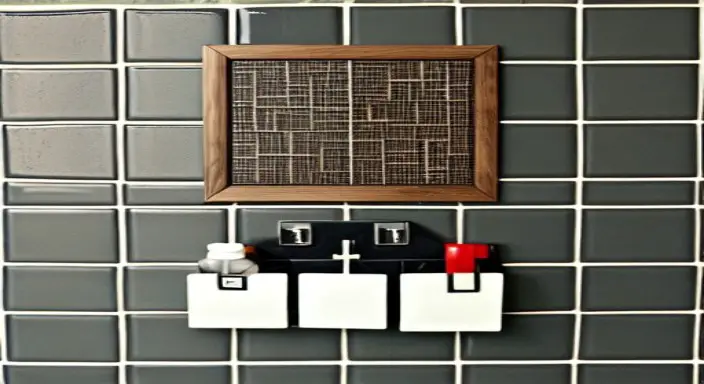
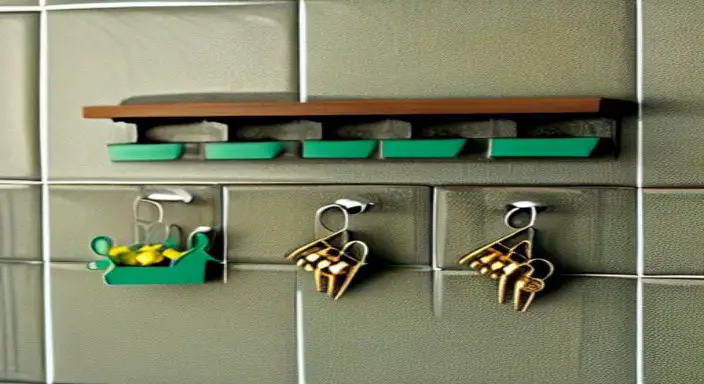
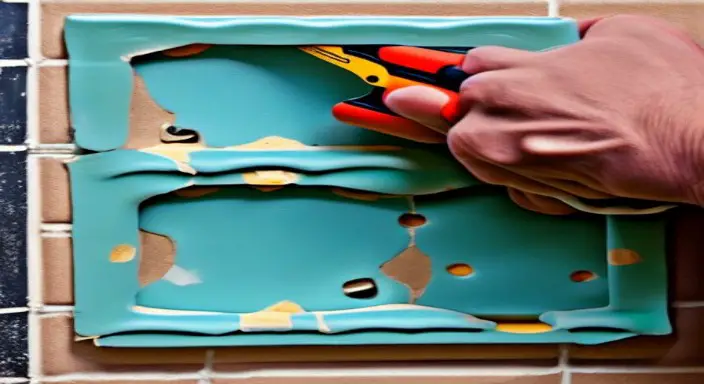
Hang items on tile walls can be a challenge. So, the Home Affluence team will discuss this if you’re looking for a secure way to hang pictures, shelves, or other items on a tiled wall. Let’s see how to hang things on tiles.
This article will provide a step-by-step guide on successfully hanging things on tile walls:
- Gather the Necessary Tools
- Prepare the Tile
- Measure and mark a Spot in the tile
- Use a drill bit to create holes in the tile
- Assessing the Weight of the Item You’re Hanging
- Choosing the Right Tile Adhesive
- Apply an adhesive to the back of the item to be hung
- Place the item on the tile
- Secure the item with screws or nails
- Check for level
- Cover the holes with putty or caulk
- Allow the adhesive and putty or caulk to dry
- Hang the item on the tile with hooks or hangers
- Clean Up
- Inspect the Installation
It will cover the materials and tools needed to mount items securely and the best methods for hanging them on different tiles.
It will also provide tips on ensuring your items stay securely in place for years. With the proper techniques and materials, you can hang items confidently. So read on to learn the best methods for hanging things on tile walls.
How To Hang Things on Tile
1. Gather the Necessary Tools
Before hanging any items on the tile, it is important to gather the necessary tools. The tools needed may vary depending on the item and how it will hang.

It is recommended to have a drill with a masonry bit, an appropriate wall anchor, a pencil, a level, a hammer, and the appropriate screws.
Make sure to find the right wall anchor on the tile, as some anchors may need to be more suitable. Once the necessary tools are acquired, hanging the item can begin.
2. Prepare the Tile
Before you begin hanging anything on the tile, you must prepare the tile to ensure that the items stay in place. Your preparation may vary depending on the type of tile you are using.

Use a high-bond tile adhesive for ceramic tile. For Glass tile, use a 100-percent silicone sealant. For stone tile, use a masonry adhesive.
Apply adhesive according to the instructions on the product label and allow it to dry for the time specified by the label. Once the adhesive has dried, your tile is ready for use.
3. Measure and mark a Spot in the tile
The third step in hanging items on a tile wall is to measure and mark the spot. This step is essential for ensuring a secure and level installation.

First, use a tape measure to determine the desired height and width of the item to hang. Next, use a pencil or marker to draw a line on the tile precisely where you would like the item to hang.
Use a level to ensure that the line is straight to ensure accuracy. Finally, use a drill and a fair bit to create a pilot hole in the tile. It provides a secure anchor point for the screws or other fasteners.
4. Use a drill bit to create holes in the tile
After measuring the wall where you want the items to hang and marking the points, you can use a drill bit to create holes in the tile.
Be sure to use a drill bit with a diameter slightly smaller than the size of the screws used to hang the items.

When drilling, use steady, firm pressure and avoid applying too much pressure so you don’t break the tile.
Make sure to drill in a straight line, not at an angle, as this could cause the tile to crack. Once you have drilled the holes, you can use the screws to hang the items.
5. Assessing the Weight of the Item You’re Hanging
Before attempting to hang any item on the tile, you should assess the item’s weight to ensure that the tile can bear the weight.
Consider the weight of the item itself and any additional weight that may add, such as the weight of the hardware used to hang the item.

If the item’s weight and the hardware exceed the tile’s capacity, it is best to use a different material, such as drywall or wood, to hang the item.
If the item’s weight is within the tile’s capacity, it is important to use the proper anchors and hardware for the item’s weight.
6. Choosing the Right Tile Adhesive
When hanging things on tile, the right tile adhesive is essential. A variety of adhesives are available, so it is important to choose the right one for the job.
Solvent-based adhesives are best used for lightweight objects, while heavy-duty tile adhesives should use for larger and heavier items.

Read the product label carefully to determine which adhesive best suits your project.
Additionally, if the item being hung is extremely heavy or you are mounting it to a wall, consider using anchor screws or tile mastic in addition to the adhesive.
7. Apply an adhesive to the back of the item to be hung
It is locating the best spot to hang your item and applying an adhesive to the back. Ensure the adhesive is appropriate for your surface, such as a tile wall.

Use a screw or nail to attach the item to the wall for extra security. Allow the adhesive to dry for the recommended time before moving on to the next step.
8. Place the item on the tile
Once you have prepared your tile and the item you are hanging, it is time to place it on it. Make sure the item is centered and level before you proceed.

Once you have confirmed the item is center and level, use adhesive to secure the item to the tile. Ensure you evenly apply the adhesive to ensure the item is securely placed.
If the item has multiple pieces, ensure they are properly aligned to be even and secure on the tile.
9. Secure the item with screws or nails
For the last step in hanging items securely on the tile, you will need to use screws or nails. Make sure to use screws or nails that are appropriate for the weight of the item you are hanging.

Ensure the screws or nails are placed firmly into the tile and fit securely. Once you have chosen the screws and nails, fasten them to the tile and ensure they are secure.
Finally, hang the item on the tile and admire your work!
10. Check for level
Once you’ve selected the location to mount your item, it’s important to ensure it is level before you begin. You can check for level with a level tool or use the “3-4-5” method.

With this method, measure three feet along one side of the tile, then measure four feet along the opposite side and mark it.
Finally, measure the distance between the two marks. If the distance is five feet, then the wall is level. If it is not, you will need to adjust the location of your mount accordingly.
11. Cover the holes with putty or caulk
When hanging things on tile, it is important to ensure that the surface is properly prepared. It includes covering any holes with putty or caulk.
Putty is a durable material that can fill in any cracks or holes in the tile, while caulk can use as a sealant to fill in any gaps.

Putty can also create a smooth surface by filling uneven spots or dips. Caulk provides a water-resistant barrier and can help keep moisture out of any cracks or holes in the tile.
These materials can use together to ensure that the tile’s surface is properly sealed and ready for hanging items.
12. Allow the adhesive and putty or caulk to dry
To hang things on tile, one must first allow the adhesive and putty or caulk to dry. It is an important step to ensure that the items stay securely in place.
After the adhesive and putty or caulk have been applied, allowing the material to dry completely is important. Depending on the type of material and method used, this process can take several hours to a full day.

Once the adhesive or putty has dried, the items can hang on the tile.
It is important to remember that the adhesive and putty may require additional steps for them to be secured properly.
Following these steps will ensure that the items remain securely in place on the tile, providing a safe and secure hanging surface.
13. Hang the item on the tile with hooks or hangers
Hanging items on tiles is a great way to add decorative elements to your home. Wall hooks and hangers are the most common method for attaching items to tile surfaces.
The proper hardware should use depending on the type and weight of the item being hung. A screw-in hook is a great option if the item is lightweight, such as a picture or a piece of art.

A toggle bolt can be used for heavier items, like mirrors or shelves. When hanging items on tile, care should ensure the wall hooks or hangers are firmly anchored into the wall, as tile surfaces can be brittle and easily break.
With the right hardware, hanging items on tile can be aesthetically pleasing and safe to decorate your home.
14. Clean Up
A clean wall surface is important for properly hanging items, such as framed pictures and artwork. Before beginning any project, cleaning the area where the items will place is important.
Use a mild cleaner and a damp sponge or cloth to wipe down the wall for ceramic tile. Rinse with clean water to eliminate any residual cleaner left behind.
Ensure thorough cleaning; vacuum and suck up any dirt left behind. After the wall is cleaned, it’s time to hang the items.

Take care to measure and mark the area where the item will hang to ensure it is securely attached. With the area prepped, use appropriate mounting hardware and carefully hang the items.
Cleaning the wall surface beforehand is an important part of the hanging process and will ensure the project is done correctly and safely.
15. Inspect the Installation
Proper installation of items that must hang on tile is essential to ensure they are secure and stable. Inspecting the installation of these items is an important step to take:

- Evaluate the condition of the tile and ensure no damage could impact the installation.
- Check the anchors and screws to ensure they are securely in place and the correct size for the material.
- Ensure the anchors and screws are well-positioned to hold the item’s weight and are not placed in areas of the tile that could be vulnerable to damage.
- Use a level to check that the item is upright and positioned correctly.
Taking these steps will ensure the installation is secure and stable.
Expert Opinion
So, you need to measure and plan for the best possible results.
With some preparation and patience, you can hang pictures, shelves, and even a television on your tiled walls without worrying about damaging them.
Remember, there are many ways to hang things on tile, such as adhesive solutions, command strips, and nails.
Depending on the size and weight of the object you need to hang, the most suitable option will vary. With the right materials and patience, you can hang anything on the tile without damaging it.


