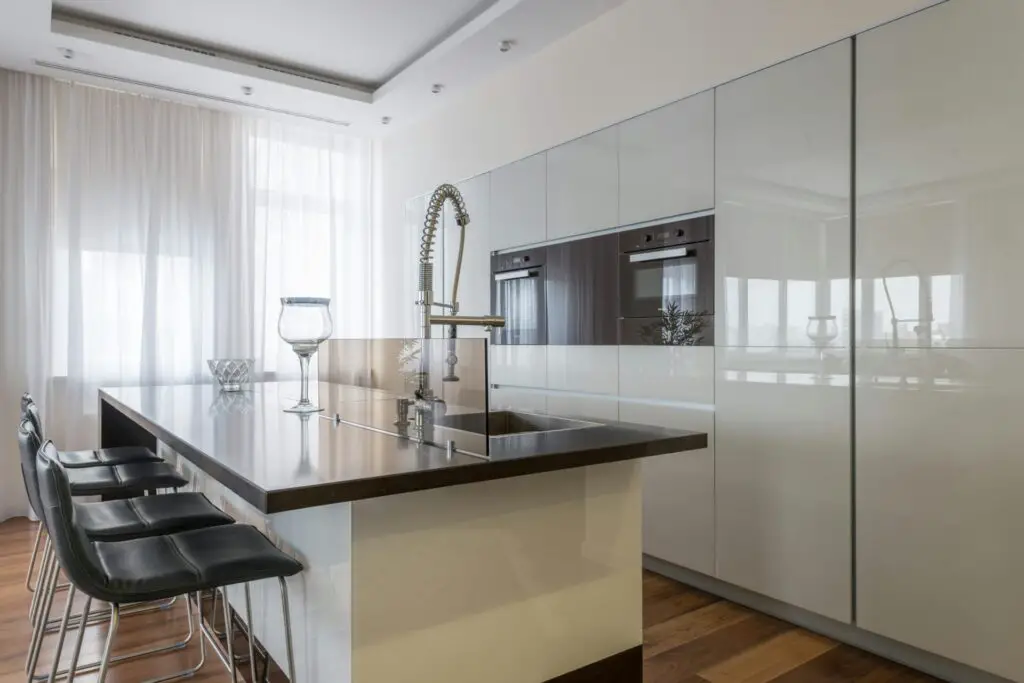
Creating a kitchen island with seating can transform your cooking space—it adds both functionality and style. Imagine having a central spot in your kitchen where family and friends can gather. This space is not just for cooking but also for dining and socializing. A kitchen island with seating can offer extra storage, additional counter space, and a cozy spot for casual meals. Let’s learn how to make a kitchen island with seating.
Whether your kitchen is large or small, adding an island can make a big difference. In this article, we’ll show you how to make a kitchen island with seating guide to help you plan, choose materials, and assemble your island. Ready to enhance your kitchen? Let’s get started.
How to Make a Kitchen Island With Seating

Planning Your Kitchen Island
Measure your kitchen space first. Ensure there’s enough room to move around. A good rule is to leave at least 36 inches of space around the island. This allows easy movement. Think about the number of people who will sit there. Two to four seats are common for most homes. Consider the width and length of the island. A small kitchen needs a compact island. A large kitchen can have a bigger one.
Material choice matters a lot. Wood is classic and warm. Granite is durable and elegant. Stainless steel is modern and easy to clean. Match the island materials with your kitchen style. Think about the maintenance needs. Some materials need more care than others. Choose wisely to fit your lifestyle.
Gathering Tools And Supplies
A good set of tools is crucial. You need a tape measure to ensure everything fits well. A screwdriver is also important for assembling parts. A saw helps in cutting wood pieces. A drill will make holes for screws. Sandpaper is useful for smoothing wood edges. A level ensures everything is straight. A hammer can be handy for nailing.
You need strong wood for the island base.
- Screws and nails hold the structure together.
- Wood glue adds extra strength.
- Paint or stain gives a nice finish.
- Seating cushions make it comfortable.
- Brackets can help secure the seating area.
- Legs or wheels can be added for stability or mobility.
Building The Base
Start by measuring your space. Cut the wood to size. Use a saw for straight cuts. Make sure edges are smooth. Assemble the pieces with screws. Double-check the alignment. Use a level to ensure it is straight. Attach corner brackets for strength.
Place support beams under the frame. Secure them with screws. Check that they are even. Use a ruler or tape measure. The beams provide extra stability. Ensure they are firmly attached. This will help the island to hold weight. Reinforce if necessary.
Adding The Countertop
Measure your island’s top. Write down the dimensions. Use a tape measure for accuracy. Mark the measurements on the countertop material. Make sure the marks are clear. Use a saw to cut along the lines. Work slowly. Stay safe and wear protective gear. Double-check your work. Ensure the cuts are straight. A well-cut countertop fits perfectly.
Place the cut countertop on the island. Ensure it fits well. Align the edges properly. Use screws to secure it. Drill pilot holes first. This prevents the wood from splitting. Tighten the screws. Make sure the countertop is stable. Check for any wobbling. Adjust if needed. Your countertop should now be firm and secure.
Installing Seating
Start by deciding the type of seating you need. Bar stools are a great choice for higher counters. Chairs can be more comfortable and are perfect for lower islands. Make sure your seating choice matches your kitchen style. Comfort is key. Padded seats can make a big difference. Think about the space available. You don’t want the area to feel cramped. Measure your island and plan accordingly. Height is important too. You want the seats to fit well under the counter. Choose materials that are easy to clean. Kitchen seats can get messy. Consider colors that match your kitchen. This helps create a cohesive look.
Mounting seats to the island can be tricky. Make sure the seats are sturdy. Use proper tools and follow instructions carefully. Safety first. Secure the seats well to avoid accidents. Check that the seats are level. Uneven seats can be uncomfortable. Test the seats before finalizing. Make sure they are comfortable and stable. Adjust if needed. Enjoy your new seating!
Applying Finishes
- Start by using sandpaper to smooth the surface. This removes any rough spots. Move the sandpaper in small circles. Keep the pressure even. Check your progress often.
- Use a finer grit sandpaper for the final touch. This makes the wood very smooth. Wipe off any dust with a clean cloth. Now the wood is ready for the next step.
- Choose a paint or stain that fits your kitchen. Stir the paint or stain well. Apply a thin, even coat with a brush. Let it dry completely. This may take a few hours.
For a deeper color, add a second coat. Always let each coat dry fully. Finally, apply a clear sealant to protect the finish. This will keep your island looking new.
Adding Functional Features
A kitchen island with storage is very useful. Cabinets and drawers help keep items organized. Use deep drawers for pots and pans. Shelves are great for cookbooks and small appliances. Baskets can hold fruits and vegetables. Hooks on the side can hang utensils. A well-planned storage area makes the kitchen neat and tidy.
Electrical outlets on a kitchen island are very handy. They allow you to use small appliances like blenders and toasters. Outlets should be placed in a safe spot. Avoid water areas. Make sure they are easy to reach. This adds convenience and keeps cords out of the way. Proper installation ensures safety and functionality.
Final Touches
- Adding decorative elements can make the island look nice. You can use colorful bowls, plants, or cookbooks. These items can make the kitchen island feel cozy.
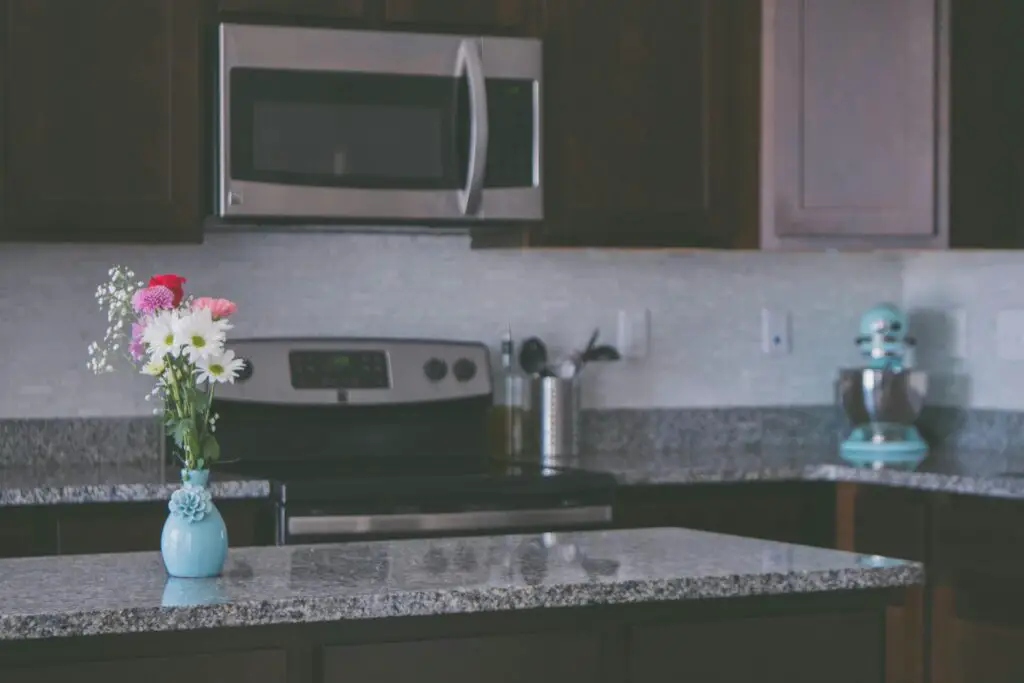
- Choose items that match the kitchen style. This can make the island look part of the kitchen. You can also add a fruit basket or a vase with flowers. These can add a touch of nature.
- After building the island, cleaning up is very important. Remove all dust and debris. This will make the kitchen look neat.
- Use a vacuum or broom to clean the floor. Wipe down the island with a clean cloth. Make sure all surfaces are clean and shiny.
Conclusion
Building a kitchen island with seating transforms your space. It provides extra seating, storage, and cooking space. Enjoy family meals or entertain friends with ease. Follow the steps carefully. Choose materials that fit your style and budget. Measure your space accurately to avoid mistakes.
Consider the island’s height for comfortable seating. Use durable finishes to ensure longevity. With patience, your kitchen will gain a functional centerpiece. It brings style and practicality to your home. Take your time, and enjoy the process. The result will surely impress you and your guests.


