Silicone caulk is unattractive because some become dry, peeled, and cracked. It gives a very bad look. Everyone wants the easiest process to remove them. If you are irritated by it, you are in the right place.
In this article, I will teach you the easiest way to remove silicone caulk from the Quartz countertop. So, let’s start the lesson:
How to Remove Silicone Caulk from Quartz Countertop
Safety First: Wear safety gloves.

Our first step is, as always, the safety precaution. Always wear safety gloves while fighting with any dirt. Wearing safety gloves can protect your hands from getting any dirt and pollutants. It’s a very important step, so wear safety gloves after performing the steps.
Softening: Apply a commercial caulk remover on the silicone caulk.

You are applying a commercial caulk remover on the silicone to start the process. Commercial caulk remover is a product designed to soften the silicone. Once the silicone gets softened, it is easy to remove it. You must apply it carefully; pour only a little or little. Its quantity should be enough to fight with the silicone caulk.
Wait: Allow the remover to sit as per its recommended time.
Liquid always takes time to dissolve properly and give a result. Thus, you must wait and allow the remover to sit properly. You may not get proper results if you don’t wait and move towards the next step. So, for the proper result, let commercial caulk take time and sit properly.
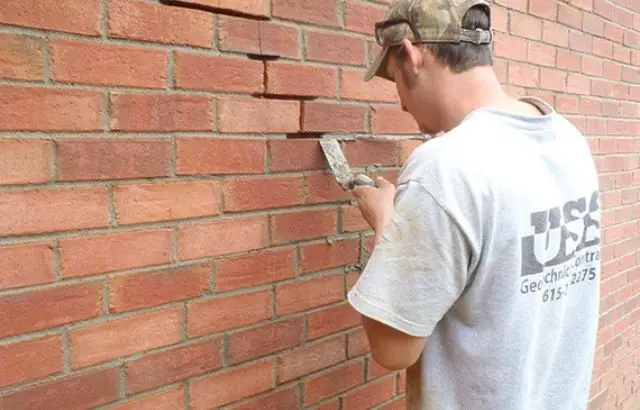
Scrape: Use a plastic scraper or putty knife to remove the softened caulk gently.

In the next step, you have to grab a sharp object. Sharp objects can easily soften the caulk. So, grab a plastic scraper or putty knife and gently move it on the silicon caulk. You have to perform this step carefully. Its sharpness can hurt you.
Avoid Scratches: Ensure the scraper’s edge is flat against the countertop to prevent damage.

When you are using the sharp blade, make sure to maintain a flat angle between the edge and the countertop. A flat angle will give you perfect results without any scratches. This step will remove all dry and peeling silicon caulk.
Wipe: Dampen a cloth with isopropyl alcohol.

Once you successfully remove the silicon caulk. Grab a cloth and isopropyl alcohol. Then, dim a cloth in an isopropyl alcohol and use that cloth on the surface. Isopropyl alcohol will make the surface ready for the next step.
Rub: Gently rub the area where the caulk was to remove any residual adhesive.
Now, start gently rubbing the area where you drop the isopropyl alcohol. This step will remove the residue adhesive in the area.
Rinse: Wipe the area with a damp cloth to remove any remaining alcohol or remover.

Now, start rinsing the area with plain water. After that, use a damp cloth and gently move it in the affected areas. This step will remove the isopropyl alcohol. You must perform this step until you are sure no isopropyl alcohol traces are present.
Polish: Use a soft cloth and a gentle quartz cleaner to restore shine.
Now, Polish will need to give a final touch. In this step, you need a soft cloth and quartz cleaner. Now pour out some quartz cleaner onto the plain cloth. Gently move that cloth all around the effective areas. This step will help to regain the shine in the area.
Inspect: Check to ensure all caulk residue is gone, repeating steps as necessary.
In the last step, you must examine your hard work independently. Inspect the area to see if it is clean and shining. You did a great job. If some caulk residue is still visible, don’t be sad; repeat all the steps. You will get the expected results.
My Opinion
Silicone caulk destroys the look of the tiles. It has to be removed as soon as it can. You don’t need to spend money to remove them. You can do it on your own.
All you have to do is follow all the above steps:
- Wear safety gloves so that you will not get etching after the process.
- Apply all the chemicals that are discussed.
- Remember to apply a polish that will shine your area.
All the discussed steps play a role in the process, so take advantage of them.


