Articles, products, and services offered on this site are for informational purposes only. We are part of the Amazon Services LLC Associates Program, an affiliate advertising program. Amazon.com is compensated for sales resulting from links on our website.
Please review our disclaimer before acting based on anything you read or see.
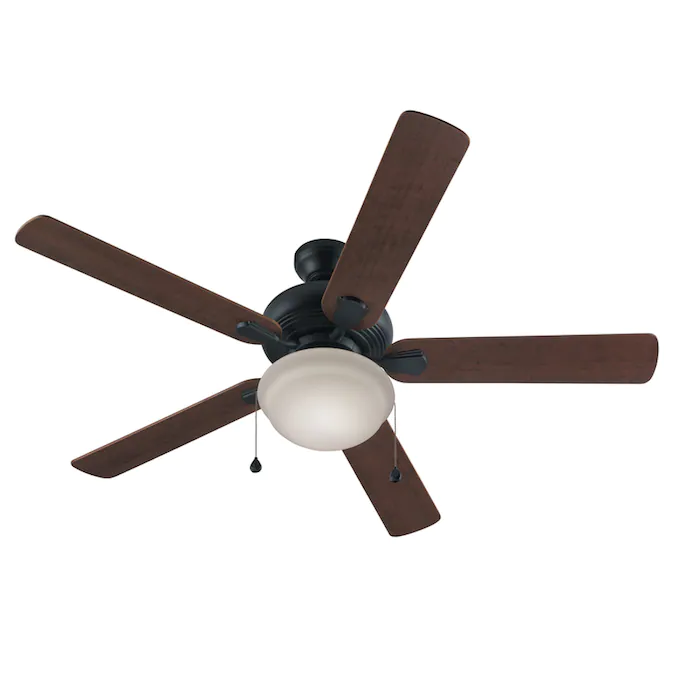
Harbor Breeze is a famous and trusted brand looking for ceiling fans. Whether you want a quiet ceiling fan in your bedroom or looking for a ceiling fan in your living room, this brand is full of desirable possibilities. Let’ learn how to reverse harbor breeze ceiling fan with remote.
How to Reverse Harbor Breeze Ceiling Fan with Remote
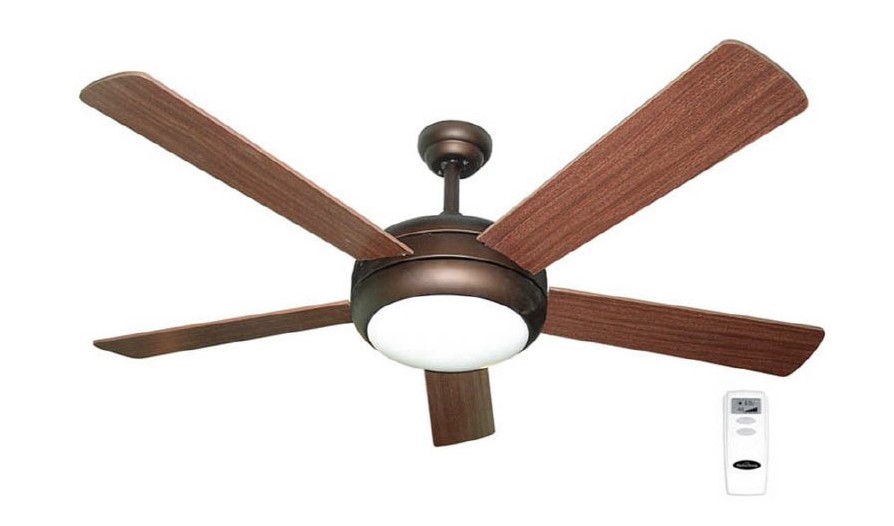
Harbor Breeze is a famous ceiling fan brand. Many Harbor Breeze ceiling fan models come with a remote control programmed to control the unit. Follow these simple programming instructions to change the direction of the Harbor Breeze ceiling fan remote control in five minutes or less.
- Turn off the power to the Harbor Breeze fan from your home’s electrical service panel before attempting to program. Open the service panel cover to access the switches. Turn the switch that controls your fan to the “Off” position to eliminate the risk of electric shock.
- Remove the battery cover from the rear of the Harbor Breeze remote control that came with the fan. Remove the battery from the remote control to access the DIP switches at the bottom of the empty battery compartment.
- Compare the DIP switches on the fan remote control with the DIP switches on your fan receiver. Remember that the DIP switches on both units must agree to work properly for the fan and remote control.
- Replace the remote control battery and battery cover.
- Restore power to the Harbor Breeze fan by turning the appropriate circuit breaker to the “On” position.
- Press the “Hi,” “Med,” and “Lo” buttons on the remote control within 20 seconds to switch to the fan.
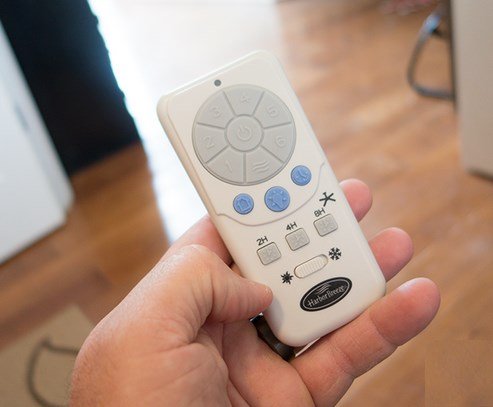
How to Install a Remote Control for a Harbor Breeze Ceiling Fan

Configuring remote control activation allows you to switch on the Harbor Breeze ceiling fan from the comfort of your couch by pushing a button. The fanlight and fan speed may both be changed using the remote control.
Self-help with a few tools is required to install the Harbor Breeze ceiling fan remote control receiver in the fan shroud. Inside the fan cover, this receiver is wired. The other receivers have extra steps and are securely fastened to the wall.
Fan motor
The ceiling fan works with an electric motor that contains rotating motor coils. The energy passes through the condenser of the fan motor and creates torque to rotate the fan blades. When you open the ceiling fan cover, you will see the three main wires that connect the motor to the light. The black wire from the ceiling fan supplies the fan motor.
The blue wire powers the device. And the white wire is the neutral wire for the motor and light. These are the wires that will connect to your new remote-control receiver.
Safety first
When working with electrical installations, it is recommended to test the new conductor with a non-contact voltage tester before handling.
Be sure to turn off the fan power before beginning any electrical project. The power supply must be switched off at the circuit breaker. Before you begin, remove the remote receiver from all packaging and prepare all tools.
Uncover the wires
Using a ladder, carefully remove the four screws that hold the fan cover in place. Put the screws away in a secure location. Remove the motor cover from the ceiling fan. Inside, you should see the ceiling fan wiring and the hanging bracket attached to the electrical cabinet.
Wire identification
The wire connectors twist together. Find the white wires that connect to the electrical box from the ceiling to the fan. These two white wires will need to be separated. Next are the black and blue wires.
Disconnect both by twisting the wires from the black wire of the electrical box. Do not disconnect the green wire.
Your new remote receiver will have the same black, blue, and white wires as those inside the cover. They will be on the ceiling fan side of the receiver and will have labels showing the motor conductor, the light conductor, and the neutral conductor. On the other side of the receiver will be a black wire and a white wire that will connect to the corresponding colors on the electrical box.
Connect the wires
The wires from the receiver must be connected to the wires from the electrical box. Connect all the wire colors and twist one wire connector for each pair, black wire from the electrical box with marked AC / IN on the receiver. Connect the black and white wires from the receiver to the corresponding wires in the electrical box. After connecting all the wires, you can insert the receiver behind the hanging fan bracket.
Replace the awning and test the fan
The cover now covers both the electrical box and the receiver. Tighten the canopy bolts firmly and carefully lower the ladder. Test the fan by turning on the circuit breaker. If the fan operates normally, try the remote control. If necessary, be sure to insert the batteries into the remote control.
Procedure for Programming a Harbor Breeze Remote Control
If the remote control has frequency problems, you can perform remote Harbor Breeze programming to enable synchronization and allow effective communication with the fan receiver, even if it does not have a reset button.
Here are the simple steps you need to take to program the Harbor Breeze remote control:
- First, turn off the power on the main panel and now turn the switch to the “Off” position, which controls the fan on the service panel
- Open the remote-control compartment on the back and remove the battery to gain access to the DIP switches
- Now check that the configuration of the DIP switches is similar to the configuration of the fan receiver unit. For the ceiling fan to work, it must be similar. If necessary, create a new configuration that matches the fan DIP switches
- Put the battery back in the compartment and turn on the circuit breaker
- Now press the High, Medium, and Low buttons in quick succession and within 20 seconds to synchronize with the fan (be sure to refer to the manual for the correct order of the buttons you should press)
If the ceiling fan has a set of lights, also synchronize them by pressing the on/off button.
The Harbor Breeze ceiling fan light goes out by itself
If your Harbor Breeze ceiling fan is working but can’t be turned on because it accidentally turns itself off, here are some possible reasons:
- Check and make sure the wiring and connections are in place and make all necessary adjustments to keep them firmly in place.
- Check the circuit breaker to ensure it is not affected by overvoltage and reset it in the main power panel.
- If your ceiling fan has an overheating sensor, it would shut down due to too high a power. You need to find a light bulb that matches the preset power.
Frequently Asked Questions
Can the Harbor Breeze fan turn on without a remote control?
To control the remote ceiling fan without using the remote control, add a tow cord to the switch on the engine module. The cable tie can be purchased at a hardware store or garden and patio shop, and the necessary tools are already available in most households.
How do you turn off the Harbor Breeze light with the remote control?
Using this button will automatically turn off the light 1 minute after pressing the button. Press “once, the ceiling fan light will flash to confirm that the light delay is active, the light and fan will turn off after 1 minute.
Why doesn’t my Harbor Breeze remote control work?
If your Harbor Breeze ceiling fan remote control does not work, the most common problem is that the overvoltage could clear the controller memory or the controller batteries need to be replaced. You will need to replace the remote-control battery and resynchronize it with the receiver to solve these problems.
Why does the light on my Harbor Breeze fan go out?
A slightly loose wire in the circuit is enough to turn off the light. The movement is enough to loosen or even disconnect the already loose wire when the fan spins. If the connection point is clogged, rusted, or short-circuited, the ceiling fan light may go out from time to time.
What is a ceiling fan direction switch?
The ceiling fan direction switch or knob sets the direction of rotation of the ceiling fan – clockwise or counterclockwise. Almost all modern ceiling fans can be set to rotate in any direction you choose.
How do remote control fans work?
When the remote control is added to the ceiling fan with light, then the light control is also via the remote control. This means that switching the light on and off (and dimming, if available) is done using the remote control and not the wall switch.
Conclusion
The Harbor Breeze ceiling fan is an important device in every home to help you successfully overcome various weather conditions. With this useful Harbor Breeze ceiling fan troubleshooting guide, you can now solve any problems you may have. The problems listed here can be fixed quickly and easily. Your fan will lock in place and start spinning, and you will soon enjoy the breeze. Hope you have learned how to reverse harbor breeze ceiling fan with remote.
Comments are closed.