Wiring a 220 breaker can be daunting if you’re unfamiliar with electrical systems. However, with the right tools and knowledge, you can successfully wire a 220 breaker and power up your appliances that require higher voltage. In this ultimate guide, I will walk you through the process step by step, providing valuable tips and highlighting common mistakes to avoid. So, let’s dive in and learn how to wire a 220 breaker!
Tools and Materials Needed for Wiring a 220 Breaker
Before you start wiring a 220 breaker, gathering all the necessary tools and materials is essential. Here’s a list of what you’ll need:
- Voltage tester: This tool ensures the power is off before you begin working on the circuit.
- Circuit breaker: Choose a 220 breaker that matches the amperage rating of your appliance.
- Wire strippers: These will help you strip the insulation off the wires.
- Wire nuts: You’ll need these to connect the wires securely.
- Screwdriver: Make sure you have a screwdriver that fits the screws on the breaker panel.
- Electrical tape will provide an extra insulation layer and protect the connections.
- Wire connectors: These connectors will help you join wires together.
- Wire clamps: Use these to secure the wires to the breaker box.
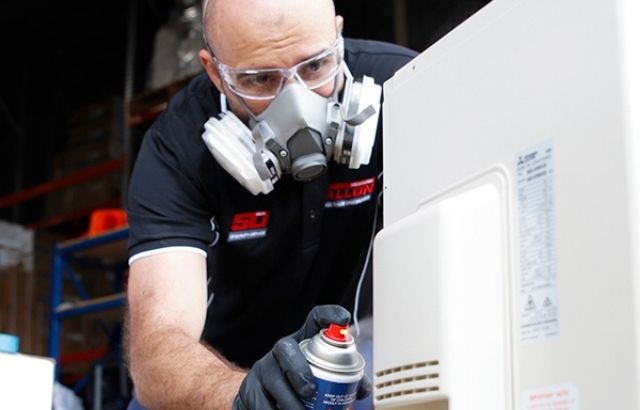
- Safety goggles and gloves: Always prioritize your safety when working with electricity.
Once you have gathered all the necessary tools and materials, you’re ready to move on to the next step.
How to Wire 220 Breaker
Now that you have all the tools and materials let’s go through the step-by-step process of wiring a 220 breaker:
Turn off the Power
Before starting any electrical work, switch off the power at the main breaker panel. Use a voltage tester to confirm that no electricity flows through the circuit.
Choose The Right Breaker
Select a breaker that matches the amperage rating of your appliance. Using the correct breaker is crucial to prevent circuit overload and potential damage.
Install the Breaker
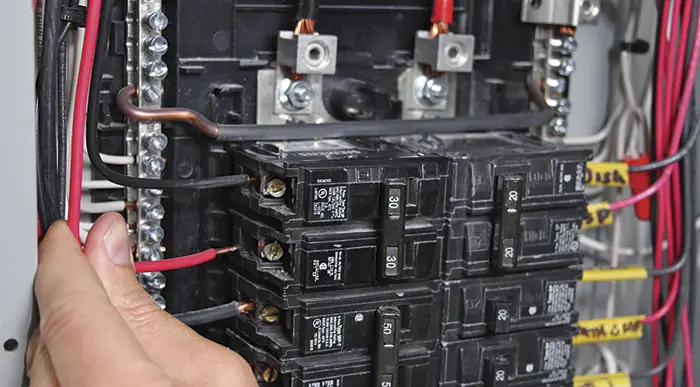
Remove the breaker panel cover and locate an available slot for your 220 breaker. Gently push the breaker into the slot until it snaps into place. Make sure it is securely positioned.
Connect the Wires
Strip the insulation off the wires that will supply power to the breaker. Connect the black wire to the breaker’s hot terminal, the white wire to the neutral terminal, and the green or bare wire to the grounding terminal. Use wire nuts to secure the connections.
Secure the Wires and Test
Use wire clamps to secure the wires to the breaker box and replace the cover. Turn on the power and use a voltage tester to check if the breaker works correctly. If everything is in order, you have successfully wired a 220 breaker!
My Opinion
Wiring a 220 breaker may seem daunting at first, but it can be a manageable task with the right tools, materials, and knowledge. Remember to turn off the power, choose the correct breaker, and follow this ultimate guide’s step-by-step guide. Doing so lets you wire a 220 breaker and power up your appliances safely and efficiently.
Always prioritize your safety when working with electricity. If you’re unsure or uncomfortable with the process, it’s best to consult a professional electrician. Now that you have the knowledge and guidance wire those 220 breakers confidently!


