
When you have a dim rec room, don’t fret! You may not be able to change the lighting in your room with some hanging lamps, but installing a ceiling fan can make all the difference. Installing a ceiling fan is an easy DIY project you can complete in minutes. Depending on your home and your electrical code requirements, you will need a standard or triple-sensor switch to control your brand-new ceiling fan. Let’s learn how to install a ceiling fan with a red wire.
Read More: How To Install A Ceiling Fan Where No Fixture Exists
What Is the Red Wire on a Ceiling Fan?
A standard red wire in the junction box of a ceiling fan separates the wiring for the light and fan motor. If your ceiling fan lacks a light fixture, disconnect the red wire and connect the black wire to the fan motor.
Typically, secondary hot wires are red. You must mark red cables as “hot to prevent the risk of electrocution.” Red cables perform when installing ceiling fans at the light switch location.
What does a red wire mean?
Typically, secondary hot wires are red. The red wire indicates the circuit’s phase, which you cannot connect to the black or red wire. As a switch leg, the wire emerges from the bottom of the switch. So, when you activate the switch, it becomes hot and conducts electricity through it.
How to Install a Ceiling Fan with a Red Wire
You may find ceiling fans with different wiring depending on how the wiring was initially configured. For these reasons, the intention is to show you what you can do when you get a red wire in the installation. You don’t get confused and can adequately connect your ceiling fan and enjoy all its features.
The first thing to know is whether your fan requires one or two circuits (power and lighting). Make sure all the wires are in the circuit (black, white, and neutral), then turn the current down.

Power of the current
Then you need to know what wire colours are visible in the ceiling wiring.

Check if you see a red wire.
Verify that you have a black wire and a white wire. The black wire is live, and the white wire is neutral. If you see another wire (there should be another wire), that is the ground wire.

Check out what does each cable.
Now, you can see the black and white with another wire of any other colour (green in many cases) that makes ground in the circuit, but you also find a red wire. The function of this wire is to receive direct current through the switch. So the idea of installing your fan with a red wire is to be able to activate the two functions (fan and lighting) correctly. To do this, you must follow these steps:

Check if the red wire is in the wiring.
Remember to connect each one properly.
If it is, proceed to the next step. Otherwise, you must ensure that the red wire is present to activate all the functions of your ceiling fan.

In this case, the red wire feeds the lights, but they usually come backward.
Use a voltage tester to see if there is continuity or not to avoid recent accidents. Continuity is to see if the current is passing through. The tester will tell us that and know if everything is to proceed (the black wire has no wind at that time).
Separate the wires to start installing the ceiling fan.

Put the cables together and tie them up as seen.
Remember that the red wire is for the fan operation circuit. The black wire is for the fan lights (the picture is backward).
To set it up so you can operate it from a switch, you must connect the black wire from the fan to the red wire from the ceiling wiring.

In the picture, the white works as the power source, and the red for the electricity.
Take the live wire, join it with the black wire, and tie them clockwise.
Take the other black wire and connect it to the live wire that feeds the lighting.
Connect the fan box to the electrical wiring in the ceiling. Now it’s time to connect everything to the switch circuit.

Cut a couple of black wires to feed the switch circuit. One wire goes for the fan circuit and the other for the electricity the fan needs to move.

The pic shows the green as the ground, the red as the fan’s electricity, and the white as the lighting.
Finally, connect the ground wires where they go (one to the switch and the other to the fan in the ceiling socket).

Final tests, and your ceiling fan is ready.
Do the appropriate tests once you have screwed everything down to finish and restore power.
How to Install a Ceiling Fan with Black, White, and Green Wires
The first thing we should do is turn on the light.

After removing the bulbs and globes, it’s time to remove the fan blades and clean the motor.

Depending on how the fan is built, some screws may be visible near the ceiling. After these two have been removed, the canopy can be removed.

Spraying the canopy of an outdoor fan or light before replacing it can help ensure that no wasps or other insects are hiding there. We’ll leave the hook until the wires can be easily disconnected and removed to ensure it’s “J” shaped.

As a result, removing the mounting bracket is no longer challenging. You may have a red wire if your light is wired to operate on one switch and the fan on the other.

If you don’t intend to install a fan box, make sure yours is secure. Attach your mounting bracket to the wall with the included screws.

Check that you’re following the manufacturer’s instructions. Typically, the blades are installed at the end of the process. Installing them ensures your fan can hang from the suspension ball as directed.

Do so if your instructions state that you must slide your canopy over the channel. Before hanging your ceiling fan, wire nut the white motor wire and the white ceiling wire together.

Simply connect any remaining green wires to the ground wire. If you don’t have a red wire from your roof, you can use either the blue light cable or the black drive motor cable.

If you have a red roof wire, connect the light blue wire to the roof’s red wire and the black motor wire to the roof’s hot black wire.

Always use a wiring nut and black electrical tape to keep your wires secure. Follow the manufacturer’s instructions to secure the canopy to the box, then place the wires and nut on top of it.

If you want to add another light, simply remove the fan’s canopy and expose a blue and white wire. Simply connect the light’s black wire to the motor’s blue wire and the light’s white wire to the motor’s white wire.

Then, to secure the light, follow the manufacturer’s instructions.
How to Connect the Wires
Strip the end of the wires

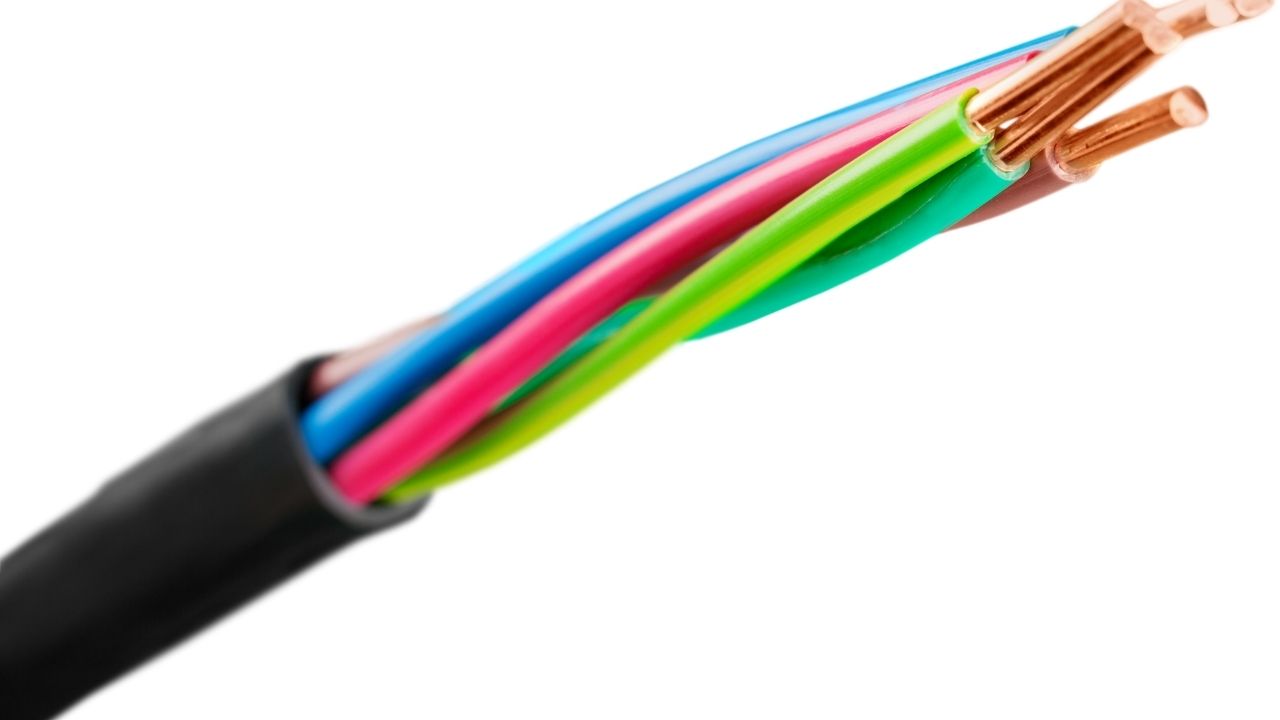
- To connect the wires, the copper must be exposed. Remove the plastic caps from the end of the cables.
- Use a ladder to reach the wires in the ceiling and, using a wire cutter, carefully cut the plastic insulation approximately 2 inches (5 cm) from the end of the cables.
- Once cut, remove them to expose the copper wire.
- Repeat the same process on the fan wires.
- If the copper can be seen at the end of the wires, you can skip this step.
Connect the white wires

- The white wires are the neutral wires. Connect the white wire coming out of the ceiling to the white wire coming out of the top end of the fan.
- Twist the ends of the cables.
- Connecting the neutral wires will complete the fan circuit.
- You should wear heavy gloves, so you don’t get hurt by the copper.
Connect the two green wires

- Generally, there will be one green wire connected to the bracket and one green wire connected to the fan itself. Join the copper terminals to the cables to ensure their safety. Leave the green or yellow wire coming out of the roof separate for now.
- The two green wires are the grounding conductors and protect the fan from damage from power surges.
Now connect the black and blue wires if you only have one switch

- Connect the black wire to the blue wire on the fan.
- This will allow you to control both the lights and the fan from a single switch.
- Join the copper terminals of the black and blue wires in the same way as in the previous case.
Connect the yellow ground wire to the green wires
Take the two green wires you have attached and connect them to the yellow or green wire coming out of the ceiling. This will ground the internal components of the fan.
Twist the phase wires

It would be best if you always connected the phase wires last. If you only have one light switch, click the blue and black wires you had twisted together to the black wire coming out of the ceiling. But if you have two switches, connect the blue and black wires from the fan to the blue and black lines coming from the ceiling. In case the fan does not have lamps, you will only have to connect the black wires.
Replace the plastic caps at the end of the wiring.

If your wires have plastic caps, put them back in place. Snap the caps onto the end of the wires and screw them on until they are tight. If the cables do not have lids, cover them with insulating tape to not touch each other.
Finalizing the installation
- You may have questions about how to complete your installation correctly, so start with the following;
Bend the connected wires inward from the ceiling bracket

- Take the wires and bend them into the bracket so that you can screw the cover onto the ceiling. When doing so, check whether any other cables have been unplugged.
Screw the fan cover to the bracket
- Fit the fan cover over the bracket and wires and align the holes in the side of the fan. Turn the screws clockwise and tighten them with a screwdriver.
- Tighten all screws, or the fan will not be stable.
Re-establish power from the fuse box and test the fan
- Go back to the fuse box and turn on the appropriate key. Then turn on the wall switches to verify that the fan is operating correctly.
- If you notice the fan wobbling, turn it off and make sure the screws securing the bracket are tight.
Disassemble the fan and check the connections if necessary
- If the fan does not turn on, there may be an electrical problem, or you may not have made the connection correctly.
- Disconnect the power and remove the fan cover to verify that all wires are correctly connected.
Frequently Asked Questions
Do I need red wire for the ceiling fan?
The wires of one switch are ungrounded (hot), whereas the wires of the other switch are grounded (desirable). In the original installation, the fan received the red wire’s source and the light from the black wire.
What if I already have a red wire in the ceiling?
A red wire in the junction box of a ceiling fan typically indicates the installation of wiring that allows for a separate light switch and fan motor switch. You may detach the red wire. Work safely, adhere to all applicable regulations, obtain all necessary permits and certifications, and have an in-depth comprehension of the task at hand. If your ceiling fan lacks a light fixture, disconnect the red wire and connect the black wire to the fan motor.
Do you have to connect the red wire?
If your ceiling fan lacks a light fixture, disconnect the red wire and connect the black wire to the fan motor.
Can I connect red and black wires?
Connect the red and black wires in the ceiling to the corresponding red and black wires in the light kit. Reconnect the cables and reassemble the box. Restarting the fan will enable inspection.
In addition, to switch wiring, you can use these wires to connect hard-wired smoke detectors to the power supply. You can connect two red or one red wire to a black wire. Red wires are termed “hot” because they conduct electricity.
Is the red wire positive?
If a multicoloured wire’s colours are black and red, the black wire is negative, and the red wire is positive. In this case, the black striped wire is negative, and the solid black wire is positive because they are both black.
What does the red wire hook up to on a ceiling fan?
You can use copper or green conductor wire to prevent power surges for the ground wire. There should be two wall switches if the circuit consists of blue and black wires. Typically, when using two wall switches to control the fan and light, the red wire performs to turn on the fan, while the black wire works to turn on the light. The ceiling’s red wire goes to the wall switch.
Where do you connect the red wire on a ceiling fan with a remote control?
Connect the red wire to the black wire of the ceiling fan. The black and white wires should be capped on the remote receiver module’s output side.
In most instances, a red wire can be seen where a ceiling fan should be. There are exceptions, such as a bathroom or wall light, where you can ensure that the red wire is together with your light switch.
What is the function of different wires for a ceiling fan?
- A black wire supplies the fan with power.
- The blue wire is for the morning if a fan has a light.
- The neutral conductor is white.
- A green wire represents the ground.
- Sometimes included, red wire provides power to the light kit.
Black is the hot wire for a ceiling fan’s the motor and fan blades. The neutral white wire completes the circuit for the fan. The hot blue wire in the light fixture for the ceiling fan can be identified by its colour. The motor of the fan lacks a ground wire.
Why doesn’t my ceiling fan have a blue wire?
On a ceiling fan, the blue wire controls the power of the light kit. The black wire is primarily used for powering fans and does not reach your lighting kit.
The black wire powers the ceiling fan, while the blue wire powers the light kit. If you do not connect the blue wire to your ceiling fan, the lights will not work.
What does the red wire do when a ceiling fan is installed?
The unbased (hot wire) component of one switch is the red wire, while the other switch’s ungrounded (hot wire) conductor is the black wire. In the original setup, one switch would turn on the fan by energizing the red wire. The black cable that illuminates the room is controlled by the other.
Where does the red wire go on a ceiling fan with a remote?
The red wire originating from the ceiling must be appropriately linked to the fan’s black wire. On the output port of the remote receiver module, tape the black and white wire.
What do I do with the red wire when installing a ceiling light?
The black wire on top should be connected to the black wire on the fan, and the red wire on the ceiling should be connected to the black wire on the light kit. Restock the box with the cables. Afterward, connect the power source. In the end, test the fan.
Conclusion
The installation of a lamp with or without light can be a delicate subject. This is because to make the installation. You must handle the electric current. It can end in a catastrophe if you do not know how to do it.
In this case, checking the ceiling fan wiring diagram red wire is always important. This type of product can help your home look shiny; so many people want to have them. However, you can always call an electrician. Hope you have learned how to install a ceiling fan with red wire.

