Installing a gas line from the meter to the house is a task that requires thorough planning and professional execution. Adherence to safety regulations and checking gas line restrictions before installation is essential. It is also important to consider the gas pressure, the need for any additional parts or materials, and other relevant factors. Let’s learn how to install gas line from meter to house.
Additionally, it is important to obtain the proper permits and follow local codes and regulations.
This Home Affluence post will provide a comprehensive guide on how to install a gas line from the meter to the house safely and efficiently:
- Get Necessary Permits
- Research and Preparation
- Turn Off the Gas Supply
- Install The Gas Meter
- Find The Gas Line Path
- Choose The Right Piping Materials
- Install The Gas Line
- Dig the Trench
- Lay the Pipe
- Connect the Gas Line to the Meter
- Test the Gas Line
- Cap the Gas Line
- Backfill the Trench
- Final Inspection and Cleanup
- Turn On the Gas Supply
- Clean up the installation area
It will cover the necessary planning and research, the materials and tools, the installation process and safety precautions, and other relevant topics.
By the end of this blog post, readers will understand how to safely and effectively install a gas line from the meter to the house.
How To Install Gas Line from Meter to House
1. Get the Necessary Permits
Before attempting to install a gas line from your meter to your house, obtaining all the necessary permits is important. The regulations about gas lines are specific to each state and county.

Contact your local government office to determine the required permits and associated costs.
Be sure to allow plenty of time for the permit process, as it may take several weeks to approve everything.
2. Research and Preparation
Once you determine where to install the gas line from the meter to the house, research and preparation are needed to ensure the installation is done correctly.

Obtaining the necessary permits and ensuring the line is properly sized and installed according to national and local regulations.
Ensuring you have the right tools and materials before beginning the installation.
It includes appropriate pipe and fittings and the right sealants and tools to complete the job.
3. Turn Off the Gas Supply
Once you have determined the gas line placement from the meter to the house, turning off the gas supply before beginning the installation process is important.

It can do so by turning the gas supply valve on the meter’s inlet to the “OFF” position. Prevent any gas from leaking while the installation is in progress.
It is important to remember to turn the gas supply back on once the installation is complete.
4. Install the Gas Meter
The fourth step in the gas line installation process is to install the gas meter. It is a critical component, as it is responsible for measuring and regulating the flow of natural gas from the main line to the house.

Before beginning, check the local building code to determine the meter’s location. Once the meter is secure, you can install the gas line from the meter to the house.
Make sure to use the proper pipe size for the application and that all joints are securely tightened.
After the line is successfully connected and tested, the meter can be opened, allowing the gas to flow to the house.
5. Find the Gas Line Path
After obtaining all necessary permits and ensuring your property is ready for installation, the next step is to find the gas line path from the meter to the house. Depending on your property, this may be a simple or complex process.

Start by locating the gas meter and then trace the path the line takes from the meter to the house.
Take note of any obstructions or potential issues, such as trees, shrubs, or other obstacles.
If the gas line is buried, you must ensure the excavations do not disturb underground utilities and other sensitive areas.
Additionally, adhere to local regulations and guidelines for installing gas lines throughout the process.
6. Choose the Right Piping Materials
Choosing the right piping materials is the most important step in properly installing a gas line from your meter to your house.
The material should be strong and corrosion-resistant, as gas lines can be exposed to harsh environmental conditions.

Steel or copper pipes are the most common use; however, polyethylene and polypropylene are also suitable.
Choosing piping materials approved by the local code enforcement agency is important.
In addition, the pipes should be the right size to properly transfer the gas from the meter to the house.
7. Install the Gas Line
The seventh step in installing a gas line from your meter to your house is installing the gas line itself. During this step, the gas line length must be cut and installed between the meter and the house.

It is important to use the right tools and follow the manufacturer’s instructions to ensure proper installation. It is also important to use the right fittings and secure them firmly to the gas line.
Additionally, it is important to check for leaks with soapy water and never use an open flame to test for gas leaks.
8. Dig the Trench
After the gas line has been connected to the meter, it is time to dig the trench connecting it to the house.
It can do manually, with a shovel, or with a trencher. When digging, ensure the trench is at least 18 inches deep and wide enough to fit the pipe.

Keep the trench straight as much as possible to make it easier to install the gas line. Before laying the pipe, use sand to line the bottom of the trench.
It will provide additional support and help protect the pipe against damage.
9. Lay the Pipe
The ninth step in installing a gas line from your meter to your house is to lay the pipe. Ensuring you have the correct size and type of pipe for your gas line is important.
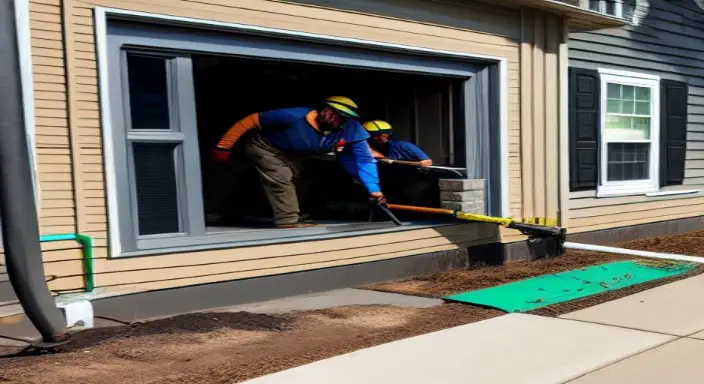
You will also need the appropriate fittings and connectors for the pipe. Once the pipe is in place, check for leaks and test the pressure before proceeding.
10. Connect the Gas Line to the meter
The tenth and final step in installing a gas line from the meter to the house is to connect the gas line to the meter.
It should do following all applicable safety regulations. Carefully locate the gas meter and, using the appropriate tools, connect the gas line to the meter.

Ensure to tighten all connections to ensure a secure connection. Once completed, the gas line is now ready for use.
11. Test the Gas Line
Testing the gas line before installation is essential in connecting a gas line from the meter to the house.
A qualified technician should conduct this process to ensure a safe and successful installation.
The technician will check the pressure of the gas line and confirm that the proper pressure is present for the appliance(s) being installed.
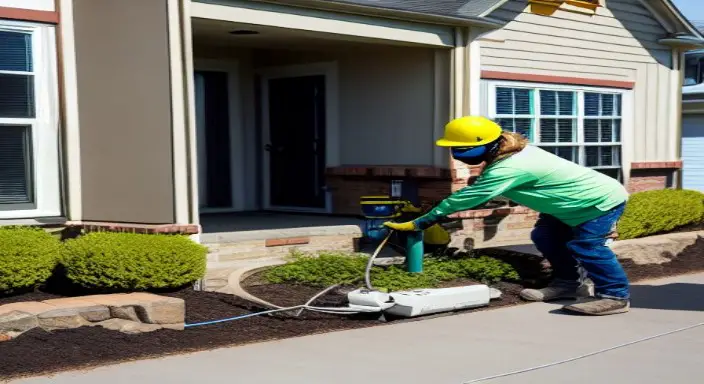
They will also inspect the line for any visible damage or corrosion and ensure it is properly sealed and secure.
Finally, the technician will perform a thorough leak test to ensure the line is free from gas leaks.
Taking the time to test the gas line properly is important for ensuring the safety and longevity of the installation.
12. Cap the Gas Line
Installing a new gas line from a meter to a home requires a professional contractor.
The existing gas line should caper during the installation to prevent any gas from escaping. It is an important step in ensuring the safety of those involved in the installation process.

The cap should properly seal with gas-approved epoxy, ensuring the line’s integrity. The contractor should also use the correct fittings and size pipe, using a pipe thread compound to seal the connection before testing the line for leaks.
These steps are necessary to ensure that the gas line is safely and correctly installed, ensuring that you and your family can enjoy the benefits of a new gas line.
13. Backfill the Trench
The trench must be backfilled once the gas line has been installed from the meter to the house. It is a critical step to ensure the safety and longevity of the gas system.
The trench should fill in with a material that is non-corrosive and non-reactive to the gas.
Sand or stone is commonly used to fill the trench, protecting the gas line from the elements.
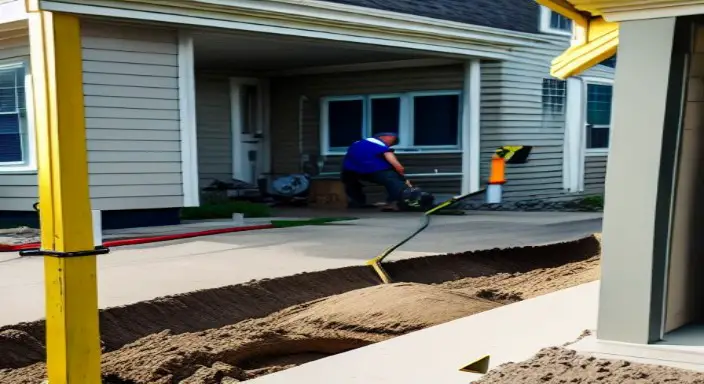
The soil should pack tightly around the pipe to prevent settling and shifting.
Once the trench is filled in, the area should inspect for any irregularities or gaps before being covered with grass, gravel, or dirt.
The completed trench installation should test for gas leaks before using the system.
14. Final Inspection and Cleanup
Final inspection and cleanup are critical steps in installing a gas line from the meter to the house. Following all local and state codes when installing a gas line is important.
All connections must be properly tightened, checked for leaks, and inspected for any signs of corrosion.
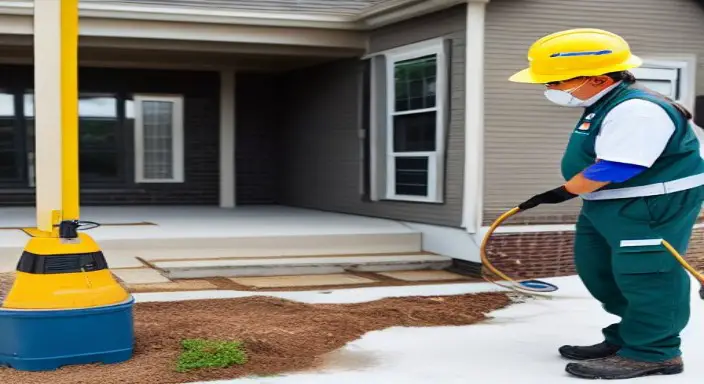
All materials must be properly installed and maintained. After the installation, the lines should clean, and all debris should remove.
Finally, the gas line should test to ensure that it runs properly and safely. It will ensure that the gas line is ready for use and safe for everyone.
15. Turn on The Gas Supply
Installing a gas line from a meter to a house is a major project that requires the utmost attention to safety and proper protocols. The first step is locating all the necessary materials, including a meter, piping, and fittings.
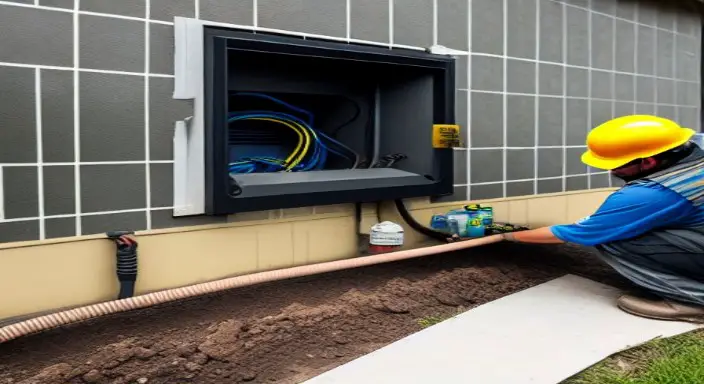
Next, the gas line must be measured and cut to the proper length. Once the gas line is in place, the meter must be securely attached. After that, the line must test for leaks or imperfections.
Finally, the gas supply must be turned on at the meter, allowing the gas line to be used.
All of these steps must complete with extreme caution and accuracy to ensure the safety of those involved and the proper functioning of the gas line.
16. Clean up the installation area
Following the installation of a gas line from the meter to the house, cleaning up the installation area is an important step for any professional gas line installation.
All tools, debris, and protective gear should clear, and the area should be swept and mopped. You should double-check the installation to ensure they are in good condition and securely attached.

All hazardous materials should properly dispose of. Upon completion of the cleanup, a final inspection should ensure the area’s safety and the integrity of the gas line installation.
Cleanup of the installation area is essential to ensure the safety and proper functioning of the gas line.
Expert Opinion
This complex task requires a thorough knowledge of gas line safety and codes.
While it is possible to do the job yourself, hiring a licensed professional is highly recommended to ensure the job is done correctly and safely.
With the right tools and instructions, you can install the gas line from your meter to your house quickly.
So, installing a gas line from the meter to the house requires careful planning, proper tools and materials, knowledge of local codes, and a lot of patience. Hiring a professional gas line installer is best to ensure the job is done correctly and safely.
With the right preparation and help, you can soon reap the benefits of a gas line from the meter to your home.


