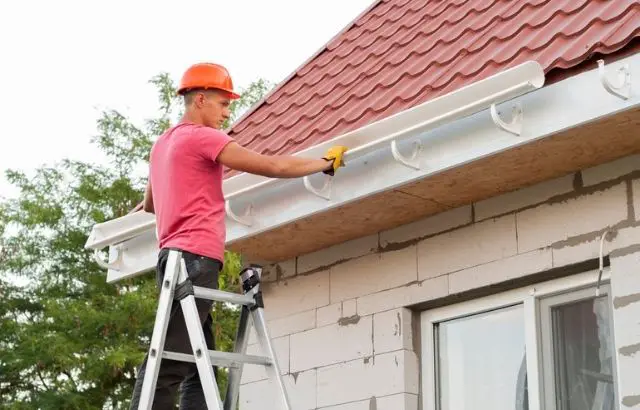
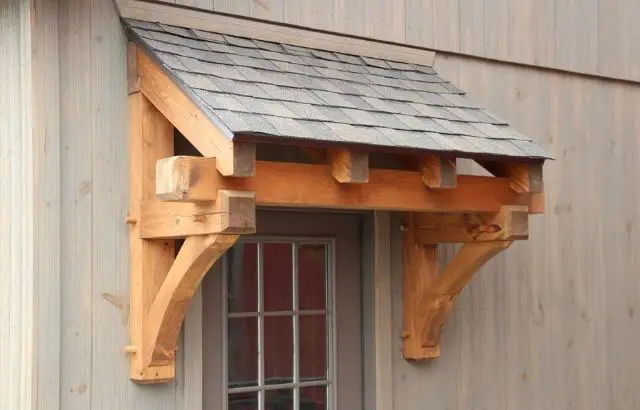
Installing gutters on a shed can seem daunting, but it doesn’t have to be. With the right materials, tools, and a few helpful tips, you can keep your shed safe from water damage and keep it looking great. In this Home Affluence post, you will learn how to install gutters on a shed, from selecting appropriate materials to installing them correctly:
- Assess Your Shed – Determine what type of shed you have, the size, and the shed’s location.
- Gather The Required Materials – Gather the necessary materials for the project.
- Prepare the Shed for Installation
- Measure The Distance – Measure the distance to determine where the gutters will be placed.
- Cut The Gutters To Length – Cut the gutters to the proper length needed.
- Place The Gutters – Position the gutters in the desired location.
- Install The Downspouts – Install the downspouts where they will be needed.
- Connect The Gutters – Connect the gutters, as well as the downspouts.
- Seal The Joints – Seal the joints with the appropriate sealant.
- Check For Leaks – Check for leaks to ensure no water escaping.
- Test The Gutters – Test the gutters by filling them with water and checking for proper drainage.
Gutters do install to help protect your shed from water damage and make it look great.
They should install around the perimeter of the shed, running along the fascia boards or the rafter tails, depending on the style of your shed.
By routing your gutters away from the building, you can help divert water from the shed, preventing potentially costly damage.
How To Install Gutters on A Shed
1. Assess Your Shed
The first step to installing gutters on your shed is to assess the shed. Determine what type of shed you have, its size, and its location on your property.
Learn More: How To Clean Leaf Guard Gutters
It will help you decide the type of gutters you need, the length of the gutters, and the amount of material and tools you will need for installation.

Additionally, if your shed is near trees, you may need to consider the number of debris entering the gutter and the maintenance required to keep it clear.
Learn More: How To Keep Leaves Out Of Gutters
Be sure to note these factors when assessing your shed before installing gutters.
2. Gather The Required Materials
Before beginning the process of installing gutters on a shed, it is important to make sure you have all the necessary materials.
It includes gutters, screws and anchors, a level, a drill, a saw, a hammer, and a ladder.

You will also need a sealant or caulk to seal the joints and prevent water from seeping in. Additionally, you may need to purchase gutter hangers to secure the gutters to the shed. Once you have gathered all the required materials, you are ready to begin the installation process.
3. Prepare the Shed for Installation
Once you’ve acquired your gutters and supplies, it’s time to prepare your shed for installation.
Start by ensuring that the shed walls are level and in good condition. If the walls have cracks or holes, use a sealant to fill them in.

Additionally, ensure that any trim, siding, or other fixtures are securely in place, as these will need to remove to install the gutters.
Lastly, measure the length of the shed walls, noting the exact dimensions, as this will help you determine the necessary length of the gutters.
4. Measure the Distance
Measuring the distance is essential for properly installing gutters on a shed. With the help of a measuring tape, measure the distance along the roof’s edge from the bottom of the roof’s peak to the edge of the roof.

It is the distance from where gutters will place. Make sure to measure twice to ensure accuracy to secure a successful installation.
5. Cut the Gutters to Length
Once you have gathered all the supplies needed for installation, the next step is to cut the gutters to the proper length.

Measure the shed’s length and leave enough extra length for the downspouts and the proper slope of the gutters. Mark the cut lines on the gutters and then use tin snips or a saw to cut the gutters to the proper length.
Wear protective gloves and safety glasses when cutting the gutters to avoid injury.
6. Place the Gutters
To install gutters on your shed, you must first place the gutters in the desired location. Position the gutters as close as possible to the edge of the shed.
Ensure the gutters are level and securely attached, as this will ensure the gutters are effective in collecting rainwater or melting snow.

When the gutters are in the desired location, mark the points where the gutters will be secure.
Use a level to ensure the gutters are level and properly positioned.
7. Install the Downspouts
After installing the guttered, the next step is to install the downspouts. Install the downspouts where they must drain the water away from the shed.

It can do by attaching the downspouts to the gutters and running them down to the ground. Position the downspout so it is an angle away from the shed, and ensure it securely fastens. When installing the downspouts, make sure to use the appropriate hardware for the material of the shed.
8. Connect the Gutters
Once you have measured and cut your gutter pieces to the correct size, it is time to connect them. Connect the gutters using the gutter miter joints to ensure that your gutters are sealed and water-resistant.

Make sure to use gutter sealant in the joints for additional protection. Once the gutters have been connected, attach the downspouts to the gutter with screws. Use a level to ensure the downspouts are properly aligned and attached securely. Be sure to use gutter sealant in the joints for a watertight seal.
9. Seal the Joints
After the gutter is fully assembled and mounted to the shed, you must seal the joints to ensure a tight fit and protect the shed from water damage. It would help if you used an appropriate sealant for your region and climate.
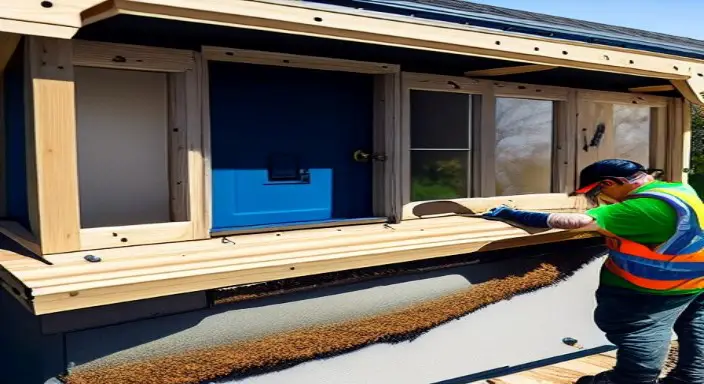
For example, a silicone sealant is typically used in wetter climates, while a polyurethane sealant is more suitable for drier climates.
Apply the sealant evenly and press down firmly to seal the joints tightly.
10. Check for Leaks
The tenth and final step in installing gutters on a shed is to check for leaks. It is important to ensure no gaps in the gutter system that could lead to water escaping.
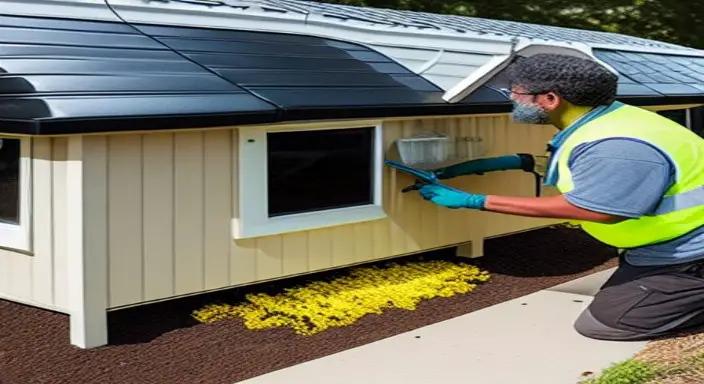
Check for misaligned sections and ensure the gutter system is properly secured to the shed.
If any leaks are detected, you may need to adjust the settings on the gutter system and use additional sealant to ensure a tight fit.
11. Test the Gutters
Proper drainage is an essential component of installing gutters on a shed.
To ensure the gutters function properly, they should test by filling them with water. This test should be conducted at least once a year to verify that the gutters can adequately channel water away from the shed.
Failure to do so can damage the shed and pool water around the shed’s foundation.
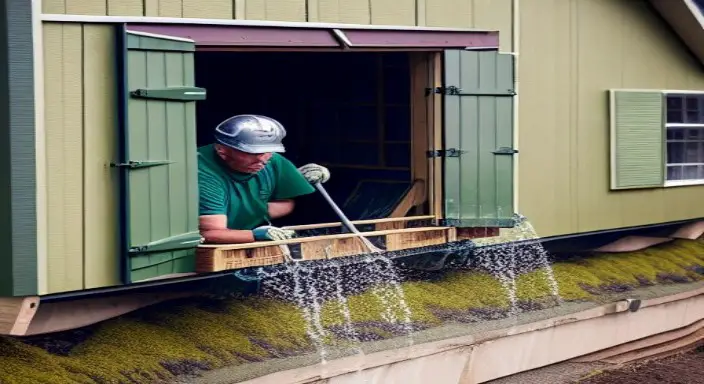
Before maximizing the life of the gutters and the shed, it is important to test the gutters for proper drainage regularly.
Any clogs or blockages should immediately address to ensure the gutters are working properly.
Expert Opinion
When installing gutters on a shed can be an easy task that anyone can do with the right tools, materials, and instructions.
It is an inexpensive way to protect your shed from damage caused by rainwater and improve its overall look. You can install your gutters quickly with the right preparation and some elbow grease.
So, with the right tools and materials, you can install gutters in your shed quickly.
Gutters will help protect your shed from moisture damage and can even help you to collect water for other projects.


