Ceiling fans play an important role in every house in every season. However, this is only possible if the fan is running properly. It is very annoying when the fans in your house run slowly during the summer season. If this happens, we have found several possible solutions. Before that, let’s look at the reasons for the fans to spin slowly. Let’s learn how to make a ceiling fan spin faster.
Why do Ceiling Fans take such a long time to spin?
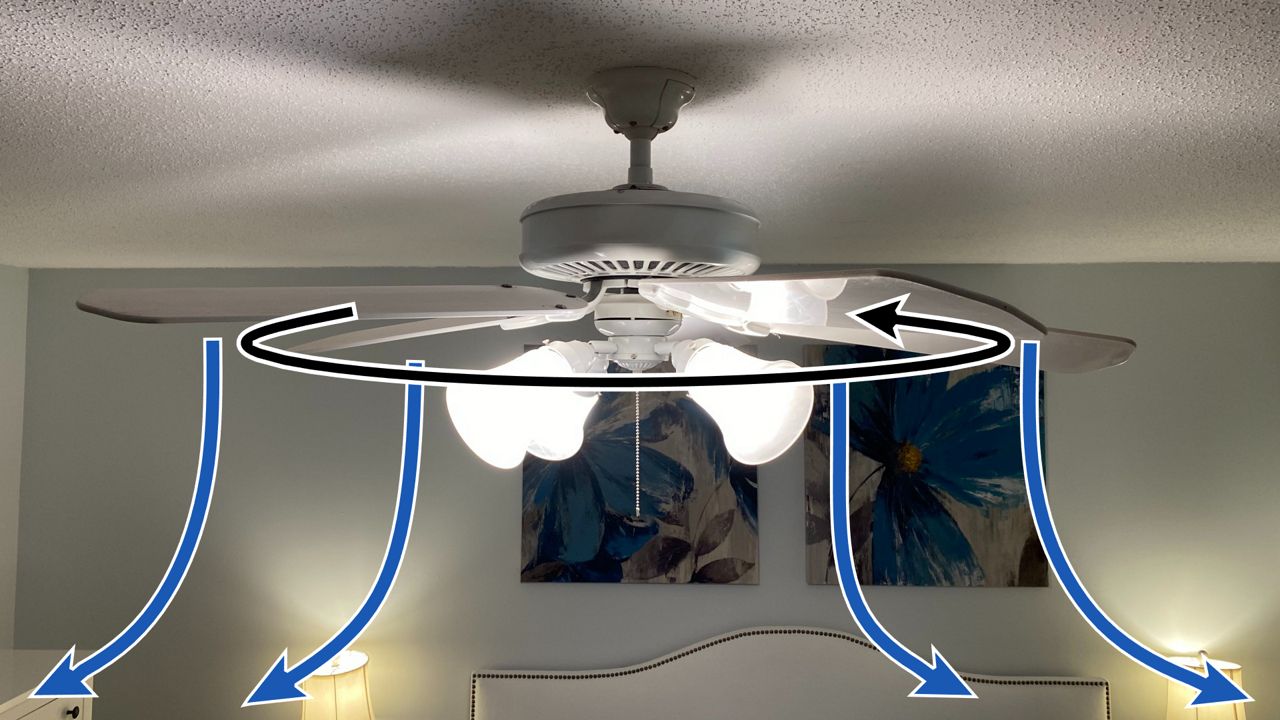
For a variety of reasons, your fan may spin slowly. This is due to a lack of lubricant or a faulty capacitor in certain cases. Ceiling fans that have corroded bearings and bushings may also rotate slowly; otherwise, your fan’s speed controller may disconnect or become incompatible with it. Dust collected on the fan blades might also be the cause.
- Lack of lubrication
- Faulty capacitor
- Corrosion of bearings and rings
- Incompatible speed controller
- Dusty blades
How to Make a Ceiling Fan Spin Faster
Clean the blades
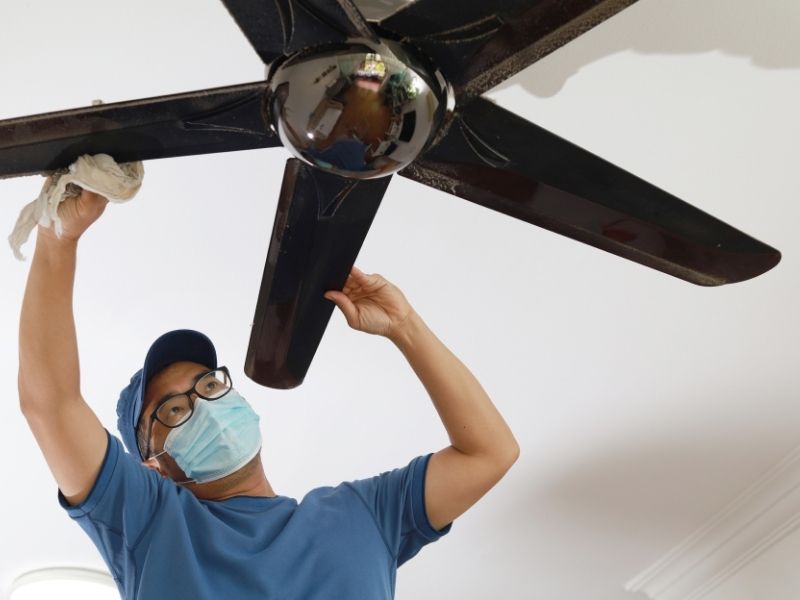
If dust gets on the blades, the blades will get a little heavier. As a result, the fan may not rotate as expected. You will need to clean the fan blades at regular intervals to prevent this. If you clean the blades, the weight of the dust is removed, and the fan starts to rotate quickly.
Lubricate the fan
If the fan rotates slowly with squeaking noises, some parts are not properly lubricated. In this case, you will need to fill the fan with oil. Get a stepladder and a sheet to protect the floor. Place the plate under the fan and then place the ladder on it. Then climb the ladder and look for a hole in the fan where you could add oil. Add the oil slowly. After adding the oil, start the fan after a while.
Replace the capacitor
The condenser is connected to the fan mainly to start the fan. It can also control the fan speed. Individual capacitors or several capacitors are connected in parallel depending on the fans. But due to excessive use, the wear of the capacitor can be damaged.
It is therefore recommended to replace it. To replace the capacitor, disconnect the fan from the power supply, check the specifications of the existing capacitor and purchase a new one. Finally, replace the new one with the old one, connect the fan to the power supply and start it.
Repair or replace the speed controller
Sometimes the speed controller connected to the fan may not be compatible with the fan or may be disconnected. Check if it is connected or not. If you are sure it is connected, consider reprogramming or replacing it.
Repairs of bearings and bushings
The bearings and bushings are easy to replace if you notice that the fan is slowly rotating due to them. This will help the fan move faster after removing old bearings and bushings and replacing them with new ones.
Slow fan troubleshooting
With the fan off and on, turn the fan blade by hand. A difficult-to-rotate blade indicates a problem with the bearing or lubrication. If the blade rotates freely, turn on the fan and listen to the blade accelerate to full speed.
Any unusual buzzing would indicate a bad capacitor, shorted winding, or fan running on the wrong type of cruise control. Most fans are not compatible with solid-state speed control, so make sure your fan and speed control are compatible.
A grinding or whistling sound would indicate a problem with the bearing or housing. Finally, visually inspect the fan for fluctuations that indicate poor balance.
Make sure the lubricant is enough.
Larger ceiling fans use the oil contained in the tank, which lubricates the bearing. A small hole in the top of the motor cover allows additional oil to be added to the fan if necessary. The hole is usually labeled “add oil” by the manufacturer. To prevent oil from getting on your furniture or carpets:
- Place a plastic sheet beneath the fan and use a ladder to find the “add oil” hole.
- Start by spraying a little light oil into the hole and letting the fan run for 20 minutes.
- Turn off the fan and add oil to the ceiling fan until the tank overflows slightly. This will usually be SAE 15 or SAE 10 oil.
- Wipe the fan cover to prevent dripping.
Some fans are made with permanently lubricated encapsulated bearings, and no oil can be added. According to the instructions or from the manufacturer, make sure you know if your fan has an oil tank.
Balanced for better operation
Improperly balanced blades can cause wobbling, resulting in slower than normal operation. You must measure from the tip of each vane to the ceiling with the fan turned off to evaluate the balance.
Each end of the sheet should be at the same distance from the ceiling if the ceiling is flat. If the difference is more than 1/4 inch, the blades are unbalanced.
Glue a standard metal pad or coin to the top of the blade closest to the ceiling. Make sure the top of the blade is free of dust, and use about 3 inches of tape to make sure the pad stays in place.
Experiment with the pads on different blades until all the blades are at the same level and with the ceiling. If your ceiling is sloping or uneven, use a spirit level to measure the level between the boards.
Bad capacitor identification
Ceiling fans are single-phase motors and rely on capacitors that start and run. Some fans have a combined on-off capacitor, and some have a capacitor for each.
For speed adjustments, other fans employ numerous capacitors. In the circuit breaker box, switch the circuit breaker that supplies your fan to the “off” position. Use a ladder and remove the bottom cover of the fan in which the condensers are usually located.
Although the disassembly process differs slightly for different fans, the capacitors can be easily identified. These are small black cubes or silver rollers and will have a printed microfarad rating on the side. The nominal value of the capacitor will be a number followed by the letters “of.”
Look for any distortion in the cube or cylinder indicating condenser failure and replace any that are discolored or swollen. The capacitors are either connected to screw terminals or have wire nuts that connect them to other wires. Detach the defective capacitor and purchase a replacement using the information on the label.
Inspect the motor for damaged windings
Partially short-circuited windings are the last option that could cause the fan to run slowly. The winding is sometimes damaged if the starting capacitor fails, causing the fan to stop and the coils to heat above their limits.
The fan must be removed and completely disassembled to check for winding faults. Visually inspect the winding for signs of heat change or burns. If the copper is strongly colored due to heat, replace the motor and associated capacitors.
Frequently Asked Questions
What is the best way to raise the speed of my ceiling fan?
Check the traction chain switch on the fan. A bad switch or missing speed setting will cause the fan to slow down. Turn off the fan and let it stop. Pull the chain and turn the fan to the lowest setting, then listen to the fan motor as you pull the chain and go through the progressive speed setting.
What’s the matter with my ceiling fan whirling so slowly?
Ceiling fans that run slower than usual might cause one of four issues. Two of these issues are mechanical: bearing lubrication loss and blade imbalance. The other two are electrical: either a faulty capacitor or a faulty winding.
Is Will replacing the condenser increase the fan speed?
As you increase the capacity, the fan motor voltage increases, but the capacitor voltage decreases—the fan speed increases. To increase the fan speed, you must increase the capacitor value.
How to slow down the ceiling fan speed?
You can add a resistor, capacitor, or inductor in series with the fan permanently. This increases the overall impedance and reduces the current, reducing the fan speed. Another option is to charge the capacitor in the auxiliary winding from 2.25 mfd to say 1.85 or 2 mfd. This reduces the fan speed.
Can we use two capacitors in the ceiling fan?
Generally, two series-parallel capacitors are used in the ceiling fan. The motor is a “two-value capacitor motor” or a “permanent split capacitor motor. “Here, a high-capacity capacitor will be connected to the starting winding of the split-phase induction motor.
Without a chain, how do I control the speed of my ceiling fan?
To control the fan speed without a switch, you must supply current to the appropriate wires to reach the desired speed. Since this is probably a mechanical (not electronic) device, the only way to change the settings is to physically move the switch to another position.
What’s the deal with my fan only operating at high speed?
When the fan resistance fails, the highest fan speed is usually the only one that still works because it essentially bypasses the resistance and receives the maximum voltage. When the resistor is running, it reduces the amount of voltage, leading to lower fan speeds to rotate more slowly.
Conclusion
We believe you have the answer to your doubts about how to spin up the ceiling fans faster. Also, remove old bearings and bushings and replace them with new ones to help the fan spin faster.

