Restoring pine floors is a great way to bring a tired, worn-down interior back to life. The unique grain pattern and the soft hue of pine make it a popular flooring option in many homes, but its natural tendency to fade can make it difficult to keep the original finish intact. Let’s see how to refinish pine floors.
Refinishing your pine floors can be an affordable and often DIY-friendly option for sprucing your interior.
With the right preparation, materials, and technique, you can restore your pine floors to a beautiful, like-new condition:
- Assess the Condition of the Floor
- Prepare the Room
- Remove the Old Finish
- Sand the Floor
- Consider Using a Floor Buffer
- Apply the Stain
- Apply a Sealant
- Sand the Sealant
- Apply a Top Coat
- Wait for the Floor to Dry
- Protect with Polyurethane
- Replacing Damaged Boards
- Apply the Finish
- Give Finishing Touches
- Cleaning and Caring for Your Floors
- Enjoy Your Refinished Pine Floors
So, let’s discuss these basics of refinishing pine floors, from sanding and staining to the finishing touches.
We’ll also provide tips and tricks so you can have the best results possible when refinishing your pine floors.
How To Refinish Pine Floors
1. Assess the Condition of the Floor
The first step to refinishing a pine floor is to assess its condition. Check the floorboards for any damages, such as splitting, cracking, or warping. Inspect the nails and screws to ensure they are not lost or protruding.

If any of these issues are present, they must repair before beginning the refinishing process.
You should also determine if the floor is painted, stained, or sealed, as this will affect the refinishing process.
Once the condition of the floor has been assessed, you can move on to the next step.
2. Prepare the Room
Begin by removing all furniture, rugs, appliances, and anything else that may obstruct the area. Next, sweep the floors to remove dirt, dust, and debris.

Then, use a vacuum cleaner to remove any remaining dust or particles. Finally, take a damp cloth and wipe the floors to remove any remaining dirt. It will ensure the best possible finish when refinishing your pine floors.
3. Remove the Old Finish
Refinishing your pine floors is a great way to revitalize an old and tired look. The most important step in the refinishing process is removing the existing finish.
Removing the old finish is labor intensive, but ensuring the best results is necessary. Start by using a scraper or putty knife to remove any loose finish, paying special attention to areas around the edges of the floor.

Next, use a chemical stripper to dissolve the existing finish. Carefully follow the instructions on the stripper product label to ensure safety.
If you’re working with an oil-based finish, you may need a solvent-based stripper. After removing the finish, use a floor sander to sand the floor to prepare it for the new finish.
4. Sand the Floor
After removing the flooring, it’s time to sand the floor to prepare it for refinishing. This step is important for ensuring that the floor is as smooth as possible and that any stains, scratches, or blemishes are removed.

Begin by dragging a large sander across the floor. Use medium-grit sandpaper to smooth the surface of the floor.
Once the floor has been sanded, vacuum up any dust and debris. The next step is using finer-grit sandpaper to smooth out stubborn spots or uneven areas. Once the entire floor has been sanded, it’s ready for the next step of refinishing.
5. Consider Using a Floor Buffer
Once you have chosen the right sandpaper, the next step in refinishing pine floors is to consider using a floor buffer. A floor buffer is an important tool to use in the refinishing process, as it will help you smooth out the surface of your pine flooring.

Before using a buffer, however, read the manufacturer’s instructions carefully to ensure you use the buffer properly.
Additionally, wearing protective gear, such as safety glasses, when operating a buffer to avoid any potential injury is important.
6. Apply the Stain
Once you have prepped the floor and applied the wood stain, it’s time to apply the finish. Before you start:
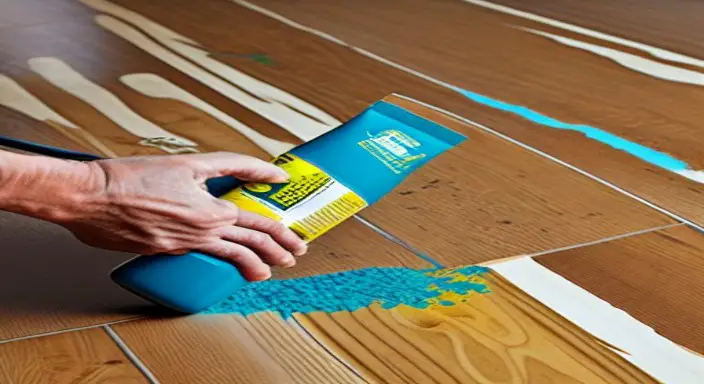
- Make sure the room is well-ventilated, and wear protective gear.
- Start by using a brush or roller to apply the stain, going with the grain of the wood.
- Cover the entire surface, and get into the corners and grooves, if any.
- Work in long strokes and small sections to ensure an even application.
- Allow to dry for a few hours, then apply a second coat if necessary.
7. Apply a Sealant
After sanding and cleaning the newly exposed pine floor, it is important to apply a sealant to protect it from moisture damage. Before applying the sealant, ensure that the floor is completely dry.
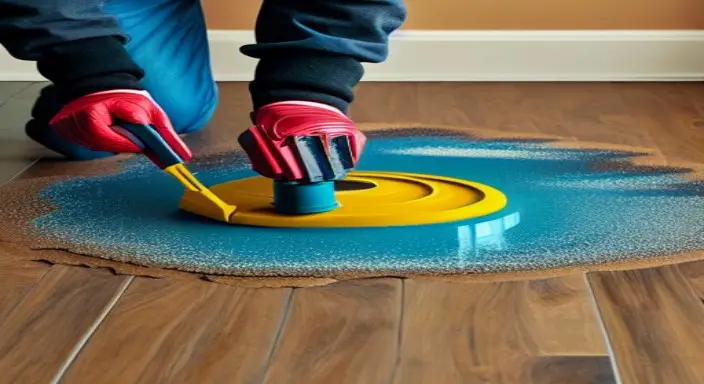
After applying the sealant, the floor should dry for at least 24 hours before any furniture is moved in or traffic is resumed.
The sealant should be applied with a brush or roller, covering all areas of the floor. Apply two or more coats for extra protection, allowing each coat to dry fully before applying the next.
8. Sand the Sealant
After the sealant has been applied and has had time to dry, use light-grit sandpaper to sand the sealant and create a smooth surface.
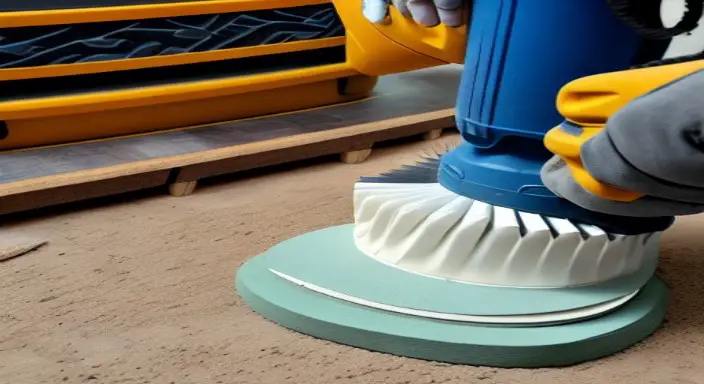
Sanding the sealant ensures that the sealant will adhere to the wood and be long-lasting. It is important to use light-grit sandpaper, as anything coarser could scratch the wood. Once the sealant has been sanded, use a vacuum to remove dust particles from the floor.
9. Apply a Top Coat
The ninth step of the refinishing process is to apply a top coat to your pine floors. The top coat will help protect the floors from dirt and scratches and give them a polished look.
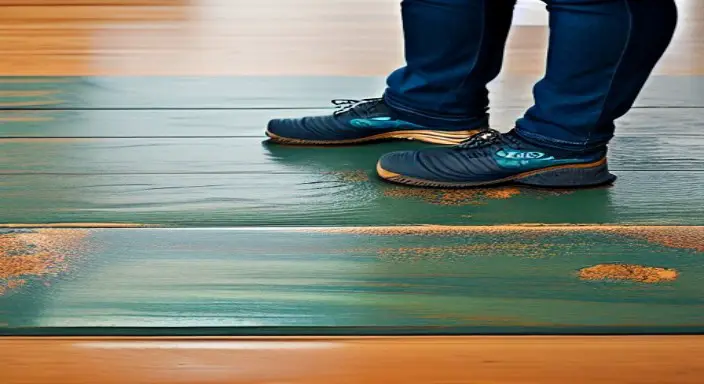
Various top coats are available, and choosing one suitable for your flooring is important.
Generally, a polyurethane finish is the most popular option; it is durable and glossy. Please read the instructions on the top coat to ensure you are using it correctly. Once the top coat is applied, allow the floors to dry for at least 24 hours before walking on them.
10. Wait for the floor
Once the stripper and old finish have been removed, allowing the floor to dry completely before applying a new finish is important.
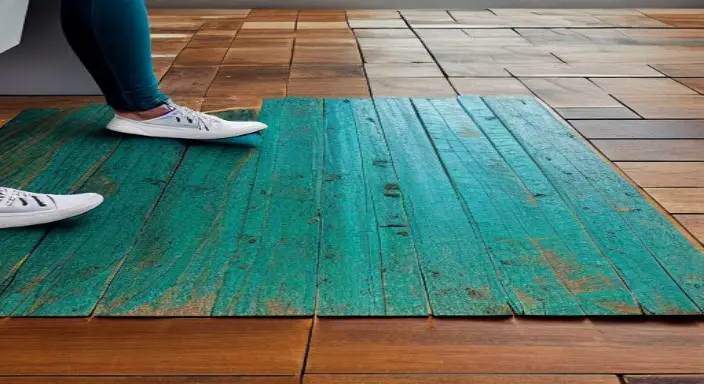
Depending on the environment and the type of stripper used, this may take up to 24 hours.
Make sure the floor is dry before applying the new finish.
11. Protect with Polyurethane
Refinishing pine floors with polyurethane is a great way to protect them from everyday wear and tear.
Polyurethane forms a protective barrier that resists dirt and liquids and provides a durable finish.
It is important to sand the floor before applying the polyurethane and remove all dust before application. It is recommended to use a brush or roller for even coverage.
When fully dry, two to three coats of polyurethane should apply to ensure complete protection of the pine floors.
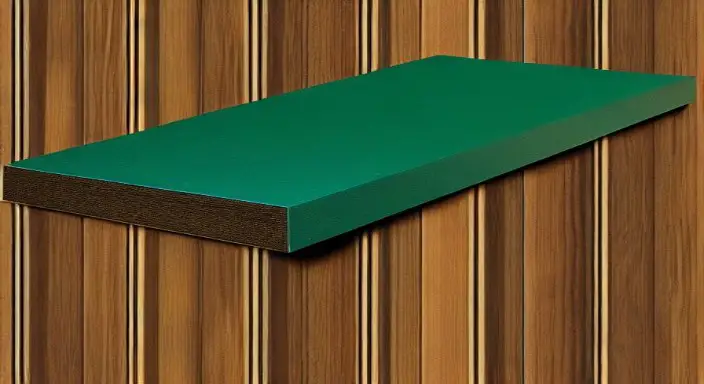
The polyurethane should dry completely between coats and be applied in a well-ventilated area.
Once the polyurethane is applied, the floor should buff to create a beautiful glossy finish. Refinishing pine floors with polyurethane is a great way to protect them and ensure they look beautiful.
12. Replacing Damaged Boards
Refinishing pine floors requires replacing any damaged boards. Damaged boards can replace in a few easy steps.
First, any nails or staples should remove, then the damaged boards should pry out. Once removed, new boards should be cut to size, then nailed or stapled into place.
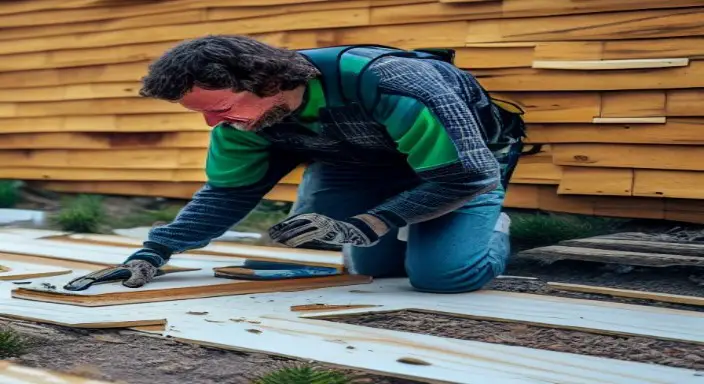
A finish should then be applied to the entire floor. Replacing damaged boards with the right tools and experience can be easy.
For those who may need the proper tools or experience, hiring a professional can ensure the job is done correctly and efficiently.
Doing so can help ensure the floor looks its best for many years.
13. Apply the Finish
Refinishing pine floors is a great way to restore an old flooring surface. The process involves:
- Sanding the floor down to remove any existing finish.
- Filling in any gaps or cracks with putty.
- Applying multiple layers of stain and finish.
The first step is to sand the floor using a sander with a grit range of 80-150 for best results. After sanding, any necessary repairs should be made with wood putty and allowed to dry.
Once repairs are complete, you can apply stain, which will help to bring out the wood’s natural grain.
After the stain has dried, you can apply multiple coats of finish to seal the floor and protect it from future damage. Refining pine floors will leave you with a beautiful, durable surface that lasts years.
14. Give Finishing Touches
Giving your pine floors a finishing touch can be an economical and rewarding project. Clean the floors thoroughly with a vacuum and mop before beginning.
Repair any damaged areas by sanding and filling in splinters with wood filler. Apply a coat of wood sealer and let it dry for several hours. Once dry, apply two coats of polyurethane and let dry for 24 hours. Lightly sand between each coat.
Finally, apply a coat of wax with a cloth or brush. Allowing the wax to dry for an hour and buffing it with a soft cloth will give your floors a shiny, polished look.
With some preparation and care, you can refinish your pine floors quickly.
15. Cleaning and Caring
your pine floors are important to maintaining their beauty. To refinish pine floors, vacuum or sweep to remove dirt and debris.
Next, use a cleaner formulated for hardwood floors and avoid using wax, as it can make the floors slippery.
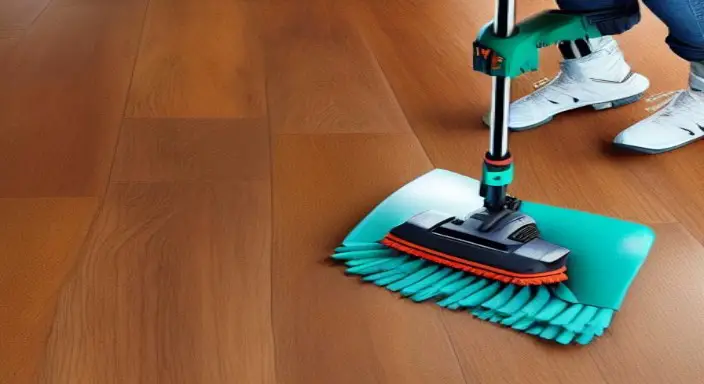
Protect the floor; using a sealant or polyurethane coating is important. It will help protect the floor from scratches and help to maintain its natural shine.
When mopping, use a damp mop and do not over-saturate the floor. Also, use mats and rugs in areas prone to dirt and moisture. Taking proper care of your floors can help them last for generations.
16. Cleaning and Caring for Your Floors
Caring for your pine floors is an important part of maintaining their beauty. When cleaning, the best approach is to use a vacuum or broom to remove dirt and dust.
Avoid using a mop – this can cause scratches and damage the floor. When refinishing, sand the floor to remove old finishes and stains.
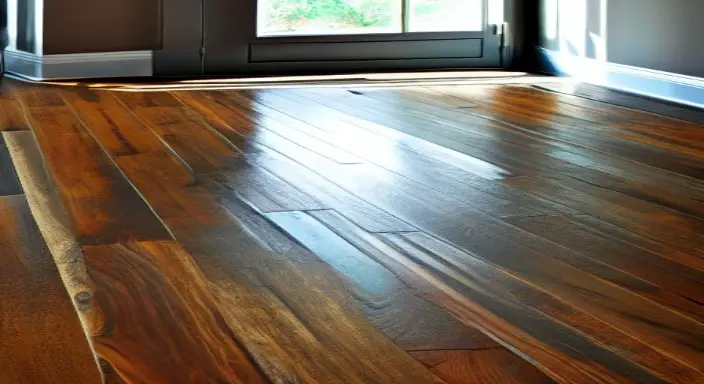
Once sanded, apply a coat of polyurethane or varnish to protect and seal the floor. Finally, apply a finish of your choice.
With a little care and maintenance, your pine floors can last for years and look beautiful.
Expert Opinion
After all these steps, refinishing pine floors is a great DIY project to make your interior space look brand new. Although this project is relatively straightforward, taking time and doing each step is important.
With the right supplies, skill, and patience, you can refinish your pine floors and make them look as good as new.
You can easily bring your pine floors back to life and make them look new. If you have any questions or issues, consult a professional to help you get the job done right.


