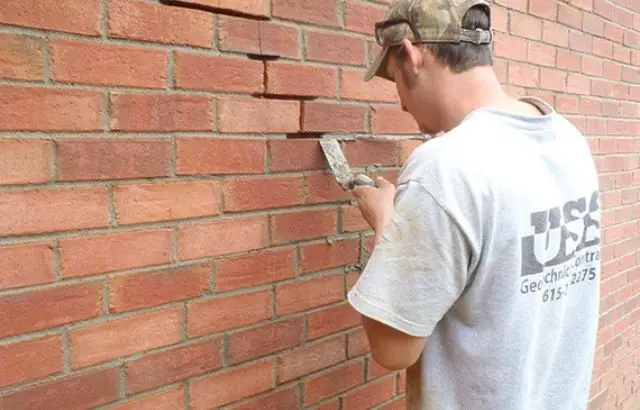
Slate floor tiles are a beautiful choice for any home, providing a rustic and natural look that is popular in many households. However, these tiles may need to remove over time due to damage or wear and tear. Let’s see how to remove slate floor tiles.
Removing slate floor tiles can be daunting for some homeowners, but it doesn’t have to be:
- Prepare for Removing Slate Floor Tiles
- Gather the Appropriate Tools for the Job
- Determine the Start Point for Removing the Tiles
- Remove the Slate Floor Tiles
- Cut the grout between slate tiles
- Remove the grout
- Inspect the Underlying Floor
- Prepare the Floor for a New Set of Slate Tiles
- Use a chisel to loosen the slate tiles
- Clean the slate tile adhesive
- Test the adhesive for asbestos
- Remove the adhesive
- Prepare the floor for new tiles
- Install the new slate tiles
- Sealing the Tiles
- Finishing the Job
- Cleaning Up the Mess
With the right tools and techniques, you can easily remove your slate tiles and prepare your floor for a new set of tiles.
Whether you’re a homeowner or a professional contractor, our guide will provide practical tips and tricks to ensure your project succeeds. So, if you’re ready to remove your slate floor tiles.
How To Remove Slate Floor Tiles
1. Prepare for Removing Slate Floor Tiles
Removing slate floor tiles can be challenging, but it can do efficiently with the right tools and knowledge.
Before beginning, it’s essential to prepare the area to minimize damage and ensure safety properly.
Begin by removing all furniture and objects from the room where the slate tiles will remove.
Cover any remaining objects in the area with a drop cloth or plastic sheeting to protect them from debris and dust. Next, remove any baseboards or moldings that could damage during the tile removal.

It’s also essential to wear protective gear such as gloves, goggles, and a dust mask to avoid inhaling harmful substances such as silica and other dust particles.
By adequately preparing the space and wearing appropriate protective gear, you can safely and efficiently remove slate floor tiles without causing damage to surrounding areas or risking personal injury.
2. Gather the Appropriate Tools for the job
Removing slate floor tiles is a challenging task that requires the right tools to do it effectively. Before you begin, gathering all the necessary tools for the job is essential.
You will need heavy-duty gloves, safety goggles, a hammer, a chisel or a scraper, a pry bar or a crowbar, and a sledgehammer.

These tools are necessary to safely remove slate floor tiles without causing any damage to the underlying surface.
Using high-quality tools designed for this specific job is crucial to avoid accidents or injuries.
By gathering the appropriate tools, you can ensure they will be successful and completed efficiently.
3. Determine the Start Point for Removing the Tiles
Removing slate floor tiles can be a significant undertaking, but it is a manageable process with the right tools and techniques.
Before you begin, it is vital to determine your starting point. It means identifying the room section where you will begin removing tiles.
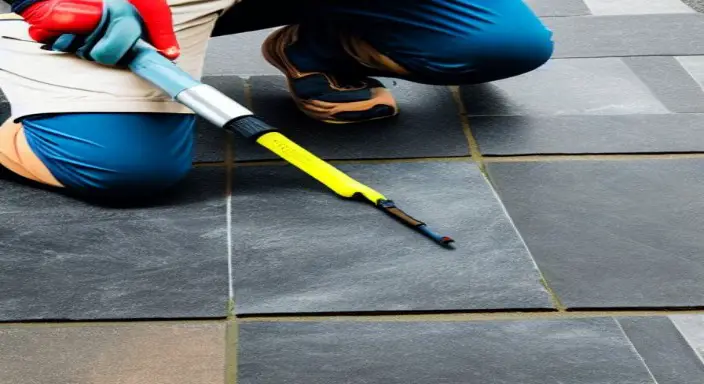
A good starting point is typically the far corner of the room, where the tiles are likely the least visible. Additionally, you should identify any areas you find trouble, as these will be the easiest to remove.
By starting with these areas, you can gain momentum and make progress quickly, which can motivate you as you work through the more challenging sections of the floor.
With a clear starting point, you can confidently begin removing your old slate floor tiles.
4. Remove the Slate Floor Tiles
Removing slate floor tiles can be daunting, but it is possible with the right tools and technique.
If you need to remove slate floor tiles to replace them or install a new floor, following proper steps to avoid damaging the subfloor or adjacent tiles is essential.
One effective method for removing slate floor tiles is individually prying them up with a chisel or scraper.

Alternatively, if you need to remove a large area of slate floor tiles, you can use a jackhammer or demolition hammer to break them into smaller pieces.
5. Cut the grout between slate tiles
One effective method for removing slate floor tiles is cutting the grout and then breaking the tiles.
First, use a grout saw or an oscillating tool to remove the grout surrounding the tiles.
It is essential to be careful and not apply too much pressure when cutting the grout to avoid damaging the surrounding tiles or subflooring.
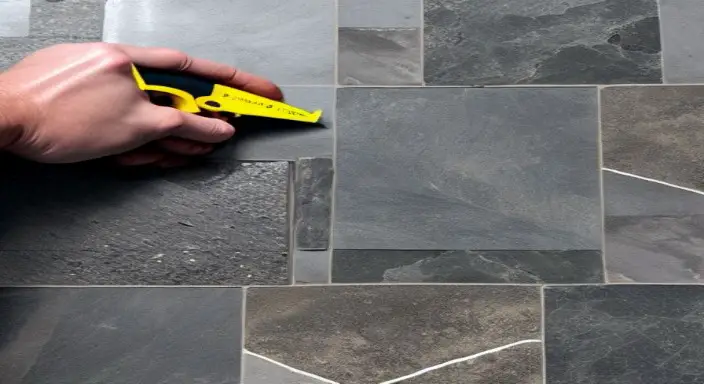
Once you remove the grout, use a putty knife or chisel to pry the tiles away from the floor gently.
Repeat the process until you remove all tiles, wearing protective gear such as gloves and safety glasses to avoid injury.
6. Remove the grout
Removing slate floor tiles can be a challenging task, especially when it comes to removing the grout. However, you can make the process easier and more efficient with the right tools and techniques.
To remove the grout, use a grout removal tool, such as a grout saw or a rotary tool with a grout removal bit. Wear safety gear, including goggles, gloves, and a dust mask, to protect yourself from debris and dust.
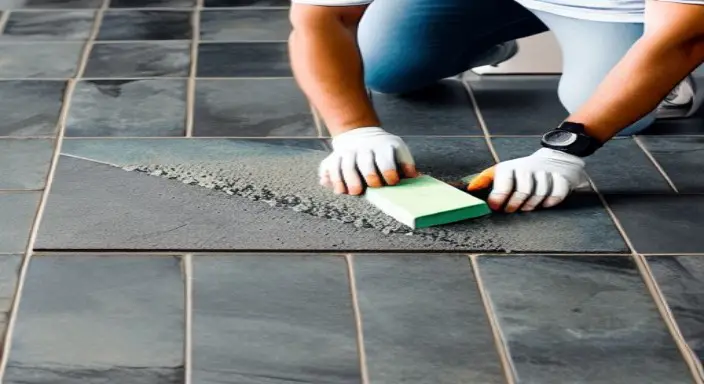
Carefully work along the grout lines with the tool, removing as much grout as possible.
Once the grout does remove, you can use a pry bar, crowbar, or chisel to lift the slate tiles from the floor.
Be sure to work carefully and systematically to avoid damaging neighboring tiles or the floor surface, and take your time to ensure a smooth and successful removal process.
7. Inspect the Underlying Floor
If you want to remove slate floor tiles, inspecting the underlying floor before beginning the removal process is essential.
It will help you identify any underlying issues that must address before moving forward.
Start by removing any existing grout or caulk surrounding the tiles, and then use a putty knife to lift the tiles off the floor carefully.
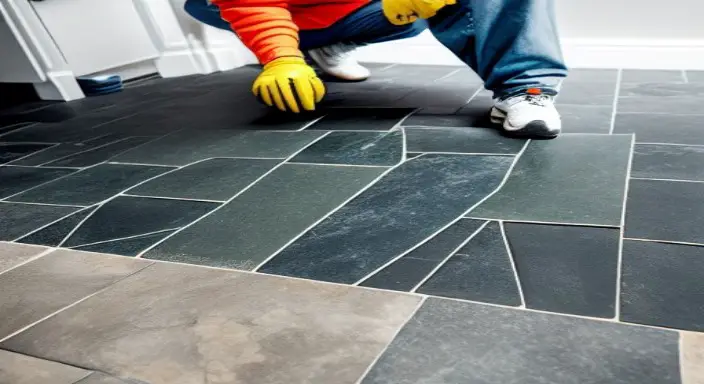
If you notice any issues, it’s essential to address them before installing new tiles to ensure your floor remains stable and long-lasting.
Taking the time to inspect and prepare the underlying floor properly will save you time and effort in the long run and ensure that your finished product is functional and visually appealing.
8. Prepare the Floor for a New Set of Slate Tiles
It is essential to follow the proper steps for removing the old ones. Start by clearing the workspace of furniture or debris to allow easy access to the entire area. Next, use a chisel and a hammer to remove grout around each tile’s edges.
Slowly and carefully insert the chisel under the tile and begin to pry it up. Work in small sections at a time, being cautious not to damage the surrounding tiles. Once the tile is removed, use a scraper to remove any adhesive or mortar on the subfloor’s surface.
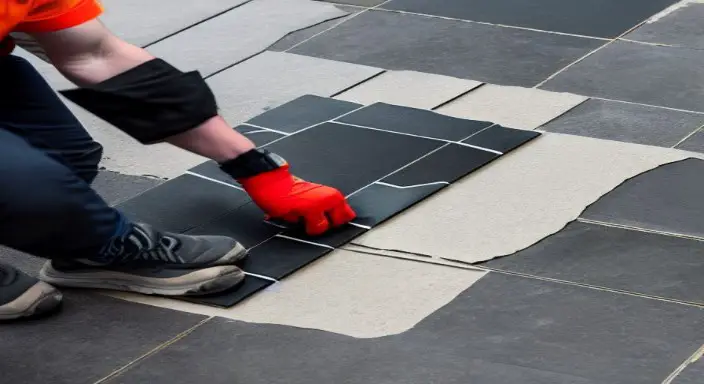
Repeat the process for each tile until all of them have been removed. With the slate tiles removed and the subfloor surface cleared, you will be well on your way to preparing the space for a new set of tiles.
9. Use a chisel to loosen the slate tiles
When removing slate floor tiles, using a chisel is a helpful tool. The first step in this process involves wearing proper safety equipment, such as gloves and eye goggles, to avoid injury.
It is also recommended to start removing tiles from the edges of the area to be cleared to avoid damaging surrounding tiles.
Once you have determined where to start, insert a chisel underneath the tile and gently tap it with a hammer to loosen it from the adhesive below.
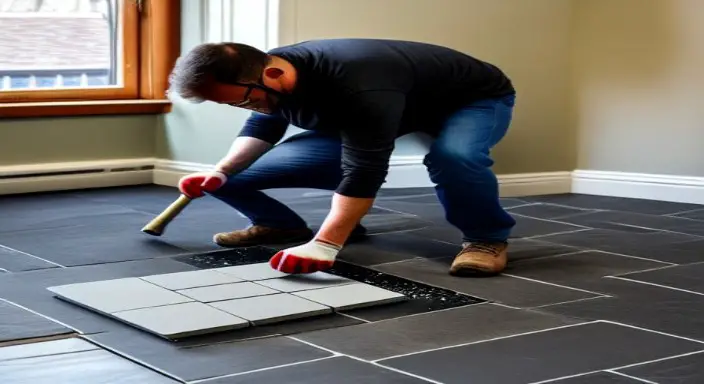
Work slowly and carefully, moving the chisel around the edges of the tile to fully separate it from the floor.
It is important to note that using too much force or being rough with the chisel can cause damage to the floor underneath, so it is essential to remain cautious and patient throughout the process.
10. Clean the slate tile adhesive
Removing slate floor tiles can be daunting, especially when removing the adhesive that holds them in place.
However, with the right tools and techniques, cleaning the slate tile adhesive and removing the tiles without damaging the underlying flooring is possible.
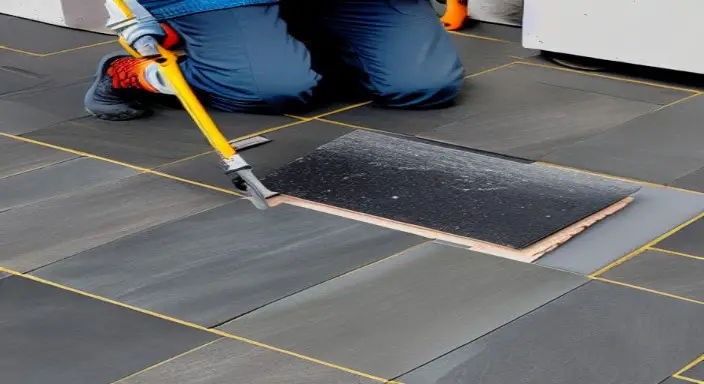
One effective method is to use a floor scraper or chisel to carefully cut through the adhesive and lift the tiles from the surface.
Once the tiles are removed, the adhesive must be cleaned off the floor using a solvent or adhesive remover designed for slate flooring.
Following the manufacturer’s instructions carefully and wearing appropriate protective gear, such as gloves and goggles, while working with these chemicals is essential. With proper care and attention, removing slate floor tiles and preparing the surface for new flooring installation is possible.
11. Test the adhesive for asbestos.
When it comes to removing slate floor tiles, it is vital to take the necessary precautions to ensure the safety of everyone involved. One crucial step in this process is to test the adhesive for asbestos.
Asbestos is a mineral commonly used in building materials until the 1980s, and exposure to it can lead to serious health risks.
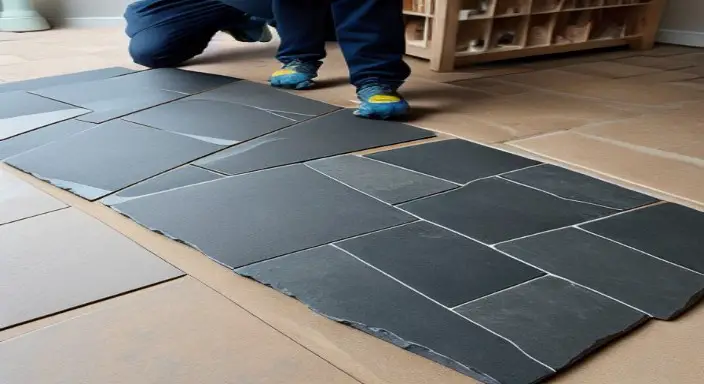
Testing the adhesive for asbestos is essential because if it is present, special procedures must be followed to ensure it is safely removed.
It is vital to hire a professional with the necessary knowledge and experience to remove slate floor tiles and test for asbestos safely.
12. Remove the adhesive
When removing slate floor tiles, it’s essential to approach the task with care and precision. One of the critical steps in this process is removing the adhesive that holds the tiles in place.
Use a scraper to lift the tiles and loosen the adhesive carefully, then apply a solvent to dissolve any remaining residue.
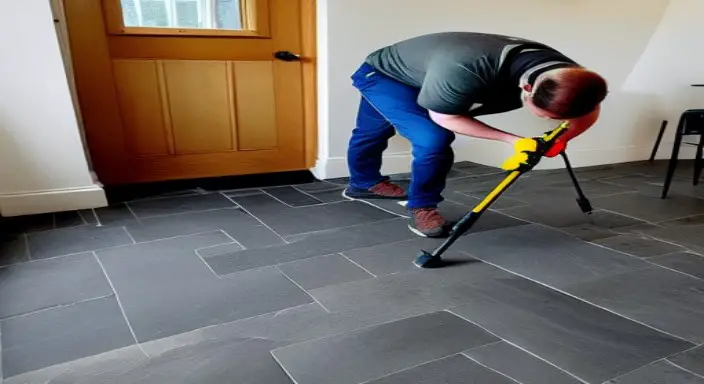
Working slowly and methodically is essential, not damaging the surrounding tiles or flooring.
Removing slate floor tiles can be a manageable and successful project with attention to detail and a steady hand.
13. Prepare the floor for new tiles
This process can be time-consuming and requires proper planning to ensure a successful outcome. Removing slate floor tiles requires specialized tools and equipment to avoid damaging the subfloor.
Removing all traces of the old adhesive is essential to ensure a smooth, level surface for the new tiles to adhere to.
Hiring a professional for this task is recommended to ensure the job is done correctly and efficiently. Once the old tiles are removed, the subfloor should be thoroughly cleaned and inspected for any imperfections that must be addressed before laying the new tiles.
14. Install the new slate tiles
When discussing the installation of new slate tiles and the removal of existing ones, it is vital to approach the topic with a professional tone. It is essential to have the proper tools and equipment to safely remove the old tiles without causing damage to the subfloor or surrounding surfaces.
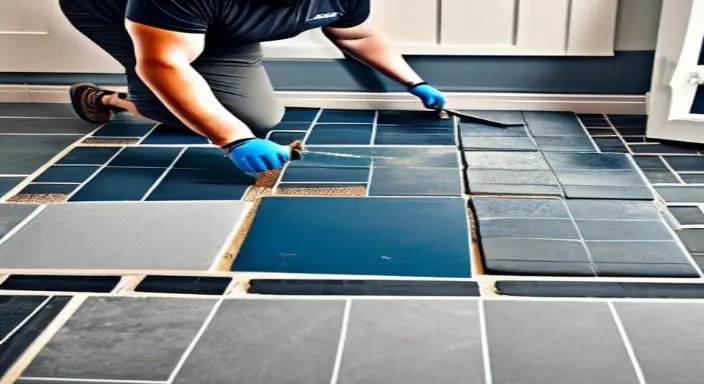
Careful planning and preparation are necessary to ensure the new slate tiles are properly installed in the desired pattern and configuration. Professional contractors should be consulted to ensure the installation meets all the required codes and regulations.
With careful planning and attention to detail, installing new slate tiles can transform a space and add value to a property.
15. Sealing the Tiles
When removing slate floor tiles, sealing them is a crucial step that should be considered. Sealing the tiles before removal helps to prevent the release of harmful dust particles into the air, which can cause respiratory problems.
It is essential to use a high-quality sealant designed explicitly for slate tiles. It will help to create a barrier that locks in the dust and prevents it from spreading.
Additionally, sealing the tiles can make the removal process much easier by reducing the likelihood of the tiles breaking and causing further damage to the surrounding area.
Overall, sealing the tiles is an important step that should be addressed when removing slate floor tiles.
16. Finishing the Job
When it comes to finishing the job of removing slate floor tiles, there are a few key considerations to keep in mind. First and foremost, it’s important to ensure that all tiles have been entirely removed and that any remaining adhesive or debris has been thoroughly cleaned up.
It may require using specialized tools or solvents and protecting any surrounding surfaces from damage.
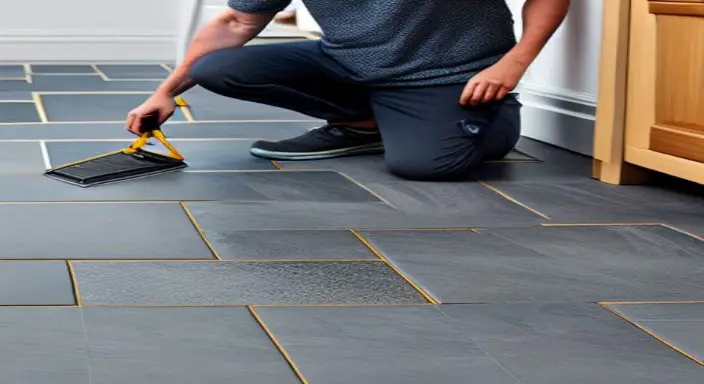
Additionally, inspecting the subfloor and making any necessary repairs or adjustments before installing new flooring is important.
These steps help ensure a successful, long-lasting flooring replacement that meets your needs and expectations.
17. Cleaning Up the Mess
Cleaning the mess to remove slate floor tiles can be daunting for many homeowners.
It requires patience, skill, and the right tools to complete the job efficiently and effectively.
Before beginning the process, it’s important to understand the proper techniques for removing slate floor tiles without damaging the surrounding area.
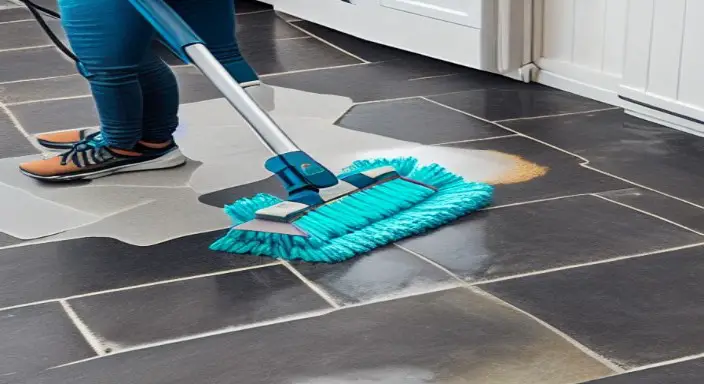
It includes using protective gear, carefully removing grout and adhesive, and disposing of the tiles safely. Hiring a professional cleaning and restoration company can ensure that the job is done correctly and promptly, leaving your floors looking brand new.
Trusting experts to handle the task can save time and avoid unnecessary damage to your home.
Expert Opinion
After all, taking proper precautions and following the right steps can make the process easier and safer.
Before starting, gather all the necessary tools and materials, including protective gear.
With careful preparation and attention to detail, you can successfully remove slate tiles from your floor, allowing you to update your home’s look and feel with a new, refreshed flooring option.


