Are you looking to replace your old ceiling fan with a sleek, new light fixture? Then this is the right place for you. In this detailed, step-by-step guide, we will take you through safely and efficiently installing a light fixture in place of a ceiling fan.
How to Replace a Ceiling Fan with a Light Fixture
Step 1: Gather Your Tools

Before you start, gather the necessary tools. This will likely include a ladder, screwdriver, wire strippers, circuit tester, wire nuts, and a flashlight.
Step 2: Turn off the Electricity
Safety first! Head to your home’s breaker box and switch off the electricity to the ceiling fan you’re replacing. Use a circuit tester to confirm the power is off before proceeding.
Step 3: Remove the Existing Ceiling Fan

Climb your ladder and remove the fan’s light kit if it has one. Next, remove the blades of the fan before unscrewing the motor unit. Carefully bring it down to avoid damaging the ceiling or the wiring.
Step 4: Disconnect the Fan Wiring
You will see a cluster of wires connected by wire nuts. These will usually include black (hot), white (neutral), green or bare copper (ground), and often a red wire. The red wire is typically used as an alternate hot wire when multiple switches control the fixture. If you’re curious, check out our post on installing a ceiling fan with a red wire.
Unscrew the wire nuts counterclockwise to disconnect the wires.
Step 5: Install the Mounting Bracket
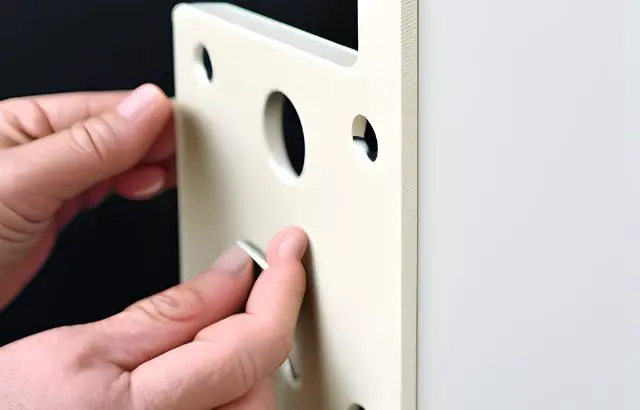
The new light fixture will come with a mounting bracket. Install this bracket to the electrical box in the ceiling, following the manufacturer’s instructions.
Step 6: Connect the Light Fixture Wiring
At this point, your fixture’s wires should be matched to the house wires – black to black, white to white. If the fixture has a ground wire, it will typically be green or bare copper and should be attached to the grounding screw on the mounting bracket or the green wire from the ceiling. The red wire should be capped with a wire nut and tucked into the box if not used.
Step 7: Attach the Light Fixture
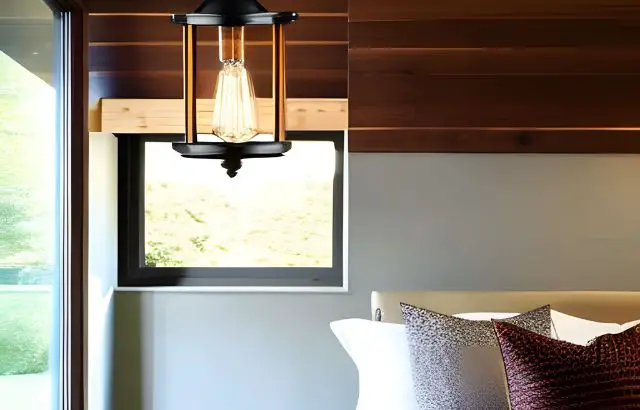
Now it’s time to attach your light fixture to the mounting bracket. This process will depend on the specific design of your light fixture but usually involves aligning the fixture with the bracket and using screws to secure it.
Step 8: Install the Bulbs and Shades

You can install the light bulbs after you’ve attached your light fixture to the ceiling. Make sure to use bulbs with the correct wattage for your fixture. If your fixture includes shades, install them following the manufacturer’s instructions.
Step 9: Restore the Power and Test Your Light Fixture

Now that your light fixture is installed return to your breaker box and restore the power. Switch the light on to ensure everything works as expected.
Conclusion
There you have it! Following these nine simple steps, you can successfully replace a ceiling fan with a light fixture.


