Wood paneling is a timeless classic that can add warmth and character to any room. However, if your paneling needs to be updated or updated, it’s time to give it a fresh look. Staining your paneling is a cost-effective and efficient way to update its appearance without replacing it altogether. But only some know how to stain wood paneling properly. This Home Affluence post will guide you on how to stain wood paneling and provide useful tips to make the process easy and successful:
- Preparation: Evaluating the paneling, sanding, and cleaning of the wood
- Select the type of stain.
- Select the Right Stain for the Wood
- Pre-stain conditioner
- Apply the Stain to the Wood
- Apply an Even Coat of Stain
- Dry the Stain
- Apply a Second Coat of Stain (if necessary)
- Seal the Wood with a Polyurethane Finish
- Sand the Wood Between Coats
- Then again, applying the stain
- Let the Stain Set
- Apply a Clear Coat
- Re-sand the Wood Paneling
- Choose a Stain Color
- Apply the Sealer
- Clean Up the Mess
- Maintain the Wood Staining
Staining wood paneling can be daunting, but it can do easily and quickly with the right preparation and tools.
When done correctly, a fresh coat of stain can breathe new life into your paneling and make it look brand new. Whether you’re looking for a traditional, rustic, or modern look, there’s a stain color and finish out there for you.
How To Stain Wood Paneling
1. Preparation: Evaluating the paneling, sanding, and cleaning the wood
Preparing wood paneling before staining is essential for achieving a smooth, even finish that lasts.
The first step in preparing wood paneling is to evaluate it. Inspect the wood carefully, and remove any loose or damaged paneling.
Fill any gaps or holes with wood filler. After completing these steps, sand the wood paneling until you have a smooth surface, removing any pre-existing finish.

Use sandpaper with a medium grit first, then follow up with a fine grit to achieve a smooth surface.
Once the wood is sanded down, remove any dust or debris from the surface.
A slightly dampened cloth can use to clean the wood paneling, but it must be allowed to dry thoroughly before staining to prevent watermarks or discoloration.
Proper preparation is key to achieving a beautiful stain that enhances the natural beauty of wood paneling.
2. Select the type of stain
When planning to stain wood paneling, selecting the right type of stain is crucial to achieving the desired results. There are various types of stains, including oil-based, water-based, and gel stains. Oil-based stains are popular due to their durability, deep penetration, and easy application.

Water-based stains are an eco-friendly option that dries quickly and produces a uniform color. Gel stains are thick and do not require any additional preparation, making them ideal for vertical surfaces.
Choosing a stain that matches the type of wood paneling used to ensure a consistent finish is important. By selecting the type of stain, you can achieve a beautiful, long-lasting finish on your wood paneling.
3. Select the Right stain for the wood
When it comes to updating the look of your home, a new coat of stain can do wonders. Staining your wood paneling can give your space a fresh, modern look without breaking the bank.
However, it is crucial to select the right stain for the job. Before diving in, consider the color and grain of your paneling and the overall look you want. Choosing the wrong stain can result in an uneven finish or an unflattering color.

For instance, a darker stain would be better if you have lighter-colored wood paneling and want to achieve a darker color.
By selecting the right stain, you can create a beautiful, long-lasting finish that enhances the natural beauty of your wood paneling.
4. Pre-stain conditioner
When staining wood paneling, using a pre-stain conditioner is an important step to ensure a smooth and even finish.
This product is designed to be used before applying the stain to prepare the wood surface for optimal absorption.
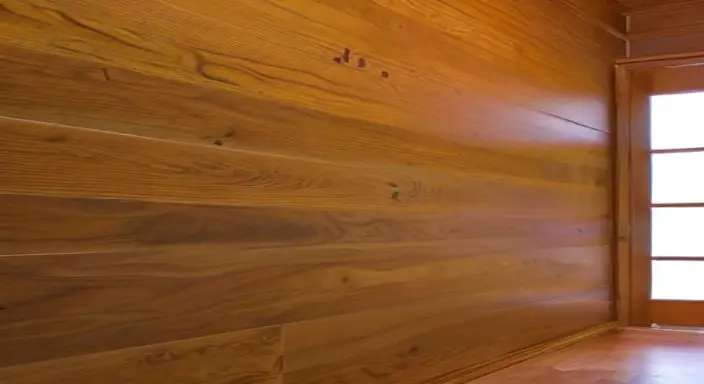
A pre-stain conditioner helps to prevent blotchiness and uneven coloring that can occur when staining bare wood.
It also enhances the wood’s natural grain and color, producing a more professional and polished look. Applying a pre-stain conditioner is a simple process that can greatly improve the outcome of your wood paneling project. Please read the manufacturer’s instructions carefully and follow them closely for the best results.
5. Apply the Stain to the wood
Applying the stain to the wood is crucial in staining wood paneling to achieve a smooth, even finish. First, ensure the paneling is clean and free of stains, dirt, or debris.
Before applying the stain, you will need to shake or stir the stain thoroughly to blend the contents.
Once the stain is properly mixed, use a brush, roller, or spray gun on the wood paneling in long, even strokes, working with the wood grain.

Ensure the coverage is uniform and consistent, applying enough stain to penetrate the wood pores.
After applying the stain, allow it to dry properly by following the manufacturer’s recommended drying time. Once the stain is dry, you can enhance the finish by applying a second coat or sealing the surface with a clear topcoat.
Always wearing protective gear like gloves and a mask is important, and working in a well-ventilated area when staining wood paneling.
6. Apply an Even Coat of Stain
Staining can be an excellent option if you want to transform the appearance of your dated wood paneling. When done correctly, stained wood paneling can add warmth and depth to any room.
One critical step of the staining process is applying an even coat of stain to the paneling. Before beginning, ensure the paneling is clean, dry, and free of any previous finish. Begin by stirring the stain thoroughly to ensure an even color.

Using a clean brush or roller, apply the stain to one section of the paneling, working in a smooth and even motion.
As you go, immediately wipe off any excess stain with a clean cloth to prevent drips or imperfections.
It’s essential to apply the stain evenly to ensure consistent color and avoid noticeable streaks or unevenness in the finish.
Repeat the process until the entire paneling is covered, and allow it to dry completely before applying a second coat if desired.
7. Dry the Stain
Staining is a great option if you’re looking to update the look of your wood paneling. However, following the correct steps is important to ensure a successful outcome. One of those steps is to dry any wet stains to prepare the wood for staining properly. To do this:

- Take a clean cloth and gently press it onto the stain to absorb excess moisture.
- Avoid using too much pressure or harsh scrubbing, which can damage the wood.
- Once most of the moisture is gone, allow the area to fully air dry before moving on to the next step in the staining process.
This extra step to dry the stain will help ensure an even and long-lasting finish on your wood paneling.
8. Apply a Second Coat of Stain (if necessary)
After completing the first coat of stain and allowing it to dry completely, it is important to evaluate whether a second coat of stain is necessary to achieve the desired finish.
Factors such as the type and condition of the wood paneling, the color of the stain, and personal preference all play a role in determining if a second coat needs. A second coat can deepen the hue of the stain and create a smoother, more even finish.
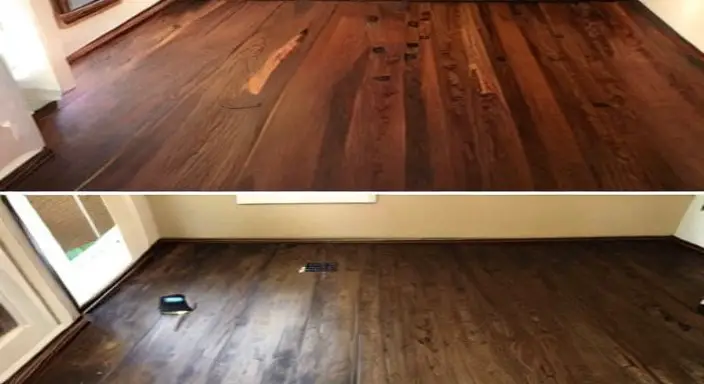
Before applying a second coat, lightly sand the surface with fine-grit sandpaper and remove the dust with a clean, dry cloth.
Proceed to apply the second coat of stain like the first, and let it dry entirely before evaluating the final finish. When working with staining products, wear appropriate personal protective equipment, such as gloves and a respirator mask.
9. Seal the Wood with a Polyurethane Finish
Staining wood paneling can be a great way to give a room a more polished look. Once the wood panels have been sanded and cleaned, the next step is to apply a polyurethane finish to seal the wood.
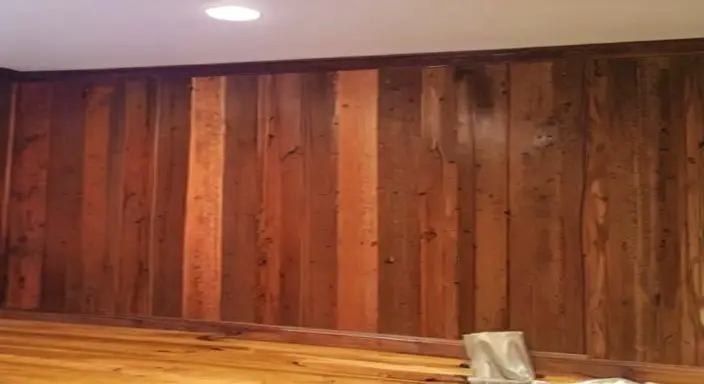
This finish will help to protect the wood from scratches, moisture, and other environmental factors that can damage it over time.
To apply the finish:
- Use a clean brush or roller to coat the entire wood paneling surface evenly.
- Work in sections, applying the finish in thin, even layers, and allow each layer to dry completely before applying the next.
- Once the final layer has been applied, allow the paneling to dry for at least 24 hours before using the room.
With these simple steps, you can give your wood paneling a professional-looking finish that will provide years of protection and beauty.
10. Sand the Wood Between Coats
Before achieving a smooth and even finish when staining wood paneling, it is essential to sand the wood between coats.
Sanding between coats helps remove any raised wood grain or rough patches that may have occurred during the staining process, leading to a polished and professional look.
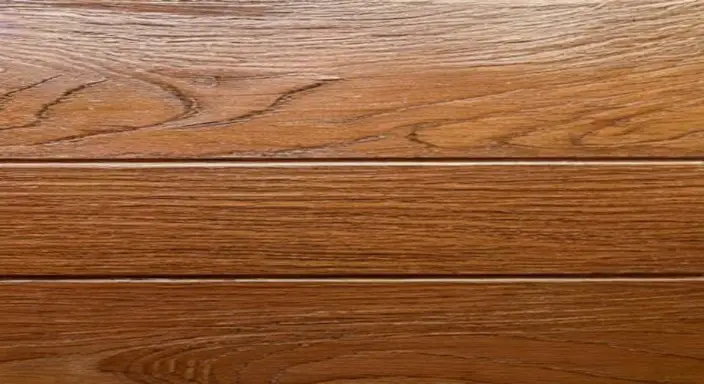
It also creates a better adhesive surface for subsequent coats, allowing for better absorption by the wood and an even distribution of the stain.
For best results, use fine-grit sandpaper, such as 220-grit. After sanding, wipe down the wood paneling with a tack cloth to remove any dust or debris before applying the next coat of stain.
While it may add time to the staining process, sanding between coats is essential for achieving a high-quality and long-lasting finish on wood paneling.
11. Then again, apply the stain
When discussing staining wood paneling, it is important to consider the technique of applying stain to stain.
This method involves applying a new layer of stain on top of an existing stain, allowing for a deeper and richer color.
However, it is crucial to ensure that the previous layer of stain is completely dry and that the surface is properly prepared before applying the new layer.
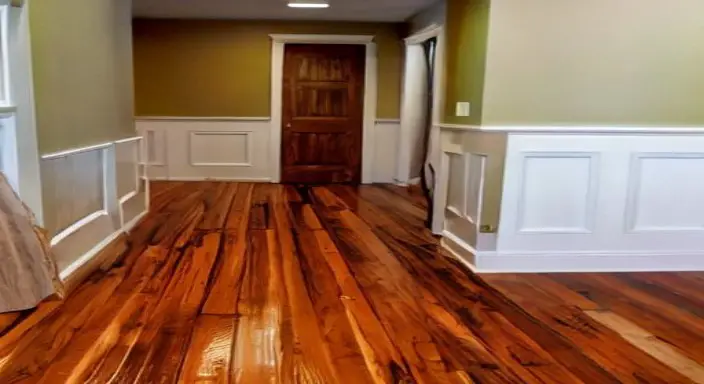
Testing the new stain color on a small, inconspicuous area is also recommended before proceeding with the entire paneling.
Following these steps will result in beautifully stained wood paneling that enhances the natural beauty of the wood.
12. Letting the Stain Set
Letting the stain set on wood paneling can be crucial in achieving optimal results for your project.
The longer the stain is allowed to penetrate the surface of the wood, the deeper the color and grain will become. However, it’s important to note that leaving the stain too long can result in an uneven finish or even damage the wood.
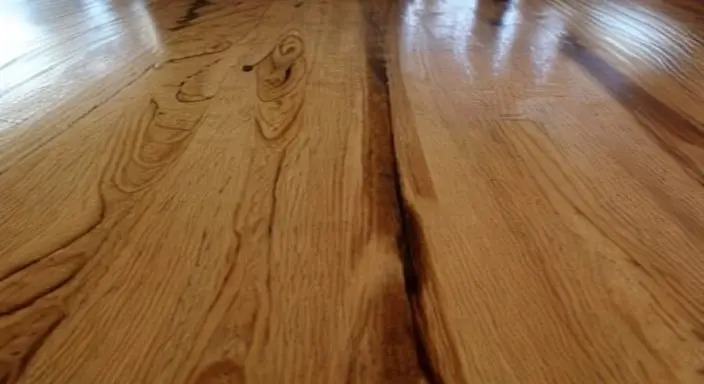
Following the manufacturer’s instructions and testing a small area before proceeding with the entire project is recommended to avoid this.
Additionally, keeping a close eye on the drying time and wiping away any excess stains can help ensure a beautiful and long-lasting finish.
13. Applying a Clear Coat
When it comes to home improvement projects, applying a clear coat to stain wood paneling is a great way to enhance its natural beauty and protect it from wear and tear.
This process involves sanding the surface to remove imperfections and applying a clear coat of varnish or polyurethane to seal the wood and provide a glossy finish. It is important to thoroughly clean and dry the paneling before applying.
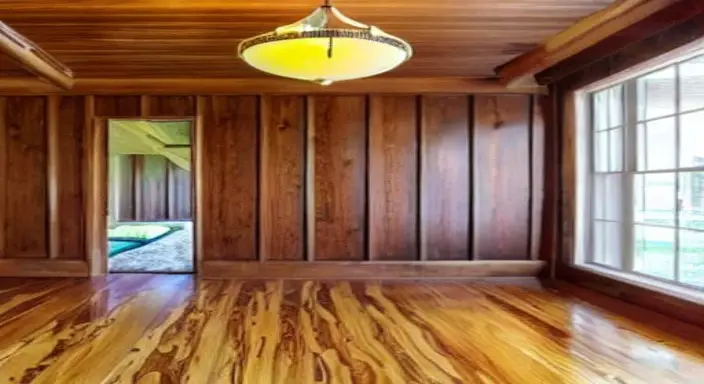
Additionally, following manufacturer instructions and using the proper tools and techniques is crucial for achieving a professional-looking result.
Applying a clear coat will make the wood paneling look stunning and increase its lifespan for years.
14. Re-sanding the Wood Paneling
Re-sanding the wood paneling to stain wood paneling is an essential step in renovating and enhancing the look of your home. Sanding is a process that removes the top layer of the wood paneling, allowing the stain to penetrate deeper, resulting in a more precise and rich color.
Before sanding, preparing the surface by cleaning and removing any dirt and debris is important. Sanding should do with fine-grit sandpaper to avoid damaging the wood.

Once the sanding is complete, the paneling should be wiped clean and dry before applying the stain. The result is a beautiful, updated look to your wood paneling that can transform the entire room.
15. Choosing a Stain Color
When it comes to staining wood paneling, choosing the right stain color is crucial to achieving the desired look and feel of the space.
Before selecting a stain color, consider the existing decor and furniture in the room and the amount of natural light that enters the space. Darker stains can add depth and richness to a room and make the space feel smaller and cozier.

Lighter stains can make a room feel more spacious and airier but may not provide the same warmth and depth as a darker stain.
Ultimately, selecting a stain color is a personal preference, but considering these factors can help create a cohesive and inviting space.
16. Applying the Sealer
When applying a sealer to stain wood paneling, there are a few key steps to follow:

- Ensure that the paneling is clean and dry before beginning.
- Choose a high-quality sealer designed for wood surfaces, and follow the manufacturer’s instructions for application. Apply the sealer evenly, using a brush or roller to ensure complete coverage. Allow the sealer to dry completely before applying a second coat if necessary.
- Clean up thoroughly after completing the job and properly dispose of any materials and tools.
Following these steps can achieve a professional-looking finish on your stained wood paneling.
17. Cleaning Up the Mess
Cleaning the mess to stain wood paneling is essential to achieving a professional and polished finish. Before you begin staining, it is crucial to ensure the wood paneling is free from dust, debris, and any previous stains.
Start by wiping down the paneling with a damp cloth, then use sandpaper to smooth out any rough spots or imperfections. After sanding, vacuum or sweep the area to remove any remaining debris.

You can begin the staining process once the paneling is clean and smooth. Remember to apply a high-quality stain evenly, following the manufacturer’s instructions.
You will achieve a beautiful and long-lasting finish by cleaning up the mess before staining.
18. Maintaining the Wood Staining
When it comes to maintaining wood staining on wood paneling, keeping a few key factors in mind is important. First and foremost, regular cleaning and dusting are essential in preventing dirt and grime buildup, which can cause discoloration and damage to the wood.

Additionally, applying a fresh coat of stain every 3-5 years is recommended to keep the wood looking vibrant and protected from wear and tear.
It is important to choose a stain compatible with the type of wood paneling and follow the manufacturer’s instructions for application.
By taking these steps, homeowners can ensure that their wood paneling remains a beautiful and functional feature for years.
My Opinion
Staining wood paneling is a great way to add a touch of depth, character, and personality to your walls.
The process can be simple but requires patience, attention to detail, and proper preparation.
Following the steps outlined in this guide, you can achieve a beautiful and long-lasting finish that will make your wood paneling look new.
Whether you prefer a light, natural color or a bold, dramatic shade, staining is a versatile solution that allows you to customize your home according to your taste and style.


