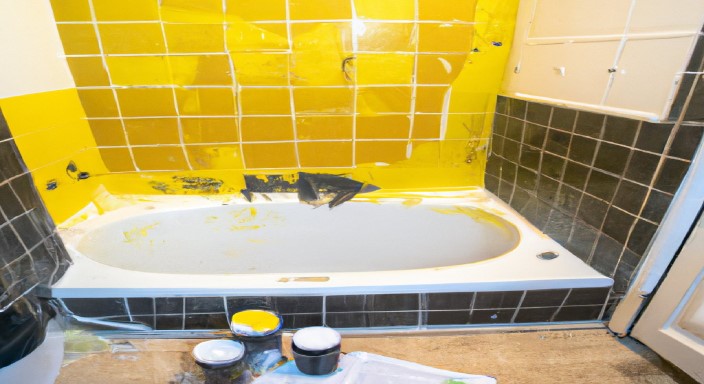
If you want to give your yellow tile bathroom an updated look, you have come to the right place. Updating the face of a bathroom can be overwhelming and expensive, but it doesn’t have to be. With the right approach, you can give your bathroom a modern, chic look without breaking the bank. This Home Affluence blog post will discuss how to update a yellow tile bathroom.
There are various ways to get the chic look you are after, from repainting walls and changing fixtures to adding modern accents and refreshing the tile.
We will also suggest tips for achieving a cost-efficient and aesthetically pleasing transformation. With the combination of our cost-effective tips and tricks, you can make your yellow tile bathroom look like it just stepped out of a designer magazine.
How to Update a Yellow Tile Bathroom
Step 1: Clean your bathroom and select the paint you want.
The first step to updating a yellow-tile bathroom is to clean it thoroughly. You’ll want to remove soap scum, dirt, and grime from the tile and fixtures.

It does help the new paint adhere better and gives you an excellent, clean result. Once your bathroom is sparkling, select the paint you want.
Choose a color that will contrast with the yellow tile, such as blue or green.
You’ll also want to select a high-gloss paint, which will help make the tile look brighter and give it a modern, contemporary look.
Step 2: Mask off everything you do not want to paint.
Step 2 is about protecting your bathroom surfaces you don’t want to paint. It includes countertops, cupboards, and floors.
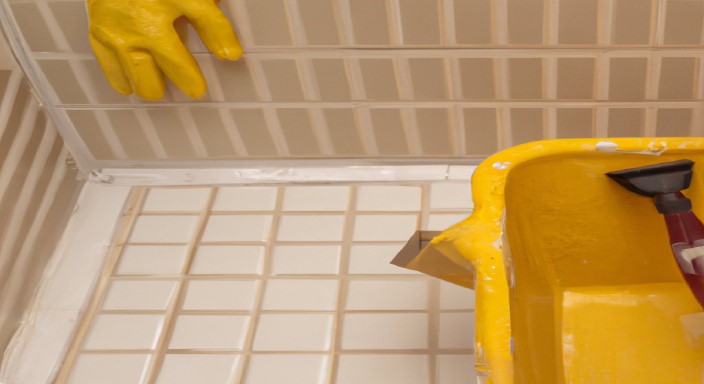
Start by gathering supplies such as painter’s tape and plastic sheets. Then, use painter’s tape to mask off the areas you don’t want to paint.

The tape should be applied onto the tile surfaces, cupboards, countertops, and floors, then covered with plastic sheets.
Ensure the tape and plastic sheets are firmly applied and sealed to prevent paint from seeping.
Step 3: Primer is key when updating a yellow bathroom.
Step 3 is to use a primer before you apply any new paint. Primer is essential because yellow tile is tough to cover.
Finding a paint color matching the yellow tile can be challenging, so investing in a quality primer is crucial to ensure your new paint color will be as close to a match as possible.

Apply a coat of primer to each tile and let it dry completely before you begin painting.
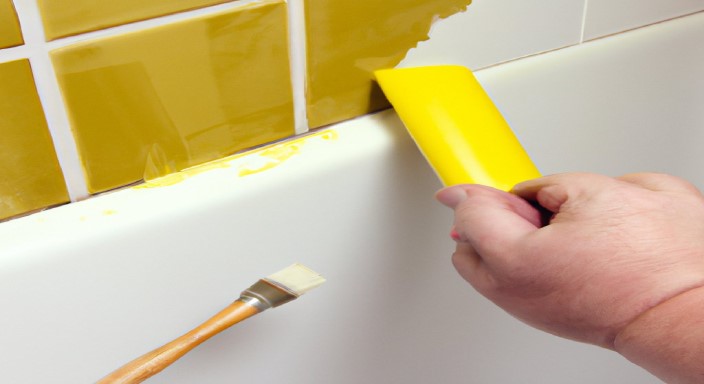
To ensure complete coverage, use a brush to apply the primer to the grout lines between the tiles.
Step 4: Paint your walls and ceiling in one session.
Once you’ve applied the primer, it’s time to dive in and start painting. You should paint the ceiling and walls in one session for the best results.

Start with the ceiling first, then move on to the walls. Use a roller and brush to ensure an even finish. Choose a semi-gloss finish for best results; it will stand up better to water and humidity in the bathroom.
Keep a wet rag handy as you paint; you can use it to remove excess paint and correct any drips or streaks.
Step 5: Allow the paint to dry overnight before moving on.
After you have applied the first coat of paint to the tiles, let it dry overnight. Depending on the type of paint, drying time can take anywhere from 6 to 24 hours.

To ensure the paint is completely dry, leave it overnight and check it in the morning. Once the paint has thoroughly dried, apply a second coat if desired.
Step 6: Fix any surface damage while the paint is still wet.
Before you finish your tile revamp, take a few minutes to inspect the area for any potential damage.

If there are any chips, cracks, or other blemishes on the tile surface, you should repair them before the paint dries. It can help ensure a smooth finish and keep the color from cracking or bubbling.
Fill any chips or cracks with a ceramic tile filler, let it dry, and then use a sanding block to smooth the surface. Once the filler has settled, your tiles are ready for the next step of the transformation.
Step 7: Sand again and apply your second coat of paint.
Now that the first layer of paint has dried, give your walls another light sanding for a smooth finish.

When you do, apply your second layer of paint. Allow the second coat to dry before applying the final layer.
Be sure to use quality paint designed for bathrooms, as this will help protect your walls from humidity and moisture.
Step 8: Apply polyurethane for added protection.
Once you have completed the painting process, you will want to add a layer of polyurethane for security. Polyurethane is a protective sealant that will protect the paint from chips and scuff marks.

To apply the polyurethane, use a paintbrush to spread a thin layer evenly over the tiles. Allow the polyurethane to dry completely before using the bathroom.
Expert Opinion
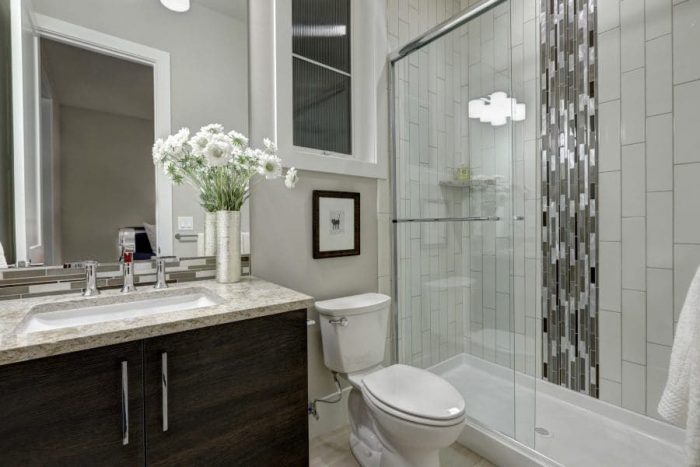
Updating a yellow tile bathroom can be a fun and rewarding project. With some planning and suitable materials, you can transform your outdated yellow bathroom into a modern, stylish space.
Whether you want to paint the tile, install a new shower curtain, or swap out the fixtures, there are plenty of ways to make your yellow tile bathroom look brand new.
You can instantly brighten up your space with a few simple changes and give it a much-needed update.
You can easily upgrade a yellow tile bathroom with a few simple steps and give it a modern, fresh look.
Learn More: How To Clean Porous Stone Bathroom Tiles
You can turn the space into a comfortable and inviting room by painting the walls and adding new accessories.
With a few simple changes, you can give your yellow tile bathroom a new look and make it a place to relax and enjoy.
I hope you learned how to update a yellow-tile bathroom.


