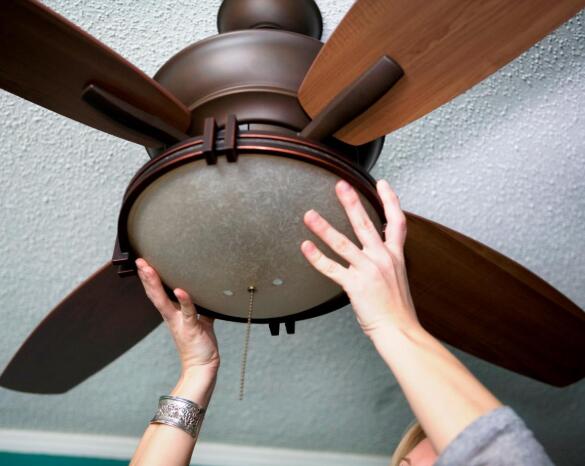
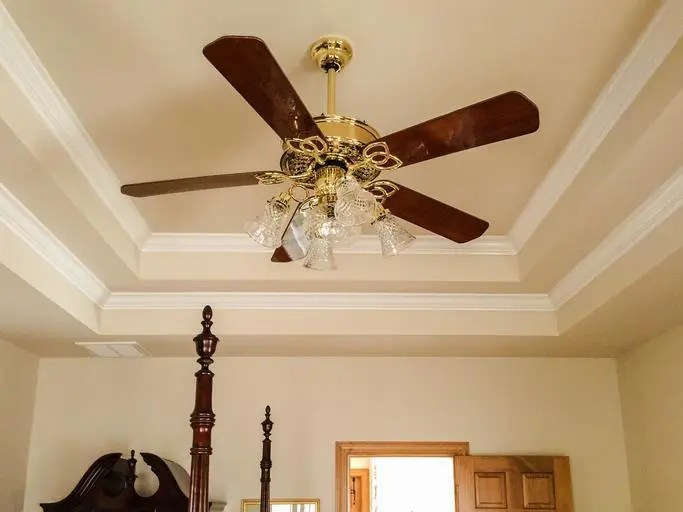
The fan, which spins lazily over the bed, makes warm nights more pleasant, but you don’t have to sacrifice ceiling lighting when you add a ceiling fan. Ceiling fans with integrated lighting will give you the best of both worlds. However, to avoid touching the tow rope when operating each item, you should install a fan and lighting control switch so that the fan and lighting can be operated independently and in a convenient location. Let’s learn how to wire a ceiling fan to a light switch.
How to Wire a Ceiling Fan to a Light Switch

Step-1
Locate the fan and light circuit breaker on the main electrical panel. Turn off the circuit breaker to remove power from the appliance circuit. Verify that power to that power line is completely off by testing the circuit breaker with a non-contact circuit tester.
Step-2
Using a screwdriver, remove the cover plate from the preceding switch. Remove and lay aside the cover plate.
Step-3
Use a screwdriver to remove the screws holding the old switch to the wall. Pull the switch so that the connection wiring can be routed. Temporarily leave the old switch hanging. Four wires should be connected to the back of the old switch.
Step-4
Take a picture of the top wiring with a digital camera or phone to remember the wire connections. You can also wrap a small piece of tape around each of the four hanging wires and note their connection point on the tape with a pen.
Step-5
Disconnect the old switch from the wall wires by turning the screws on the back of the switch with a screwdriver. Unwrap and pull each wire out of the switch. Set the switch aside.
Step-6
Connect the black wire from the new switch to the lower black wire protruding from the wall by twisting the bare ends of the wire by hand. This lower black wire should lead to the electrical panel, not the fan itself. Refer to new switch instructions for specific wire color differences; each manufacturer has a different color scheme, which may differ for different switch models.
Step-7
Connect the red wire from the new switch to the second black wire from the wall by twisting the bare ends of the wire together. This black wire must be connected to the fan.
Step-8
Connect the blue wire from the new switch to the red wire from the wall by twisting the bare ends of the wire by hand.
Step-9
Connect the white wire from the new switch to the two white wires coming out of the wall by manually twisting the three exposed wires together.
Step-10
Connect the twist-on connectors to each of the four twist-on wire configurations by twisting them by hand until they completely cover the exposed wires. Make sure no wiring is exposed at this point. If the connector does not completely cover all unprotected wires, cover them with additional electrical tape to prevent the risk of fire and electric shock.
Step-11
Carefully push the wiring into the wall area with the switch attached. Screw the switch to the wall with a screwdriver and the screws provided.
Step-12
Screw the cover plate back to the wall using a screwdriver. Press the power button on the electrical panel’s circuit breaker. Check that the fan and the light switch work properly and are turned off.
How to Connect a Ceiling Fan with Light

Step 1: Disconnect the circuit breaker.
Before you can connect your new ceiling fan, you will need to turn off the power to its circuit by switching the correct circuit breaker in the electrical panel of your home. Even if the circuit breakers are marked, it is also good to use a non-contact voltage tester to confirm that the power is off before proceeding, as the circuit breakers may always be marked incorrectly.
Remove any potential for electric shock. The voltage tester should be applied to the black wire inside the electrical box of your fan, as this is usually the hot wire of the power supply.
Step 2: Identify your threads
Although the wires within the ceiling fan are very straightforward, you must understand what each one is in order to connect them correctly. Inside the ceiling fan, you will often find black, white, blue, and green wires.
The standard is that the black wire is the fan’s power source, the blue wire is the light supply, the white wire is the neutrality wire, and the green wire is the ground wire, however you should carefully study the instructions for your new fan to be sure.
You must recognize the cables in the ceiling box in addition to those on the fan itself. The box should include a black wire, a white wire, and a ground wire made of bare copper. The black wire is hot and the white wire is zero, much like the cables that make up the fan itself.
Step 3: Connect the wires
Once you have located and identified all the wires in your fan and electrical cabinet, you can start working on their connections. You will need three swivel wire connectors for this. The first connector connects the black power wire from the electrical cabinet to the black and blue wires from the fan.
The second will connect two white neutral wires, while the third will connect the ground wires. Before completing the connection with the screw nuts, make sure that a firm connection is secured in each connection by twisting the wires together.
Also, make sure that you have removed enough insulation from each wire to leave enough space for firm contact. If necessary, you can always cut off any other bare wire before connecting the connector.
It should be noted that the above instructions are for the simplest and most common way to connect a ceiling fan. This method includes a single switch that powers the fan motor and the light itself, which have traction cable independent switches on the luminaire.
Step 4: Install the ceiling fan with the lighting kit
Follow the manufacturer’s specific instructions for installing the ceiling fan assembly and secure the ceiling fan assembly to the ceiling bracket.
Step 5: Test the operation of the ceiling fan and lighting
Once connected, you can turn the power again and test the fan to make sure everything is working. If you have done your job correctly, the fan and light should turn on when you turn on the wall switch (or manual remote control). If not, keep in mind that your fan has chain switches that control the fan motor and light internally.
Precautions before Connecting the Ceiling fan Light Switch

- When working, use a solid ladder to keep your balance.
- Keep the environment clean and flexible. This option can help you gain access to useful tools.
- Turn off the overall power when working. You can use this procedure to confirm the existence of electricity, thanks to the voltage tester.
- Wear rubber boots and gloves when working.
- Check tools before starting work. Sometimes a faulty device can cause colossal damage.
- Use wire straps in case of accidental accidents.
- Seek help from family or friends before developing this difficult skill.
Frequently Asked Questions
Is it possible to link the fan and the switch?
The white wires should be connected in the same way; then, the ground wires should be connected in the same way. You don’t have to cover the ground wires when connecting them, but it’s usually a good idea because the cap keeps them together. Install the light and fan before moving on to the ignition switch.
Can you connect a ceiling fan with light to a single switch?
Most new ceiling fans can be connected to a single or double switch. When connected with a single switch, the fan power is controlled by a standard single-pole wall switch, like a standard light switch.
How do I put a light switch and a fan switch on different circuits?
Connect each of the two switched hot wires (usually one black, one red) to the switched hot screw of the switch. Connect the white neutral wire from the panel to the neutral wire leading to the fan/lamp using a wire nut. In the fan / light junction box, connect each hot switch to one of the fans / light hot wires.
Can I connect the red and black wires to the ceiling fan?
If you have black and red wires in the ceiling fan supply box, they probably come from the same branch circuit source, black wire in the wall switch box, and then black and red in the double switch on the ceiling fan cover. In this way, you can control the fan and the fan lighting set separately. Could you not put them together?
What colors of wires fit the ceiling fan?
The black wire that connects to the switch is the hot wire. The white wire is zero and completes the electrical circuit. The copper or green wire is the ground wire and protects your fan from overvoltage.
Conclusion
Ceiling fans with or without a light set are generally one of homeowners’ simplest home electrical projects. As long as you use common sense, pay attention to safety precautions, and have sufficient skills in wiring,


