Trapping a bird in your garage can be a frustrating and stressful experience. Not only do you have to deal with the constant fluttering and chirping, but there’s also the concern of the bird causing damage or leaving droppings behind. Fortunately, you can take simple and effective steps to safely and quickly get a bird out of your garage. In this guide, I will walk you through the process, providing you with the knowledge and tools to handle the situation easily.
Understanding Why Birds Get Trapped in Garages
Before we dive into the steps to remove a bird from your garage, it is important to understand why birds end up in this predicament in the first place. Garages can be enticing to birds for a variety of reasons. They often provide shelter from the elements, a potential food source, or even nesting opportunities.
Additionally, birds may accidentally fly into an open garage door and become disoriented, making it difficult to find their way out. By understanding these factors, we can approach the situation with empathy and better understand how to resolve it.
How to Get a Bird Out of Your Garage
Step 1: Open All Doors and Windows
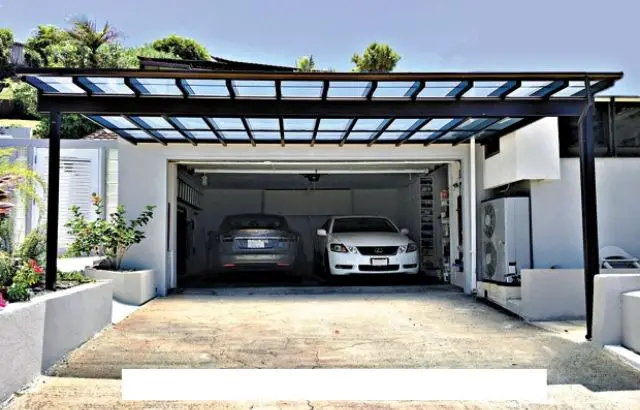
The first step in safely removing a bird from your garage is to open all doors and windows. This creates an exit route for the bird and increases the chances of it finding its way out. Open doors and windows that lead directly to the outdoors rather than into other areas of your home. This will prevent the bird from simply flying into another enclosed space and prolonging the process. If you have a large garage with multiple doors, open them all to provide multiple escape options for the bird.
It’s important to note that you should avoid sudden movements or loud noises that may startle the bird. This could cause unnecessary stress and make the bird more difficult to guide towards the exit. Remain calm and patient throughout the entire process.
Step 2: Create an Exit Path for the Bird
Once all doors and windows are open, it’s time to create an exit path for the bird. Start by clearing any obstacles or clutter obstructing the bird’s way out. Remove any tools, boxes, or objects that may confuse or scare the bird. It’s also a good idea to turn off any unnecessary lights or close curtains to minimize distractions and make the exit path more apparent to the bird.
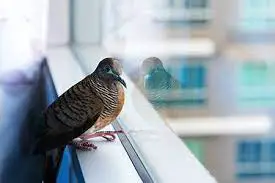
If any windows or skylights are in your garage, consider covering them temporarily with a sheet or a piece of cardboard. This will prevent the bird from becoming disoriented and flying into the glass, increasing the chances of a successful exit.
Step 3: Use Visual and Auditory Cues to Guide the Bird Out
Birds rely heavily on their senses, especially their vision and hearing. Utilizing visual and auditory cues can be an effective way to guide the bird towards the exit. One method is to place a bright light outside the open garage door. This will create a contrast between the dark interior of the garage and the light outside, attracting the bird’s attention and encouraging it to move in that direction.
In addition to visual cues, you can also use auditory cues to guide the bird. Play recordings of bird calls or chirping from a portable speaker near the open garage door. The sound of other birds can signal to the trapped bird that the outside world is nearby, prompting it to head towards the exit.
Step 4: Use a Long Object to Gently Guide the Bird Towards the Exit
If the bird is not responding to the visual and auditory cues, you may need to take a more direct approach. You can gently guide the bird towards the exit using a long object, such as a broom or a fishing net. Approach the bird slowly and carefully, making sure not to startle or harm it. Place the object near the bird and gently nudge it in the desired direction, towards the open doors or windows. Be patient and persistent, as it may take some time for the bird to understand your intentions and follow the guidance.
Remember to handle the bird carefully and avoid any sudden movements that may cause it distress. The goal is to guide it towards the exit without causing harm or further confusion.
Step 5: Ensure the Bird Has Safely Exited the Garage
Once the bird has successfully made its way towards the open doors or windows, it’s important to ensure that it has safely exited the garage. Please take a moment to observe the bird’s departure and ensure it doesn’t accidentally fly back inside. You can also step outside and look for any signs of the bird in the immediate vicinity to confirm that it has found its way back to freedom.
My Opinion
Dealing with a bird trapped in your garage can be a challenging situation, but by following these quick and easy steps, you can safely and effectively guide the bird back to the outdoors. Remember to remain calm, provide clear exit routes, and utilize visual and auditory cues to guide the bird towards the open doors or windows.
Once the bird has safely exited, take measures to prevent future incidents by sealing any potential entry points and keeping your garage clean and free of bird attractants. By taking these proactive steps, you can ensure that your garage remains a bird-free zone.


