Installing a garage sink is very convenient for dishwashing and gardening. Suppose you have to install a garage sink. Then, you don’t have to call a plumber; you can install it independently. It doesn’t seem easy, but performing all the steps perfectly is easy.
I will teach you how to install a garage sink in this article. Let’s start with the steps:
How to Install a Garage Sink
Determine the desired location for the sink in the garage.
In the first step, you have to plan the location for the sink in the garage. At the same time, when looking for a location, you also have to see the drainage and water lines. The location should be accessible so you can go and wash the disk. If you use the location far from the garage, it will take your time to go and use it. So, you have to think a lot about the position.
Choose a sink and faucet setup suitable for your needs and space.

Sinks are of different materials, styles, and sizes. You have to understand your needs and preferences. If you want a big sink, look for the big sink options. If a small sink is convenient, buy one.
Mark and cut out any necessary holes in the countertop or workbench where the sink will sit.

This step should be performed if applicable. Suppose there are no holes in the countertop or workbench to sit the sink. Then, you have to mark and cut out the necessary holes. You have to cut the hole according to the manufacturer’s instructions. If there is an already hole, then you can use it.
Install the faucet onto the sink according to the manufacturer’s instructions.

After cutting the hole, you must install the sink faucet. Grab a box of the faucet and turn it back. There will be manufacturer instructions behind the box. Please read it carefully and start working on it. You have to perform this step very carefully.
Place the sink into the cut-out, securing it with clips or caulking per the sink’s design.
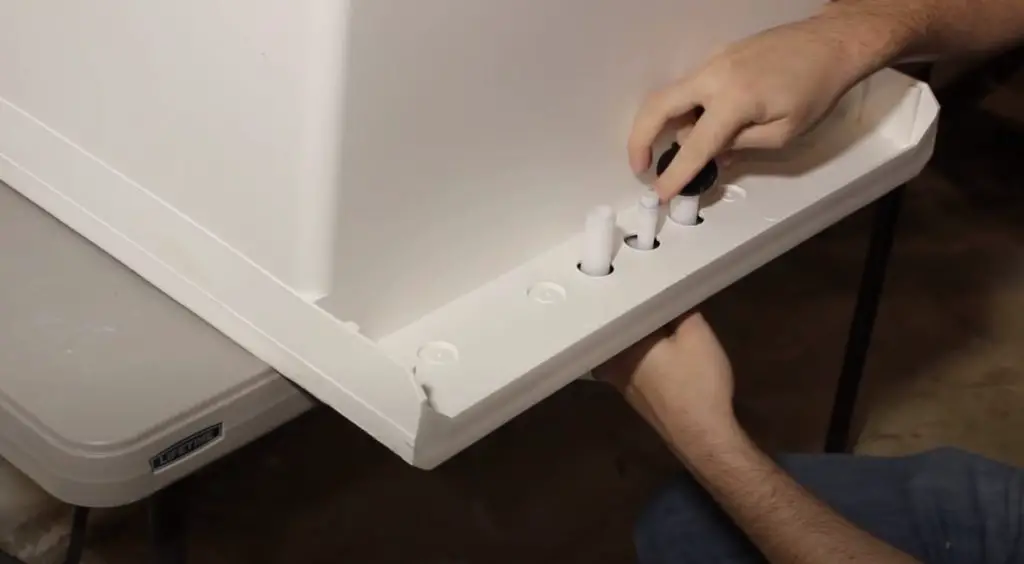
After reading the sink manufacturer’s instructions, you must place the sink into the cut-out in the countertop and workbench. Once you place the sink, then screw it in the sides so that it will not move. You have to level it perfectly so that it will not move while using it.
Locate the nearest cold and hot water lines; tap into these lines using T-fittings.

After placing the sink next, you have to give it water access. You must locate the nearest cold and hot water lines for that. Then, turn the water supply off after starting the process so you will not get disturbed. Tap into cold and hot water lines using a T fitting.
Connect flexible water supply lines from the T-fittings to the faucet’s hot and cold inlets.

First, connect the flexible cold water supply lines from the T fitting. Then, connect the flexible hot water supply lines from the T fittings. This step will help you to control and change the temperature of the water. So, you must connect water supply lines from the T fittings to the faucet’s hot and cold inlets.
Determine the drain location and run a PVC or metal drain pipe from the sink drain to the main house drain or a designated drain point.
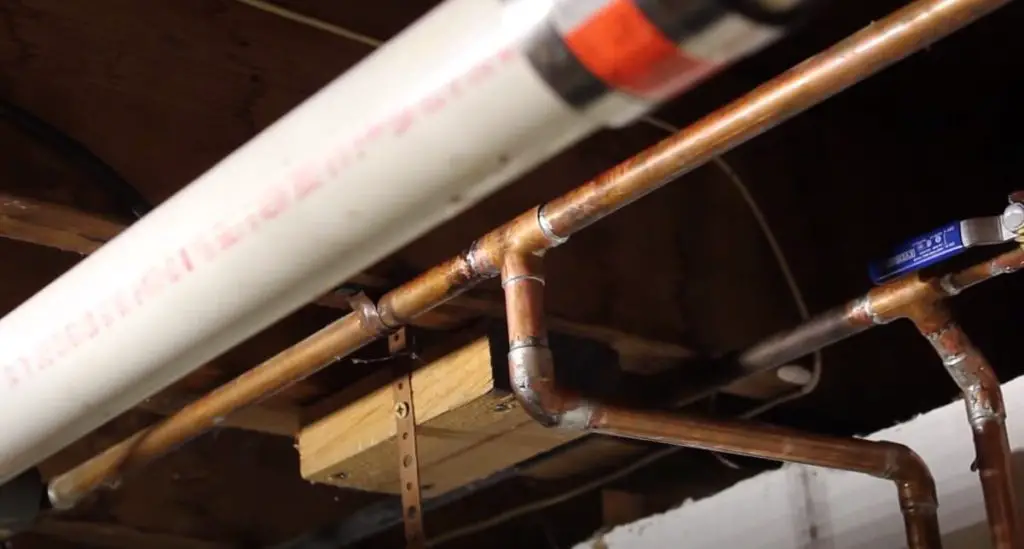
In this step, you must determine the perfect location for the PVC or metal drain pipe. You can use any of it. After grabbing the PVC or metal drain pipe, run it through the sink to the main house drain. You can also run it to the designated drain point.
Ensure the drain has a P-trap to prevent sewer gases from entering the garage.
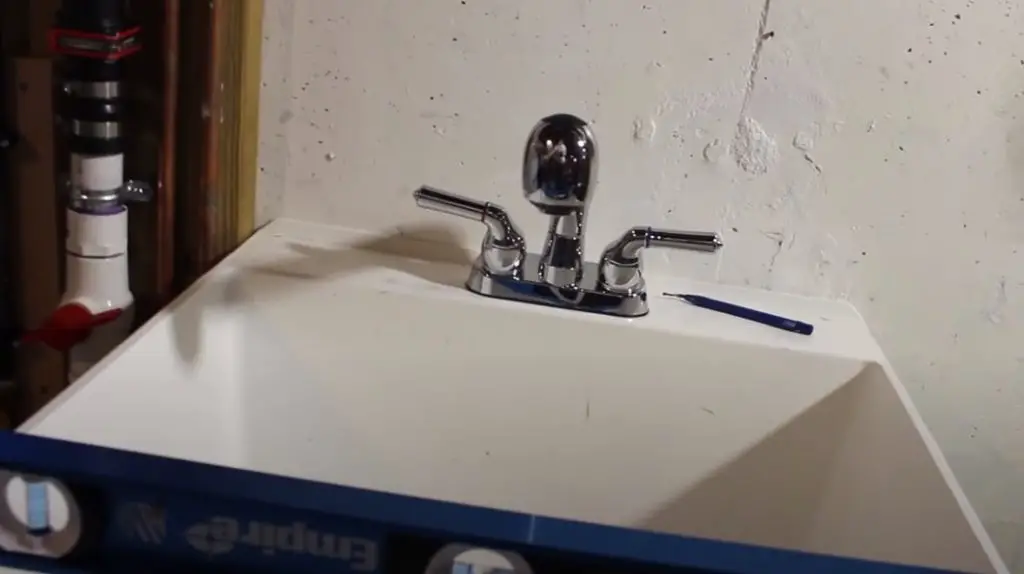
You have to make sure the drain has a P trap. P trap prevents sewer gases from entering the garage. If you don’t drain the P trap perfectly, sewer gasses will enter the garage. Thus, you have run it very neatly and professionally.
Turn on the water supply, test the faucet and drain for leaks, and adjust as needed.

In the last step, you have to turn on the water supply that you had in the previous step. Now, test the faucet. If there is any leakage, fix it immediately. Otherwise, your water will be well-spent. If there is no leakage, then it is ready to use.
My Opinion
A garage sink can give you many advantages. Installing a garage sink is an easy process. All you have to do is decide the location and cut the hole. After that, install the faucet onto the sink. You have to place the sink very carefully. Connect the cold and hot T fitting in it.
Run the PVC or metal drain pipe from the sink drain to the main house. You must perform this step to prevent sewer gases from entering the garage.
You have to perform all the above steps very professionally. Every step is important so that you can complete all of them. Finally, check your sink to see any leakage or other issues. Fix it immediately if you can fix it at the time.


