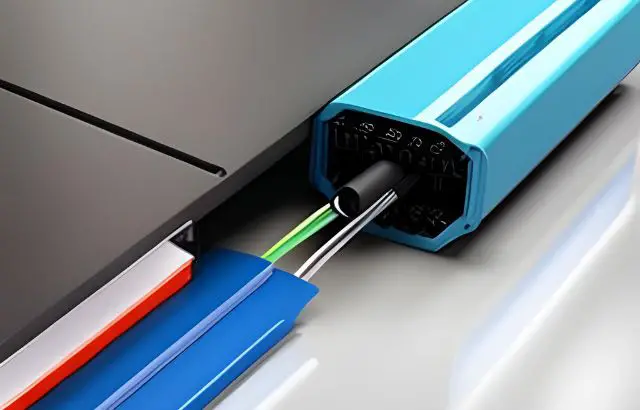
The technology landscape is fast-paced and continually evolving, yet the significance of Ethernet cables remains. They provide a dependable and efficient way to connect your devices for high-speed data transfer, and they’re particularly handy in multi-story homes or offices. Running Ethernet cables between floors may seem daunting, but with some knowledge, the right tools, and patience, you can undertake this project yourself.
How to Run Ethernet Cables Between Floors

You’ll learn the step-by-step process of seamlessly running Ethernet cables between floors in just a moment. This guide covers planning, selecting the right equipment, wiring process, and safety tips to ensure a successful do-it-yourself (DIY) project. Here is a 6-step guide below.
- Planning Your Route
- Gather Your Tools
- Drill Holes
- Run the Cable
- Install the Wall Plates and Keystone Jacks
- Test Your Connection
Planning Your Route
Identify the points where you’ll install the Ethernet ports and plan the path your cable will take from one floor to another. Use a stud finder to avoid drilling through load-bearing structures. Also, remember to consider the length of the Ethernet cable; it shouldn’t exceed 100 meters to maintain optimal data transfer rates.
Gather Your Tools
The tools will include an Ethernet cable, drill, fish tape, drywall saw, grommets, wall plates, keystone jacks, and a crimping tool. Make sure to have protective glasses and gloves for safety.
Drill Holes
Once the route is planned, it’s time to drill holes at your starting and ending points and potentially in-between floors, depending on your path. Ensure the holes are large enough for the Ethernet cable but not overly large.
Run the Cable
Using fish tape, thread the Ethernet cable through the drilled holes. Be gentle to avoid damaging the cable.
Install the Wall Plates and Keystone Jacks
Cut the Ethernet cable to length, leaving some slack. Strip the cable, arrange the wires according to the T568B standard, and punch them into the keystone jack. Insert the jack into the wall plate and attach it to the wall.
Test Your Connection
Once you’ve installed the cable, use an Ethernet cable tester to confirm the connection is successful.
Remember always to respect your building’s structure and electrical codes when running Ethernet cables. If you feel uncomfortable at any stage, consider hiring a professional.
My Opinion
Running Ethernet cables between floors can be a simple task. With the right planning, tools, and patience, you can install a reliable wired network in your multi-story home or office. Safety is paramount, and seeking professional help is always a good idea if you’re ever in doubt. With this guide, you can take your connectivity to new heights.
If, however, you’re faced with situations that make drilling unsuitable, don’t worry. There are alternative methods you can explore. In our guide on “How to Run Ethernet Cable Between Floors without Drilling,” we provide practical solutions that help maintain your home’s aesthetics and structural integrity while ensuring you enjoy the benefits of a wired network connection. It’s proof that you can indeed have the best of both worlds!


