Cable railing has become increasingly popular in modern homes and properties. They are sleek and minimalist, making them a perfect addition to any contemporary design. However, like any other railing system, cable railings require maintenance to ensure durability and safety.
After several years of use, cable railings might become wobbly and loose, which can be a significant safety concern.
Tightening cable railings prevents accidents while ensuring they remain visually appealing.
Whether a DIY enthusiast or a professional contractor, you must know how to tighten cable railing. This Home Affluence post will discuss everything you need to tighten cable railings:
- Understand the Components of Cable Railing Systems
- Determine the Cause of Sag in the Cables
- Preparing for the Tightening Process
- Identifying the Necessary Tools
- Adjust the Tension of the Cable
- Secure the Cable to the Post
- Install Turnbuckles
- Adjust the Turnbuckle
- Installing Stabilizing Posts
- Inspecting the Cable Railing
- Finishing the Tightening Process
- Caring for Cable Railing
- Connect the Cable to the Turnbuckle
- Tighten the Cable with the Turnbuckle
- Test the Tightened Cable
- Maintain Your Cable Railing System
We will take you through the steps involved in tightening the cable railing, the tools required, and how to identify when to tighten your cable railing to prevent accidents. We will also share tips on maintaining your cable railing to prevent loosening.
How To Tighten Cable Railing
1. Understand the Components of Cable Railing Systems
If you want to tighten cable railing, it is important to understand the components of cable railing systems first. Cable railing systems usually consist of cables, railing posts, handrails, and hardware.
These cables have stainless steel and go across the railing posts to create a strong and durable barrier. The railing posts are secure to the ground or a deck, holding the cables in place.

The handrails are typically added for grip and safety and mounted on the railing posts. Hardware such as tensioners and turnbuckles tighten the cables and keep them taut over time.
By understanding these components and how they work together to create a secure railing system, you can take the necessary steps to achieve this.
2. Determine the Cause of Sag in the Cables
One of the first steps is to determine the cause of the sag in the cables. Sagging of cable railings is a common problem for several reasons, such as high winds, temperature changes, or improperly tensioned cables during installation.

Inspect the railing system and identify any loose or damaged cables. Check the cable tension at various points along the railing, ensuring it’s not overly tight or loose.
The railing may begin to sag if the tension is different at all points. Please pay close attention to the anchor points and the cables’ position to ensure they are securely in place.
Careful inspection of these points will help you determine the cause of the sag and allow you to take corrective measures to address the issue.
3. Preparing for the Tightening Process
Preparing for the tightening process is crucial to achieving a taut and secure cable railing. Before beginning, gathering all the necessary tools and equipment is important.
It typically includes a cable cutter, cable tensioning tool, pliers, and measuring tape. It is also important to assess the condition of the cables and ensure there are no signs of damage, such as fraying or corrosion.

Any damaged cables should replace before proceeding with the tightening process.
Additionally, we recommend cleaning the cables and hardware using a mild cleaner to remove any dirt or debris that may interfere with the tightening process.
By preparing properly before tightening, you can ensure a successful and long-lasting cable railing system.
4. Identifying the Necessary Tools
If you have a cable railing system, it’s important to know how to tighten it properly to ensure its safety and integrity.
To do this, you’ll need a few necessary tools. The first tool that you will need is a cable tensioning tool.

This tool applies the necessary tension to the cable to have a secure and strong railing system.
You will also need a pair of wire or cable cutters, which is necessary to trim the cable to the appropriate length.
A torque wrench is another essential tool that applies a specific amount of force to the railing post during installation to ensure it works properly.
Finally, a level or plumb bob will need to use to ensure that the railing is perfectly level before, during, and after tightening to maintain the quality and stability of the railing system.
With these tools, you can tighten your cable railing, ensuring its safety and longevity.
5. Adjust the Tension of the Cable
Cable railing is popular with many homeowners and businesses due to its sleek look and durability.
However, over time, the tension in cables can begin to lose, compromising the strength of the railing and its overall appearance. Tight the cables periodically to maintain integrity.
This process is Adjusting the Cable’s Tension to Tighten the Cable Railing. This step involves tightening the turnbuckle to create tension in the cables.

Proper tension is important to maintain the structural integrity of the cable railing system, so it is important to be patient and take the necessary time to adjust the tension properly.
You can ensure your cable railing stays secure and visually appealing at home with care and attention.
6. Secure the Cable to the post
If you plan to install your cable railing, it’s important to know how to tighten it properly. One important step in tightening the cable railing is to secure the cable to the post.
After installing and tensioning the cable, attaching the cable to the end post with a tensioning device is essential.
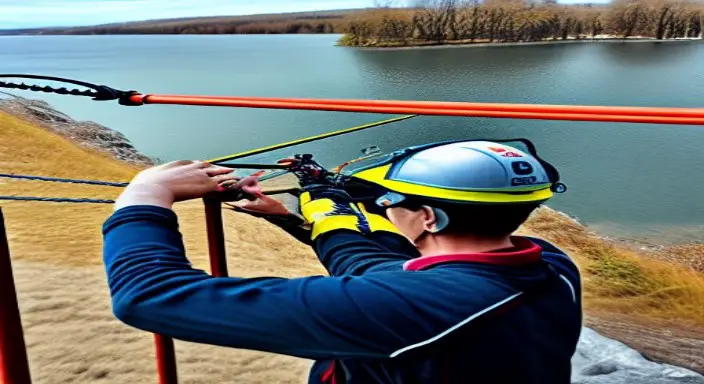
The tensioning device will keep the cable locked securely in place and prevent it from slipping or moving from its position over time.
Once you fasten the cable, use a tension gauge to measure the tension and ensure that it meets your desired level of tautness.
By adequately securing the cable to the post, you can ensure your cable railing is sturdy, reliable, and safe.
7. Install Turnbuckles
If you are looking for a way to improve the safety and appearance of your cable railing, installing turnbuckles is a great solution. Turnbuckles can effectively tighten your cables and make your railing more secure.

To install turnbuckles for your cable railing, you’ll need first to identify the location of the problem. Check for loose cables and ensure they’re properly spaced and anchored.
Then, follow these simple steps to install the turnbuckles:
- Measure the distance between the posts and the cables.
- Choose the appropriate size turnbuckles to match the diameter of your cables.
- Attach one end of the turnbuckle to the cable and the other to the post.
- Turn the turnbuckle using a wrench to tighten the cable.
It’s important not to over-tighten the turnbuckles, as this can cause damage to the cables and the railing.
The turnbuckles should be snug but not overly tight. Once you are ready, your cable railing will be more secure and visually appealing.
8. Adjust the Turnbuckle
If you are looking to tighten your cable railing, adjusting the turnbuckles is a straightforward process that can be accomplished with basic tools:
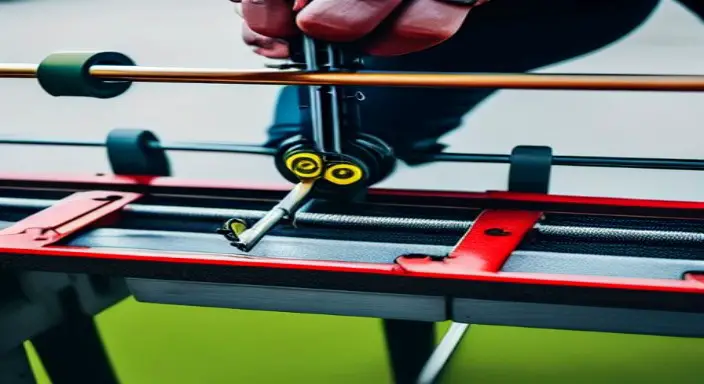
- Locate the turnbuckle, a metal device found at either end of the cable run. Loosen the nuts on both sides of the turnbuckle using a wrench or pliers.
- Turn the turnbuckle’s center shaft clockwise until the cable’s tension has reached your desired level.
- Tighten the nuts on both sides of the turnbuckle to secure the tension. It’s important to note that turnbuckle adjustments should make gradually to avoid over-tightening or damaging the railing system.
- Regular maintenance checks should ensure the cable railing remains stable and secure.
9. Installing Stabilizing Posts
Installing stabilizing posts is a crucial step in tightening cable railing. These posts help anchor the cables and ensure they remain tight and secure. To install stabilizing posts:
- Start by determining the ideal location for the posts. You should consider the layout of your cable railing system and any existing posts or support structures.
- Once you have determined the placement, use a post-hole digger to dig holes at each location where a post will install. The holes should be deep enough to provide adequate support for the posts, typically around 24 inches deep.
- After placing the posts in the holes, fill them with concrete to secure them firmly in place. Once the concrete has dried, the posts will be ready to use.
With stabilizing posts, you can confidently tighten the cables on your railing system, knowing they will remain tight and secure.
10. Inspecting the Cable Railing
Inspecting the cable railing is an important step before tightening the cables. Check for any damage or wear and tear in the cables, bolts, and fittings. Ensure that all the components are securely fastened and tightened.
The cable railing should be kept taut and level, and there should be no slack in the cables. Any slack or sag may indicate a problem with the tension, which can lead to the cables loosening or even breaking over time.

To tighten the cable railing, use a tensioning tool to increase the tension on the cables until they are taut.
Be careful not to overtighten the cables, as this can damage the components and compromise the safety of the railing.
Regular inspections and maintenance of the cable railing can help prevent accidents and ensure the safety of those using the area.
11. Finishing the Tightening Process
When discussing the tightening process for cable railing installation, it is important to emphasize the significance of finishing this step correctly.
Tightening the cable railing ensures a secure and stable installation and adds to its aesthetic appeal.

Before achieving an appropriate level of tension, it is essential to use the correct tools and follow the manufacturer’s instructions carefully.
A proper tensioning system should also be in place to prevent over-tightening, which can cause the cable to break or the posts to become damaged.
You can ensure a safe and visually appealing cable railing installation by discussing the importance of finishing the tightening process correctly.
Caring for Cable Railing To Tighten Cable Railing
When it comes to cable railing, proper maintenance is crucial to ensure its longevity and safety.
One of the essential aspects of caring for cable railing is tightening the cables regularly. Over time, the cables may become loose due to changes in temperature, humidity, or even regular use.

Loose cables not only compromise the structural integrity of the railing but also pose a safety hazard.
To tighten the cables, carefully adjust the tension using the appropriate tools while ensuring the cables are evenly spaced and aligned.
13. Connect the cable to the turnbuckle
Connecting the cable to the turnbuckle is crucial in installing cable railing systems. The turnbuckle is a tensioning device that allows for easy cable tension adjustment. Tighten the cable railing; one end is attached to the turnbuckle, while the other is attached to the anchor or post.

The turnbuckle can then be twisted to tighten or loosen the cable tension, creating a taut and secure railing. Ensuring the cable is properly tensioned is important to prevent sagging or loosening.
Proper installation and tensioning of cable railing systems provide a sleek and modern appearance while ensuring safety and security.
14. Tighten the cable with the turnbuckle
Regarding cable railing, tightening the cables is a crucial step to ensure stability and safety. One effective way of tightening the cables is by using a turnbuckle.
A turnbuckle is a device that consists of two threaded eye bolts connected by a metal frame, which can rotate to adjust the cable’s tension.
Tighten the cable with a turnbuckle; the cable is first threaded through the eye bolt on one end and secured with a cable clamp.

The other end of the cable is then threaded through the eye bolt on the other end and tightened with the turnbuckle until it reaches the desired tension.
It is important to periodically check and tighten the cables to maintain stability and prevent accidents.
15. Test the Tightened Cable
“Testing the tightened cable is an essential step in ensuring the safety and stability of cable railing systems. It involves inspecting the cables to ensure they are correctly tightened and examining their tension to ensure rigidity.
The test should be conducted by a professional familiar with the railing system’s specifications and the manufacturer’s recommendations.

The test will help identify any potential issues with the cable tension and ensure that the necessary adjustments are made to prevent accidents or injuries.
The proper testing procedure ensures the cable railing system is secure and meets safety standards.”
16. Maintain Your Cable Railing System
Maintaining your cable railing system is crucial for ensuring its longevity and safety. Over time, cables can become loose or damaged, compromising the stability of the entire railing system. Regular inspections and maintenance can help identify and address any issues before they become major problems.

Tightening the cables is an important step in maintaining the structural integrity of the railing. It can do by adjusting the turnbuckles’ tension or using a cable tensioning tool. It is important to follow manufacturer guidelines and safety procedures when performing maintenance on your cable railing system.
Proper maintenance not only preserves the appearance of your railing but also ensures the safety of anyone using it.
My Opinion
Tightening cable railing is relatively easy and can be done easily with the right tools and techniques.
By following the steps mentioned in this post and using the right tools, you can keep your cable railing system safe, secure, and looking great.
It’s important to regularly maintain the tension of the cables to ensure safety and stability.
So, don’t hesitate to tighten your cable railings whenever necessary to maintain the safety and aesthetics of your home or business.


