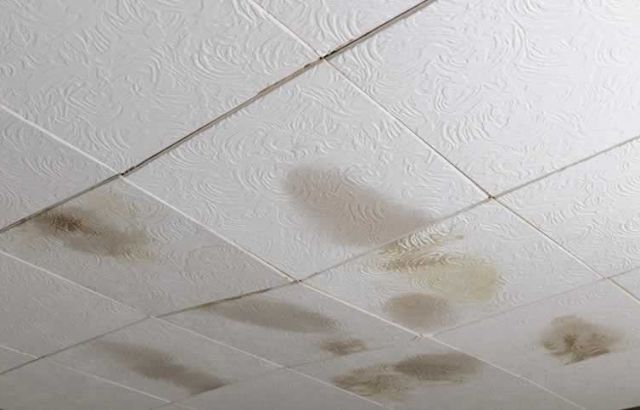
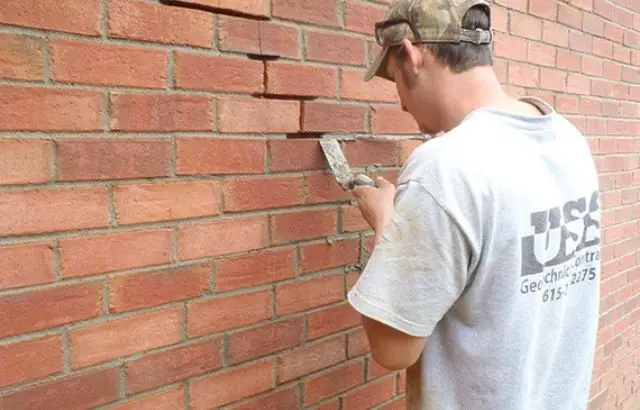
Many people commonly wonder how to remove ceiling tile?
Ceiling tile gives a finished look to an uninteresting ceiling, and a drop ceiling with tile can make the room more comfortable to heat and cool.
Removing ceiling tile is not complicated, but you should consider how to finish the area later. Also, think how old the ceiling is before starting this work.
Tiles installed before the mid-1980s have the potential to contain asbestos and need a professional regimen. If you are unsure of the tiles’ age, have them checked for asbestos in the ceiling before dismantling.
Read More: How To Clean Stone Tile Shower
How to Remove Ceiling Tile: Tools
- plaster square
- sandpaper
- pry bar
- putty knife
- 6″ and 10″ finishing knives for joints
- Multi-purpose knife
- measuring tape
- skimming blade
- mask
- ladder
- pliers
- screw gun
- sanding stick
- cordless drill
- paint roller
- safety glasses
Materials
- plaster wall screws
- plasterboard joint tape
- Remove the tiles from the ceiling
Read More: How To Waterproof A Shower Without Removing Tiles
How to Remove Ceiling Tile
The placement of the ceiling tiles must first be understood. You may have to work harder to get them out if they are immediately glued. The task will be simpler if they are glued ceiling tile furring strips. Mark the tiles with a utility knife, then use a spatula to release and lower a tile from the ceiling for examination.
- Start removing the tiles. First, remove the old crown moulding, then use a pry bar or claw hammer to drop the old tiles. Learn to remove roof tiles.
- This goes faster with two or more people doing a stair job from numerous points in the room.
- Use a few pliers to pull the old staples out of the furring strips. Make sure the strips are smooth. Anything left on them could cause a bump in the drywall when it is installed.
- Reinforce the furring strips by inserting screws through them, and into the ceiling joists.
Cutting the Drywall
Take steps to find out what proportion of plaster is required. The purpose of accurate measurements is to use the least amount of board feasible and ensure that each panel’s ends are attached to the furring strips.
To cut the gypsum board to fit, mark the length with a gypsum board square as a guide, and draw the line with a utility knife. Now, walk behind the gypsum board and snap it into place to break the core during the marked line. Remember to cut the paper.
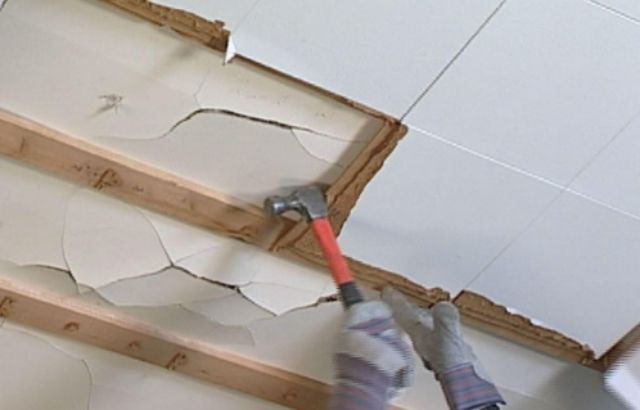
Laying out the gypsum board
To arrange the gypsum panel, one individual helps hold the board against the ceiling while two other individuals drive 8- to 12-inch split gypsum screws. Use a cordless drill or screw gun.
- It is substantial to align the long edges. The side edges are tapered to make the joints smoother.
- The ends of the gypsum frames are flat, and will require somewhat more capacity when “muddying”.
- Orient the frames with the end seams staggered to help find a smooth finish for the plaster ceiling. Continue to do this work until the last drywall is in place.
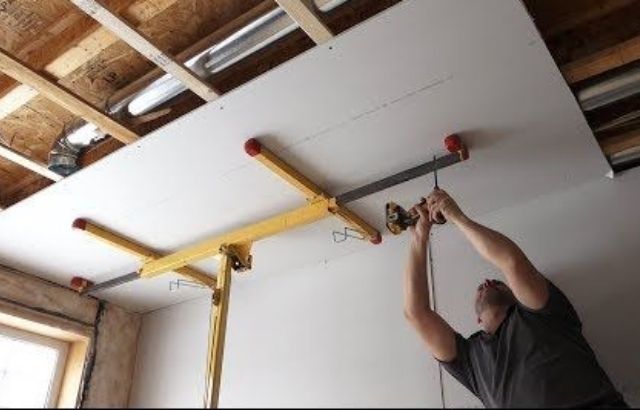
Hide the seems
The most complicated part of finishing the plasterboard installation is hiding the joints where the paintings are. Be sure to have plenty of compound and drywall tape. Also, be sure to have compound finishing blades for 6″ and 10″ joints.
Use the 6″ blade to use a multi-purpose joint compound cover (“mud”) to the joint. Then center the tape in the mud and cover it with another thin cover of joint compound.
Use a second and third mud cover.
- When you have all the joints covered, let the compound cure overnight.
- For the second cover, lengthen the quick joint compound using a 10-inch knife. Also, use the joint compound to hide the screw heads.
- Again, allow the compound to cure for 24 hours.
- For the third and most recent deck, the development is the same. Feather the joint and put a newer cover over the screw heads. Allow curing overnight.
- Skimming and sanding the roof
- After the most recent roof covering the joints has dried, it denatures and sands the top.
- To denature, apply a skinny coat of compound with a paint roller, then denature the excess with a skimming blade.
- When the skimmer cover is dry, sand the roof lightly with a sandpaper stick. Try to use a dust mask when you do this.
- When the sanding is complete, and the roof is smooth, the job is done. You can paint the walls and ceiling and install crown moulding.
- Interlocking ceiling tiles
Read More: How To Match Ceiling Paint
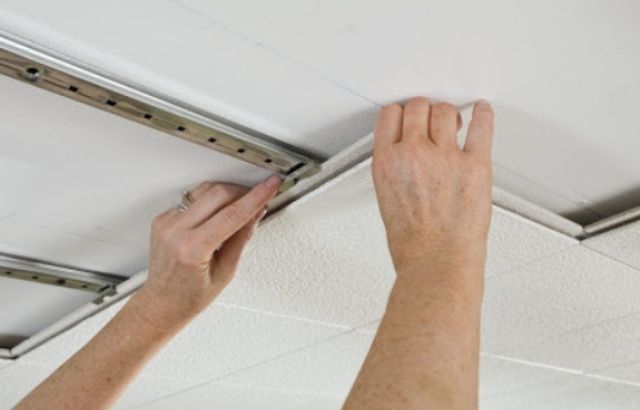
Interlocking ceiling tiles tend to be square and are mounted on or near the original ceiling.
This type of tile is commonly used to hide an uninteresting ceiling without lowering the height considerably, and on surfaces where there is no requirement to add ductwork space.
Removing this kind of tile is very easy, for it, you only need a utility knife with a sharp blade, a flat head screwdriver and a metal scraper as the 5 in 1 utility of a painter.
Some tiles are glued near the edges; others are stapled; others use a combination of glue and staples. The tiles’ interlocking arrangement makes it easy to tighten the seams and add insulation to the room.
Interlocked
- To remove the interlocked tiles, run the paper of a utility knife through the seams between the tiles to cut the interlocked edges.
- Remember to cutting one tile will not cause all the tiles to fall because they are individually mounted. If the tiles are stapled, they will quickly come loose.
- If glue was used, remove the tiles with a screwdriver or a 5-in-1 scraper utility.
- The glue on ceiling tiles and staples left on the ceiling are scraped off in the same way.
- Interlocking Tile Strips
- Most interlocking tiles can be found on furring strips, narrow boards placed in rows at least 12 inches apart through the ceiling.
- Tiles mounted on furring strips are removed in the same manner as tiles mounted flat against the ceiling, but the strips also have to be removed or covered by the new ceiling material.
- The boards must be removed if they were nailed down, or the screws removed. The development will leave damage that will have to be repaired with a gypsum joint compound or gypsum patching compound.
- Furring strips lend themselves very well to installing gypsum boards since space tends to be 12 inches apart. The edges of the gypsum sheets line up with the furring strips where required. Sometimes ceiling tile replacement will be necessary.
Suspended System Tiles
- Drop ceilings also called grid systems, are very common in older homes with high ceilings.
- Suspended systems help make the heating of the rooms simpler due to the lowered profile of the area and hide new ducts.
- Removing the tiles in a suspended system does not require utilities.
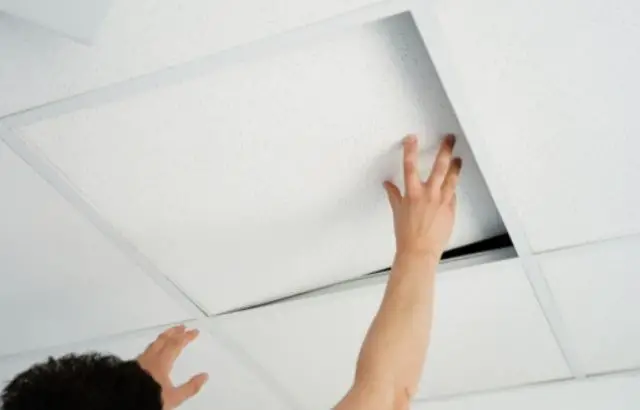
- Push a tile to raise it above the grid, then tilt the tile at an angle and lower it through the grid. Finding the right angle takes some getting use to.
- If any tile has electrical entities such as ceiling lights, have an electrician remove it before lowering the tile. The drop tile ceiling may be the best you can choose.
Suspended Tile Grid System
- The suspended tiles rest on a metal grid that is attached to the walls and ceiling. If you want to replace the old tiles with new ones, you don’t need an exclusive grid.
- If you remove the entire system, you will need a screwdriver, pliers, and a regular hammer. The rails near the perimeter of the room support the frame of the plan.
- The grid has with eye-hooks and wires. Removing a grating is a job for at least two people because the rails are long and will fall off when you undo them. Twisting and pulling the cables that attach the grid to the eye hooks on the ceiling frees the grid and drops it.
- Twist the eye hooks counter-clockwise with pliers to remove them. To remove the rails near the perimeter of the room, remove them with a screwdriver by holding them in place.
- It may be desirable to replace the drop ceiling with drywall.
How to Remove Ceiling Tile: FAQ
Is there an easy way I can remove the polystyrene tiles from my roof?
Removing tiles on your own will not be a simple job, especially if they are in the ceiling.
The tiles fix in one of two ways:
Fully glued:
- The entire back of the tile cover with adhesive and attached to the area.
Fixed point and touch:
- Put adhesive on each corner of a tile and commonly in the centre.
- If you have used the dot and touch fixing procedure, this will remove the tile somewhat more straightforward, since you can use a scraper to lift the available parts of the tile and pull them out leaving only the factors that are currently attached. Then you can use the scraper to scrape them off.
Is it illegal to have polystyrene ceiling tiles?
No. Polystyrene tiles are legal. For the time being Polystyrene ceiling tiles are not illegal, incredibly. The same goes for polystyrene ceiling tiles. If you go to the stores and the do-it-yourself stores, you’ll be able to continue buying them; they’re not illegal.
Can you rent a house with polystyrene tiles on its roof?
There are no regulations that expressly prohibit the use of polystyrene tiles in the rented features that are already there. However, you don’t want to avoid injuries to the occupants, but you will want to reduce the commitment of extensive fire damage to your property should a fire incident occur.
Conclusion
We can say that removing the tiles from your ceiling can be a simple job. However, you can leave it to the professionals and avoid making a mess. However, if you want to do it yourself, you can follow in our footsteps. Can remove drop ceiling to improve your experience.

