Articles, products, and services offered on this site are for informational purposes only. We are part of the Amazon Services LLC Associates Program, an affiliate advertising program. Amazon.com is compensated for sales resulting from links on our website.
Please review our disclaimer before acting based on anything you read or see.
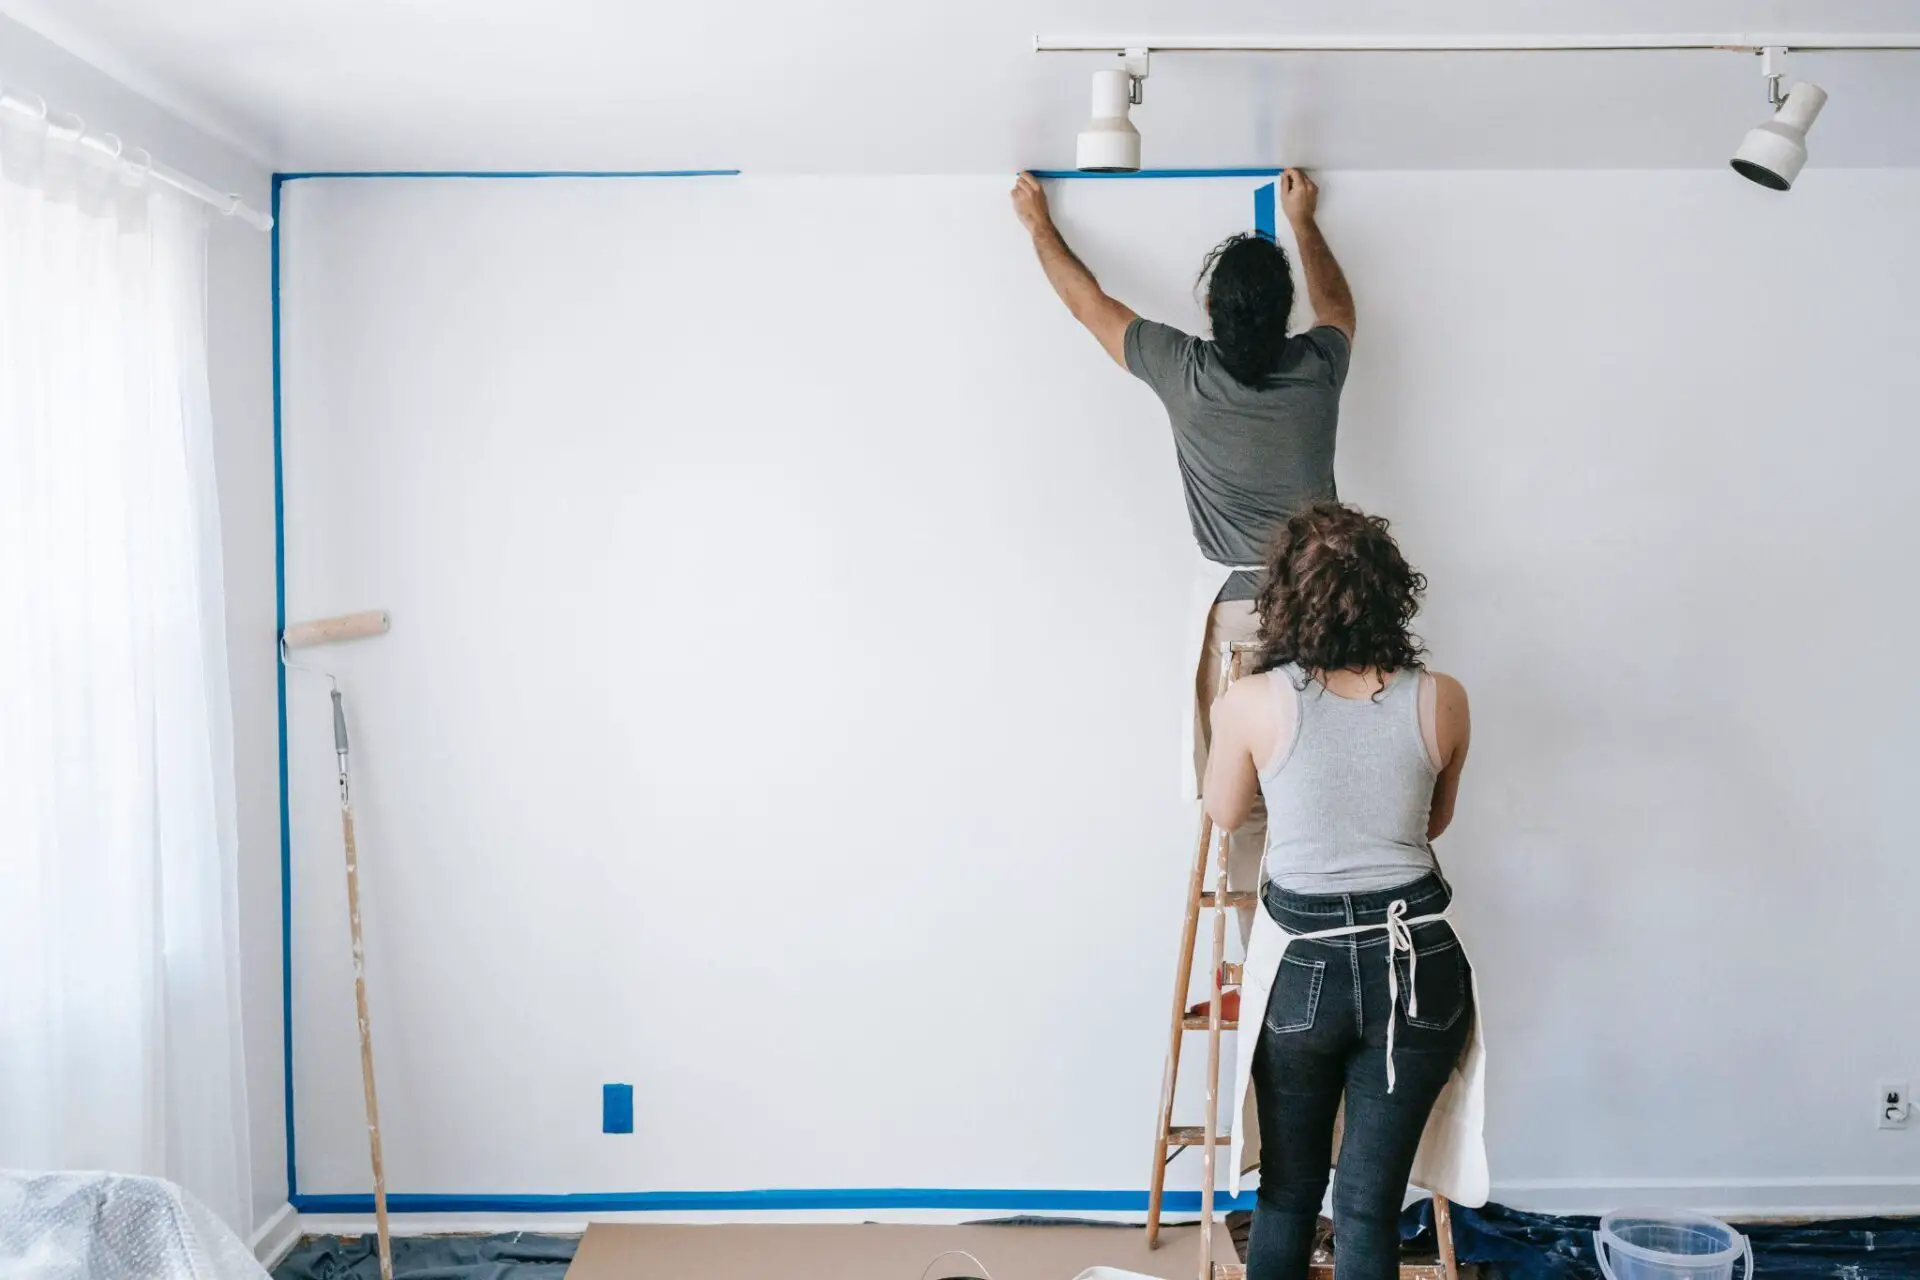
Masking tape is another item that every household ought to have on hand at all times. It’s inexpensive, simple to use, and could save you significant time and energy when painting walls. Here are some pointers regarding how to paint walls with masking tape.
We suggest starting by washing your walls. A clean wall makes it easier to apply masking tape. As a result, the odds of paint getting into the wrong spots despite the tape are pretty low. You should also have an applicator to insert the tapes in difficult-to-reach regions.
5 Masking Tape Tips for Painting Walls

Clean Moldings and Walls
Nothing is more frequently disregarded than the requirement to wash the walls before prepping and painting carefully. Even the most conscientious DIYer may bypass this step if the walls seem clean and in good condition.
Cleaning molding and surfaces, however, is critical when painting since it permits the coat to bind quickly with the walls. So by having a clean wall before the paint is applied, you’ll have a fantastic finish.
You also want clean walls if you want the masking tape to stick to the walls properly. If the masking tape doesn’t stick and you apply paint, the color will likely seep through and ruin all of your hard work.
You should also cleanse the walls since the stickiest masking tape will not adhere to a filthy, unclean area. By scrubbing the baseboards on the wall to which you’ll attach the recordings, you’ll spare yourself a significant amount of time and stress during the painting prep process.
Begin by sweeping away dust and cobwebs using a brush. Then, using a lightly dampened cloth, run it around the tops of windows and doors. It would help if you did so because there would be a lot of dust in these areas. Rinse the walls with clean water and a moist sponge instantly after washing.
Apply Tape in Small Sections
Applying tape in narrow strips is critical when you paint a wall. We recommend that you do so since it will be challenging to get a perfect line if you spread the adhesive in one go.
This prevents the paint from soaking through the tape and causing an unpleasant mess. It assists in avoiding painting mistakes and increases the productivity of your project. It also gives you more control and consistency when working.
Speed Up Preparations With an Applicator
The tape can be applied to any thick surface using a Tape Applicator at a fast pace without sacrificing the quality of work. Tape applicants come in handy when trying to paint a ceiling and cover the edges with tape.
Tape Applicators help apply tape to any part of the wall that is difficult to reach. It is beneficial when you want perfect edges but doesn’t want to forfeit efficiency, and it also aids in keeping the tape straight over the surface.
It is also used to apply the tape to complicated places that can’t be reached or covered by hand appropriately. To swiftly apply tape to molding without creating air pockets, use a painter’s tape applicator.
Use a Tool to Smooth Tape
Masking tape is essential in the coating process since it ensures a smooth, uniform painting outline. Nothing is more depressing than ripping off the masking tape to find that paint has leaked through the tape and all around the border.
To eliminate the agony of scraping off the stray paint, thoroughly adhere the tape to the trim while you begin painting. However, the masking tape must be forcefully pressed to get the most satisfactory possible adhesion between the painting and the material.
Since you’re probably looking to apply masking tape seamlessly and uniformly, a putty knife would be the best tool. Its wide, flat blade is ideal for flattening away any imperfections or misalignment in the masking tape.
A putty knife’s blade is also typically slightly bent. This enables it to conform to the curvature of the surface you’re working on. This aids in creating a smooth changeover between the paint and the tape.
A putty knife is a must-have piece of equipment for any painter, regardless of whether you’re a professional or a DIYer. It comes in handy during all kinds of painting works, even when trying to remove paint from wooden cabinets.
First, flatten the masking tape with a putty knife, and remove any stray paint chips or dirt from the substrate. Attach masking tape to the region you want to safeguard afterward. Using a putty knife, gently push the adhesive tape down along the edges.
Furthermore, pressing down on the masking tape will help to keep it from rising whenever the paint has been applied, which may also result in an inconsistent line.
Remove Tape Slowly
You might find it enticing to remove the painter’s tape quickly and observe the outcomes of your labor. However, going too fast risks undoing all of your hard work. Instead, for thorough tape removal, you need to remove it slowly and carefully.
We propose gradually removing the tape by positioning it at 45 degrees from the wall or surface of the tape that has been attached. Fold the tape down at a 45-degree angle once it touches the foundation of the painted area.
Working slowly and steadily allows you to check the lines as you progress. You can also ensure that the tape will come up without removing your paint.
If you have a long piece of tape, try peeling it away in one long, satisfying stretch. However, as the length of the material you detach increases, you have increasingly little control.
Final Words
Masking tape is a critical tool for any painter, no matter how well a professional or a do-it-yourselfer. When painting walls, masking tape can help you achieve clean lines and a professional-looking paint job.
To get the most outstanding results, use the appropriate model of masking tape for the project and wrap it appropriately. We’ve covered everything you need to know about using masking tape to paint surfaces in this article.
Comments are closed.