While a cost does associate with installing a home video surveillance system, the peace of mind and extra security that comes with it is priceless. As a homeowner, feeling secure can be difficult, especially when you are away. A home video surveillance system can help you feel more relaxed and offer extra security. Let’s see how to install home video surveillance system.
This Home Affluence post will discuss how to install a home video surveillance system and some tips and tricks that may help ensure a successful and effective installation:
- Research different types of home video surveillance systems.
- Choose the right system based on your needs and budget.
- Buy the necessary equipment and tools.
- Prepare the area for installation.
- Place the cameras in the desired locations.
- Connect the cameras to the DVR.
- Install the DVR in an accessible location.
- Connect the DVR to a monitor or television.
- Program the system to your preferences.
- Test the system before use.
We will also discuss selecting the right type of system for your needs and provide insight into the important features a home video surveillance system should include.
By the end of this blog post, you should have all the knowledge and tools you need to confidently and successfully install your home video surveillance system.
How To Install a Home Video Surveillance System
1. Research different types of home video surveillance systems
Before installing a home video surveillance system, it is important to research the different types available to ensure you choose the one that will best fit your needs.
Several home video surveillance systems vary in capabilities, such as their ability to record audio and the number of connected cameras.

It is important to consider elements such as range of coverage, night vision, motion detection, and storage when researching these systems to make an informed decision.
Additionally, researching the installation process can help you understand what is involved and ensure you have the necessary tools.
2. Choose the right system based on your needs and budget
Once you have installed a home video surveillance system, choose the right system for your needs and budget.
You will want to consider factors such as the size and configuration of your home, the type of security surveillance you need, and the cost.

Considering your budget, consider a wireless system with a combination of cameras, motion sensors, and video recording.
Researching different systems will help you decide the best system for your needs and budget.
3. Buy the necessary equipment and tools
After assessing your needs, purchasing the necessary components and tools for installation is important. Depending on the type of system you have chosen, this could range from simple cameras and recording devices to more complex systems with multiple cameras, motion detectors, and DVRs.

Consulting a professional or researching online can help you determine the necessary components and tools.
Consider investing in additional equipment such as power adapters and extension cords.
4. Prepare the area for installation
Before installing the home video surveillance system, prepare where the components will place.
Take measurements and plan the layout of the components so that they are properly spaced out and mounted according to the manufacturer’s instructions.

The area should be free from any clutter or obstructions and should be in a place that is easily accessible for future maintenance.
5. Place the cameras in the desired locations
After deciding what type of surveillance system and cameras best fit your needs, the next step is to place the cameras in the desired locations.
It is important to consider the cameras’ field of view and range and decide where to install them to capture the most relevant footage.

Ensure to factor in the best lighting when installing cameras indoors or outdoors. It is also important to consult local laws and regulations to ensure your system complies.
6. Connect the cameras to the DVR
Once the cameras have been mounted, the last step is to connect the cameras to the DVR.
Depending on the camera model, the connection will be made with a BNC or an RJ45 connector.

Use the supplied BNC cables to connect the cameras to the ports labeled “CAM” on the DVR for BNC connectors. For RJ45 connectors, use the supplied network cables to connect the cameras to the ports labeled “LAN” on the DVR.
After all the cameras have been connected to the DVR, the installation is complete.
7. Install the DVR in an accessible location
After setting up the hardware and connecting the cameras, it is essential to install the DVR in an accessible location. It will make it easier for you to access the recordings when needed.

Place the DVR in an area that is easy to access but out of reach for potential intruders. Ensure the cables connect securely and that the DVR is firmly secured to the wall or in a secure location.
8. Connect the DVR to a monitor or television
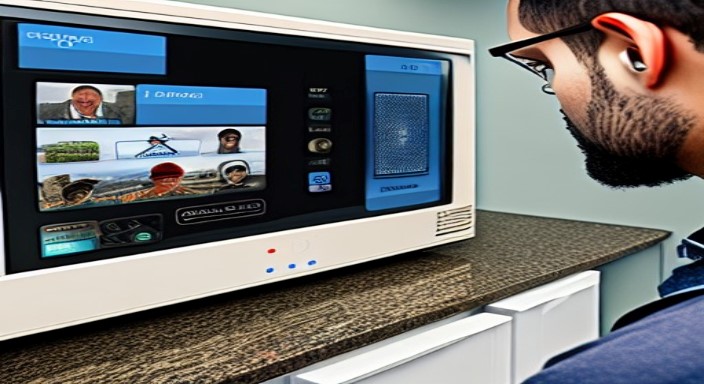
Once you have connected your DVR to the internet and cameras, the next step is to connect it to a monitor or television for viewing.
This connection is typically made with an HDMI cable; however, you may need to use an RCA cable if your device does not support HDMI.

Secure the cables and select the correct input setting on the monitor or television. After connecting the DVR to the monitor or television, the system should be ready to use.
9. Program the system to your preferences
After installing the hardware components for your home video surveillance system, programming it to meet your preferences is important.
It includes setting up the recording schedule, setting the motion detection sensitivity, and setting the resolution of the videos.

Home video surveillance systems help if you also take this time to determine where the videos should store to be easily accessible when you need them.
It also helps to familiarize yourself with the system’s user interface and features to make the most of your home video surveillance system.
10. Test the system before use
Before using the system, it must be tested to ensure it functions properly. During the test, you should ensure the power and data cables are secure, the camera feed is clear, and there are no dead spots in the coverage area.

Additionally, you should test the motion-detection sensors, the recording quality, and the night vision capabilities.
Once we test and ensure the system works properly, we can assure you that it will secure your home and provide the highest quality surveillance footage.
Expert Opinion
Installing your video surveillance system is easier than it may seem. You can install your home video surveillance system quickly with the right tools, supplies, and instructions.
Keeping your home and family safe is a top priority, and a video surveillance system can go a long way to ensure your home is secure.
Knowing your home is secure can give you and your family peace of mind. With the right steps, a system can run quickly and efficiently.
By researching different systems, you can ensure you get the one that best fits your home’s needs.
With a little time and effort, you can easily have a home video surveillance system to keep your home and family safe.


